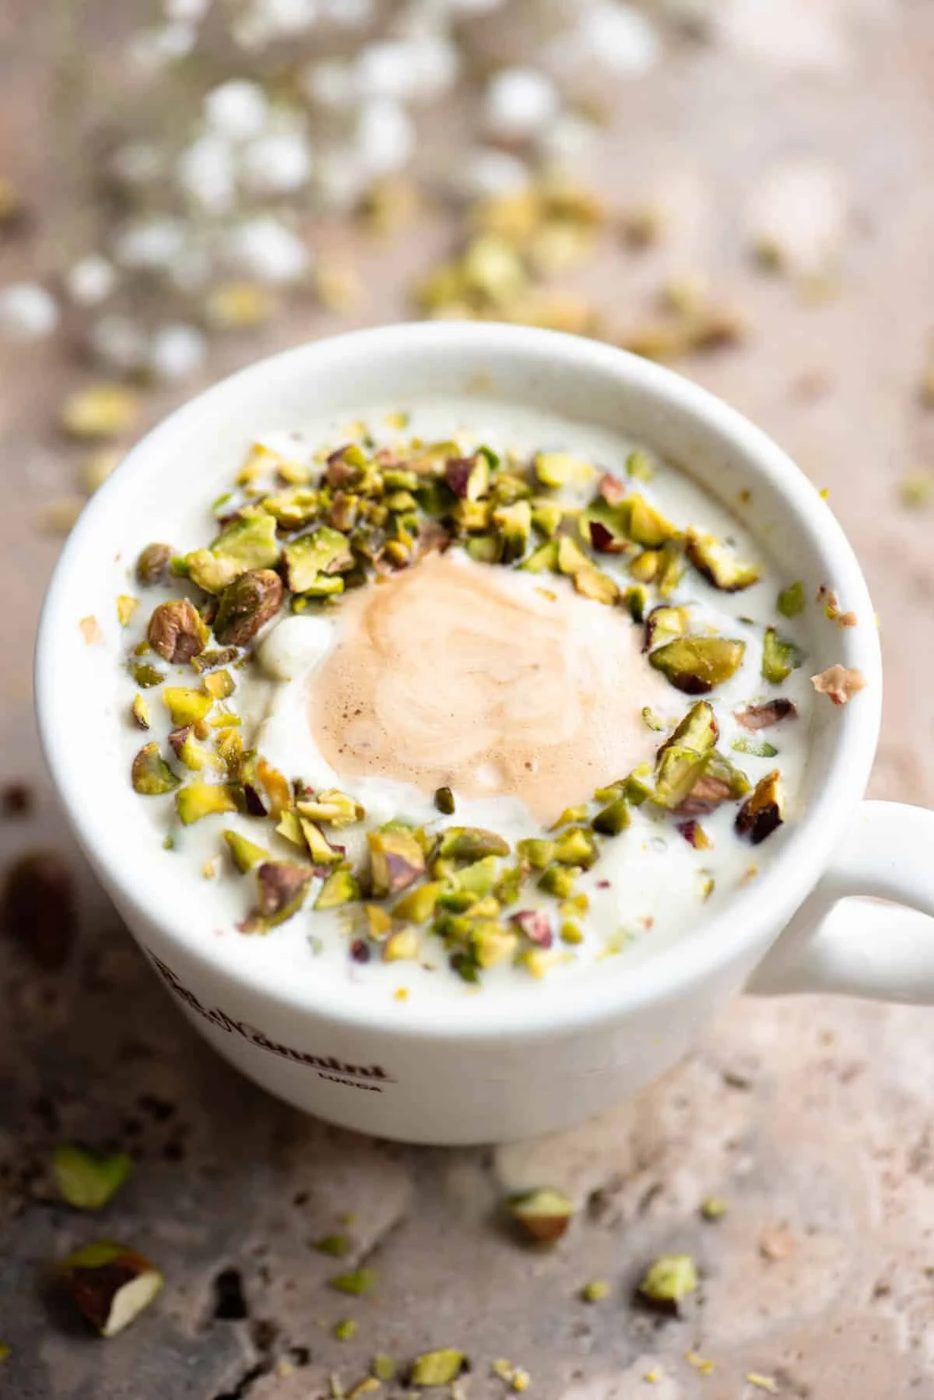
Sicilian Brioche Buns, Brioche Col Tuppo
- Makes 6 brioche buns
- Prep 45 minutes
- Cook 20 minutes
- Total 17 hours 5 minutes
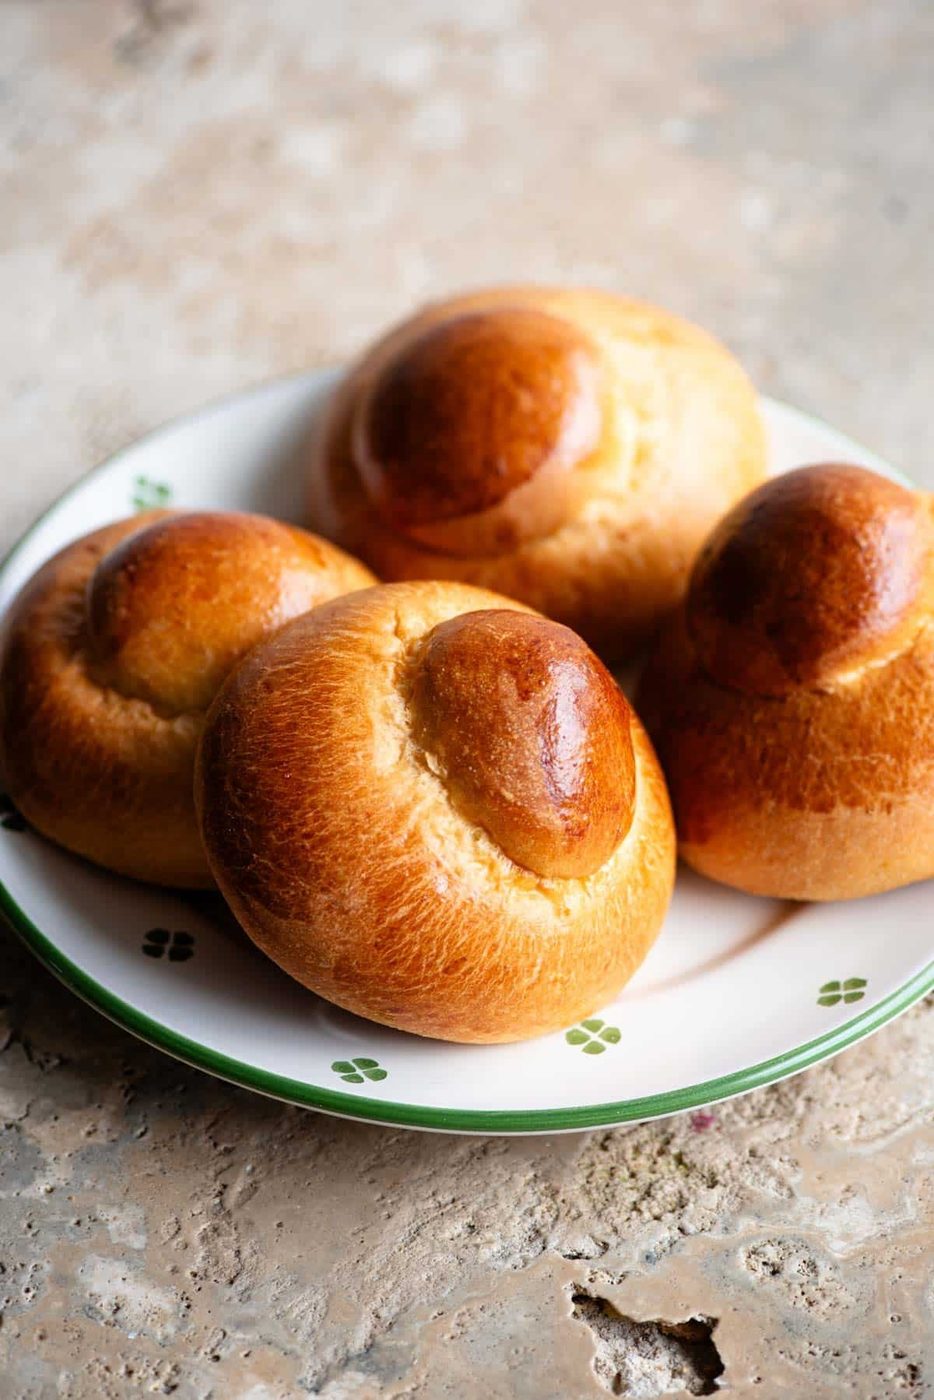
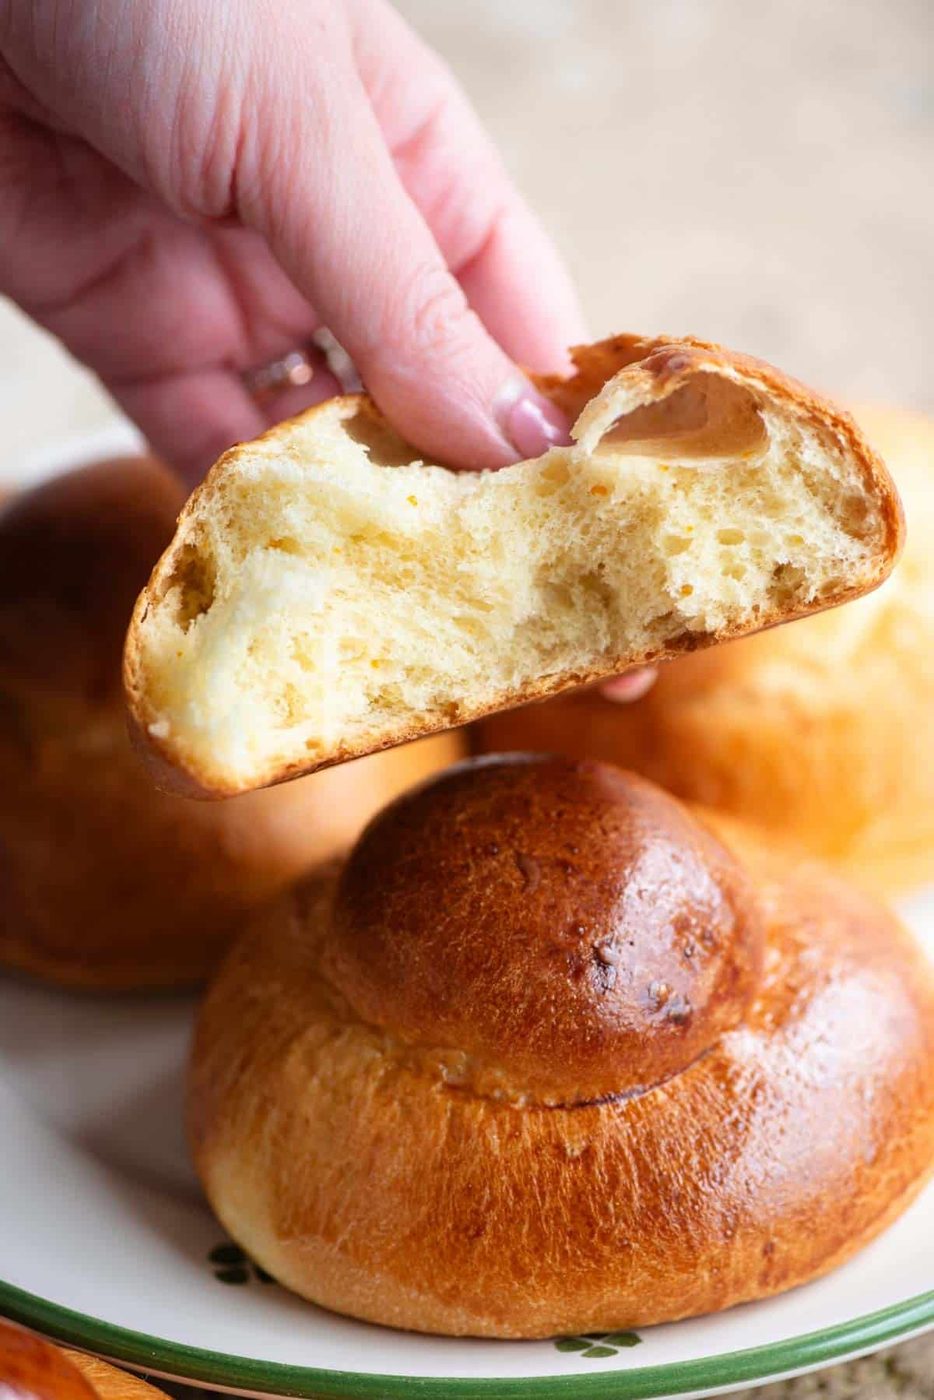
Soft, buttery and unbelievably good Sicilian Brioche Buns, also known as Brioche col Tuppo. These buns are beautifully sweet and scented with orange zest and vanilla. Traditionally served with Sicilian granita for breakfast.
A traditional Sicilian breakfast, especially during summer, consists of ice-cold and refreshing granita topped with fresh whipped cream and served with a soft and buttery brioche bun for dunking.
We know, it sounds like a dream, right? We mean, if one thing is going to get you out of bed in the morning, it's this breakfast. After experiencing this dreamy breakfast in Sicily, we knew we had to recreate it at home, and we're so happy with the outcome; it takes us straight back to Sicily.
These brioche buns are easy to make, but we highly recommend using a mixer as brioche dough is wet and sticky and requires a lot of kneading, even in a mixer.
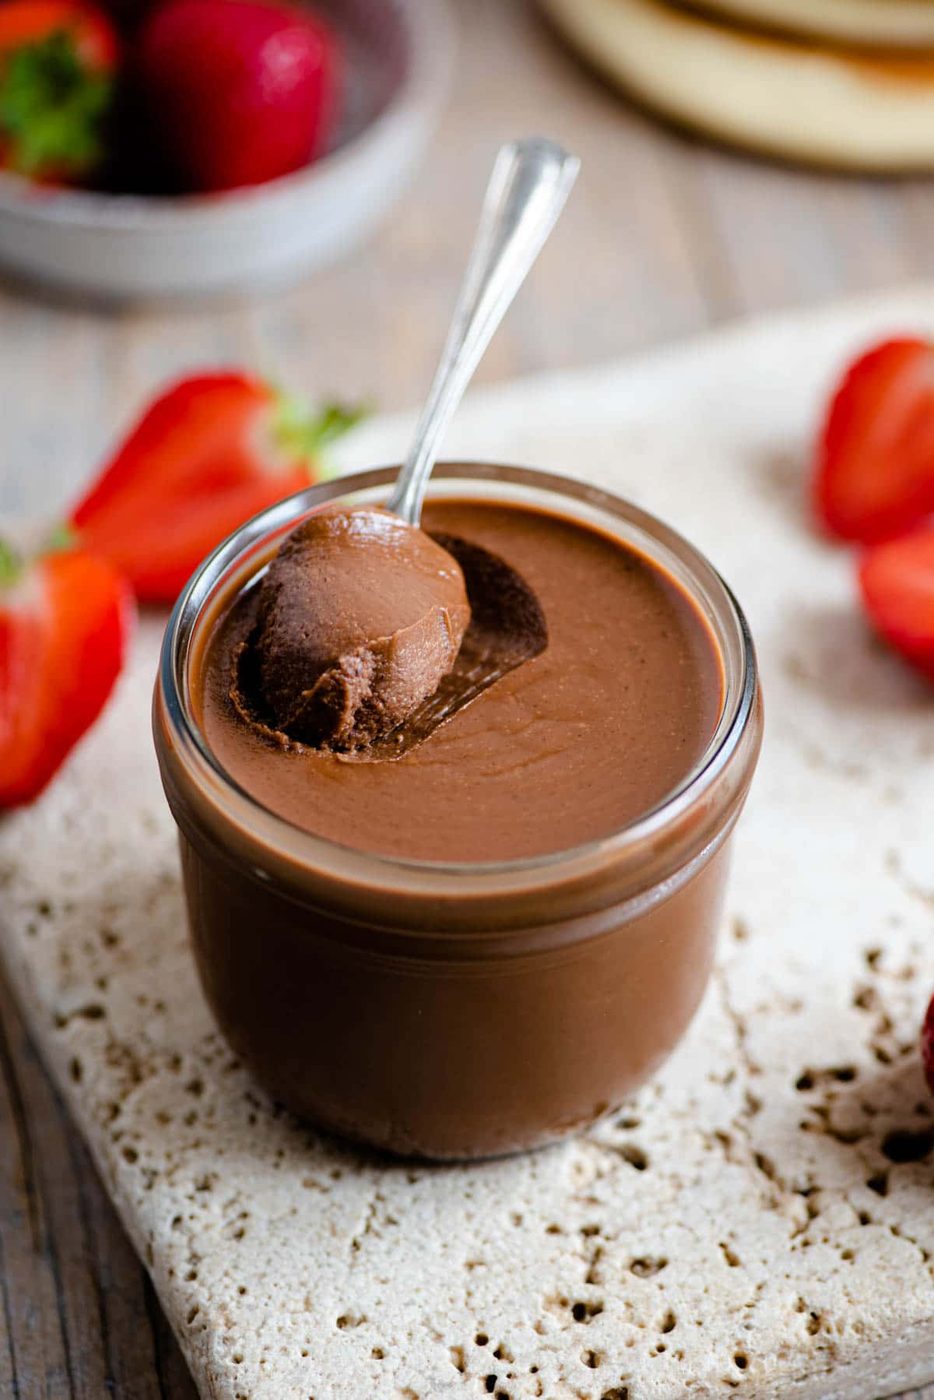
We love a brioche bun while they are still warm from the oven. If you're not serving them with granita, you can stuff them with gelato or spread them with chocolate spread or sweetened whipped cream, good!
Ingredient notes
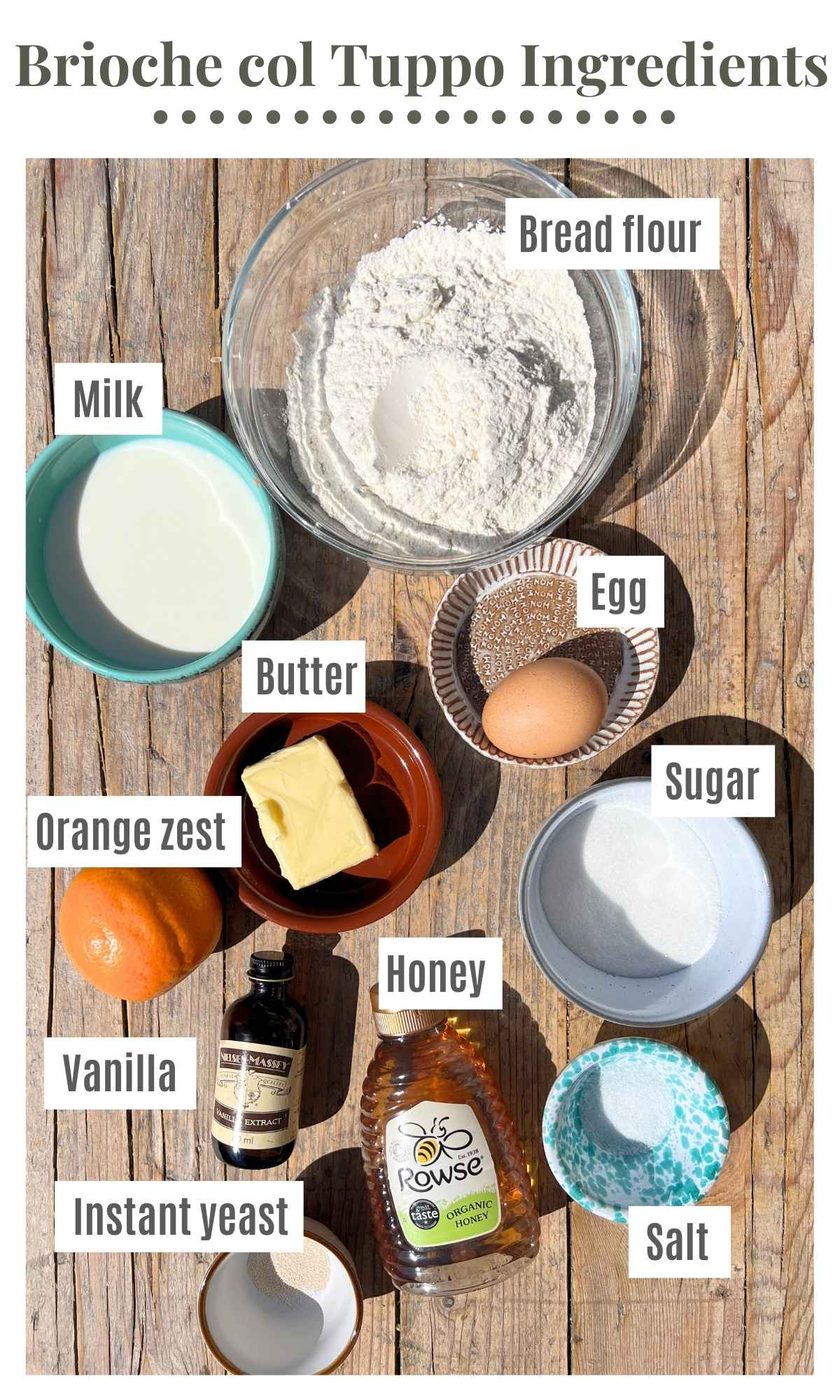
- Unsalted butter – make sure it's at room temperature before using. If you're using salted butter, then leave out the additional salt in the recipe (note: We have not tested this recipe with salted butter).
- Orange zest – you can swap this with lemon zest if you prefer, or leave it out altogether.
- Vanilla extract – use extract and not essence, which is artificial. You can use vanilla bean paste or a whole vanilla bean instead.
Visual walk-through of the recipe
Step 1 – Put the flour, yeast, milk, egg, vanilla and orange zest in the bowl of a stand mixer with a dough hook attached and mix to a rough dough. Combine the sugar and salt and add them to the mixer. Keep mixing until incorporated (photos 1-3).
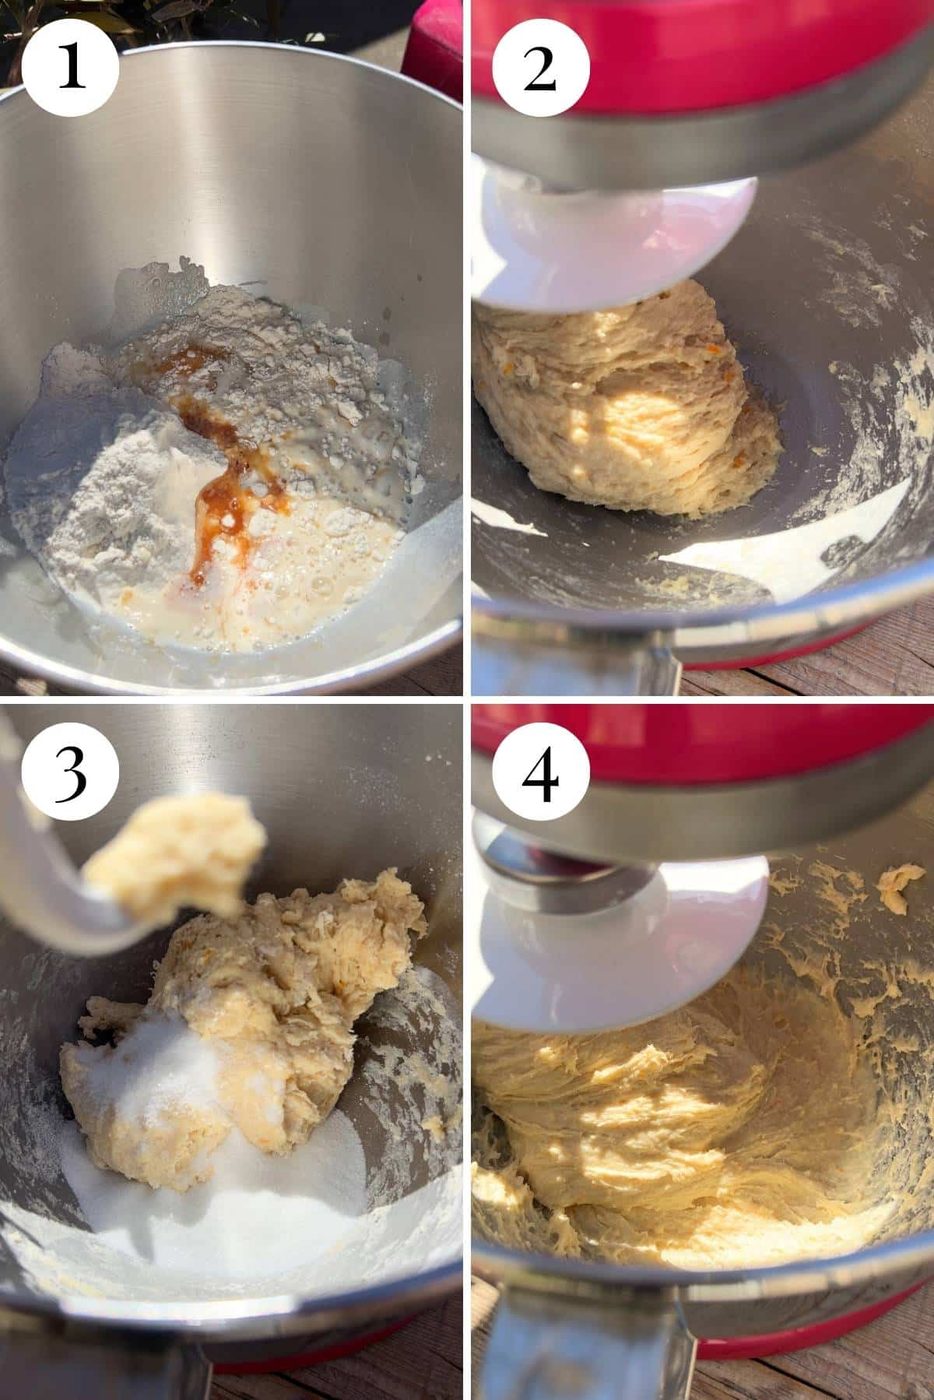
Step 2 – Next, with the mixer on a medium speed, add the butter a little at a time (about 1 tablespoon), waiting until it's fully incorporated into the dough before each addition. After the last addition of butter, knead the dough on a medium speed for 20 minutes (it does need that long). The dough should be smooth and glossy looking, and not stick to your fingers. (photos 4 and 5).
Step 3 – Transfer the dough to a large mixing bowl lightly greased with olive oil or butter. Cover with plastic wrap and let it proof at room temperature until doubled in size (about 4-6 hours, but timing will depend on your room temperature) (photo 6).
Step 4 (shaping the dough) – After the first proof, remove the dough to a clean work surface and cut it into 6 equal pieces. Cut a small piece from each piece of dough for the tops so you now have 6 large pieces of dough and 6 small pieces of dough. You can weigh them for accuracy (6 x 78g balls and 6 x 20g balls).
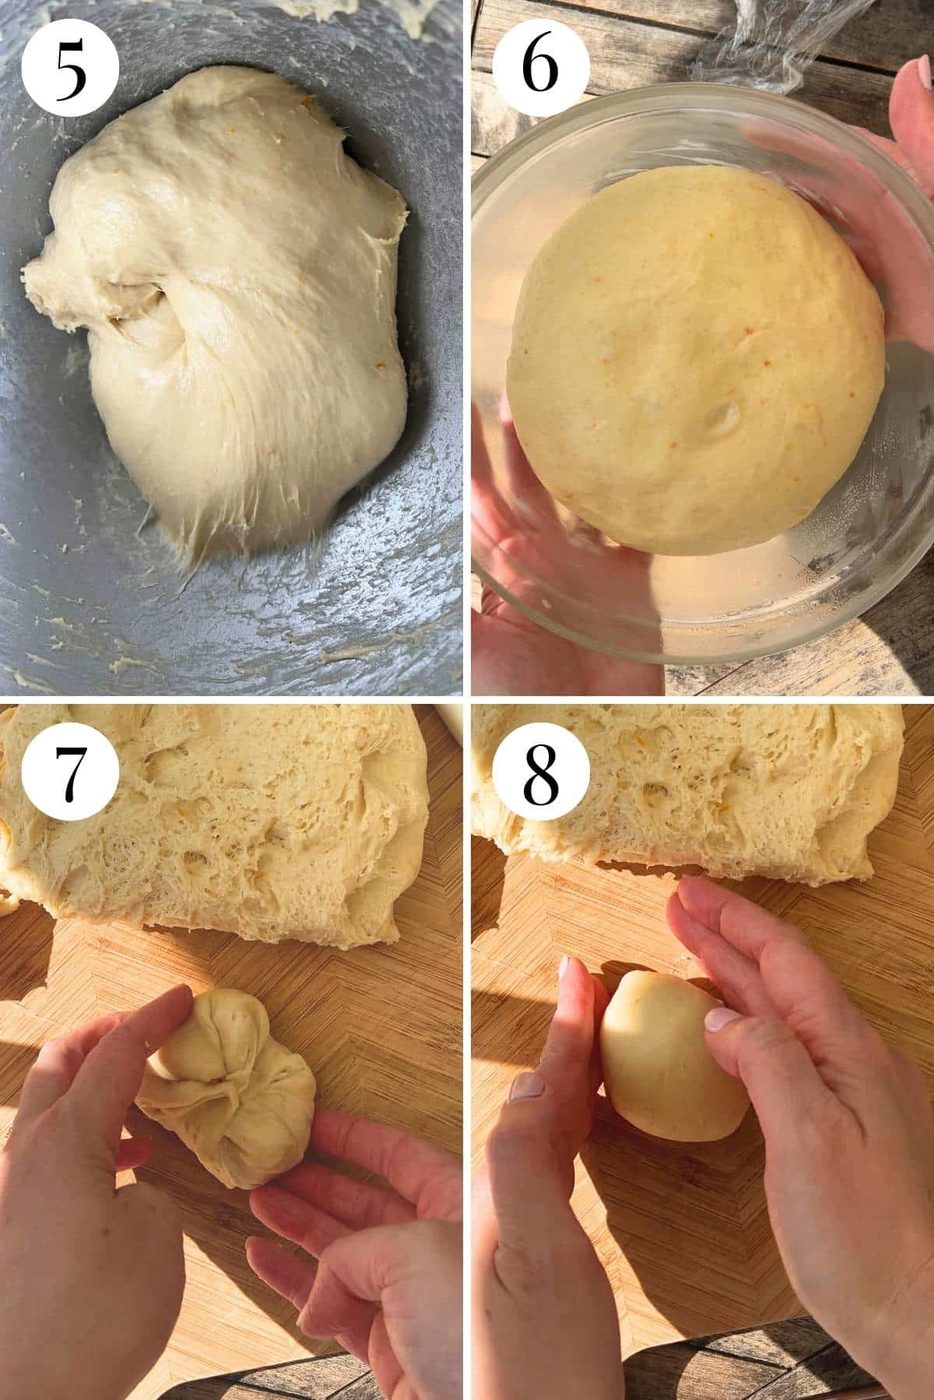
Step 5 – To shape each ball (bottom and tops), gently pinch the edges of the dough into the middle (this helps build tension underneath) (photo 7). Flip it over so it's seam side down, Cup your hands around the dough and gently rotate it in a circular motion, keeping the edges tucked under to form a smooth ball (photo 8).
Step 6 – Place the large balls on a baking tray lined with parchment paper and press them in the middle with two fingers to create an indent. Shape the small balls the same way and place them on top inside the indent (photos 9 and 10).
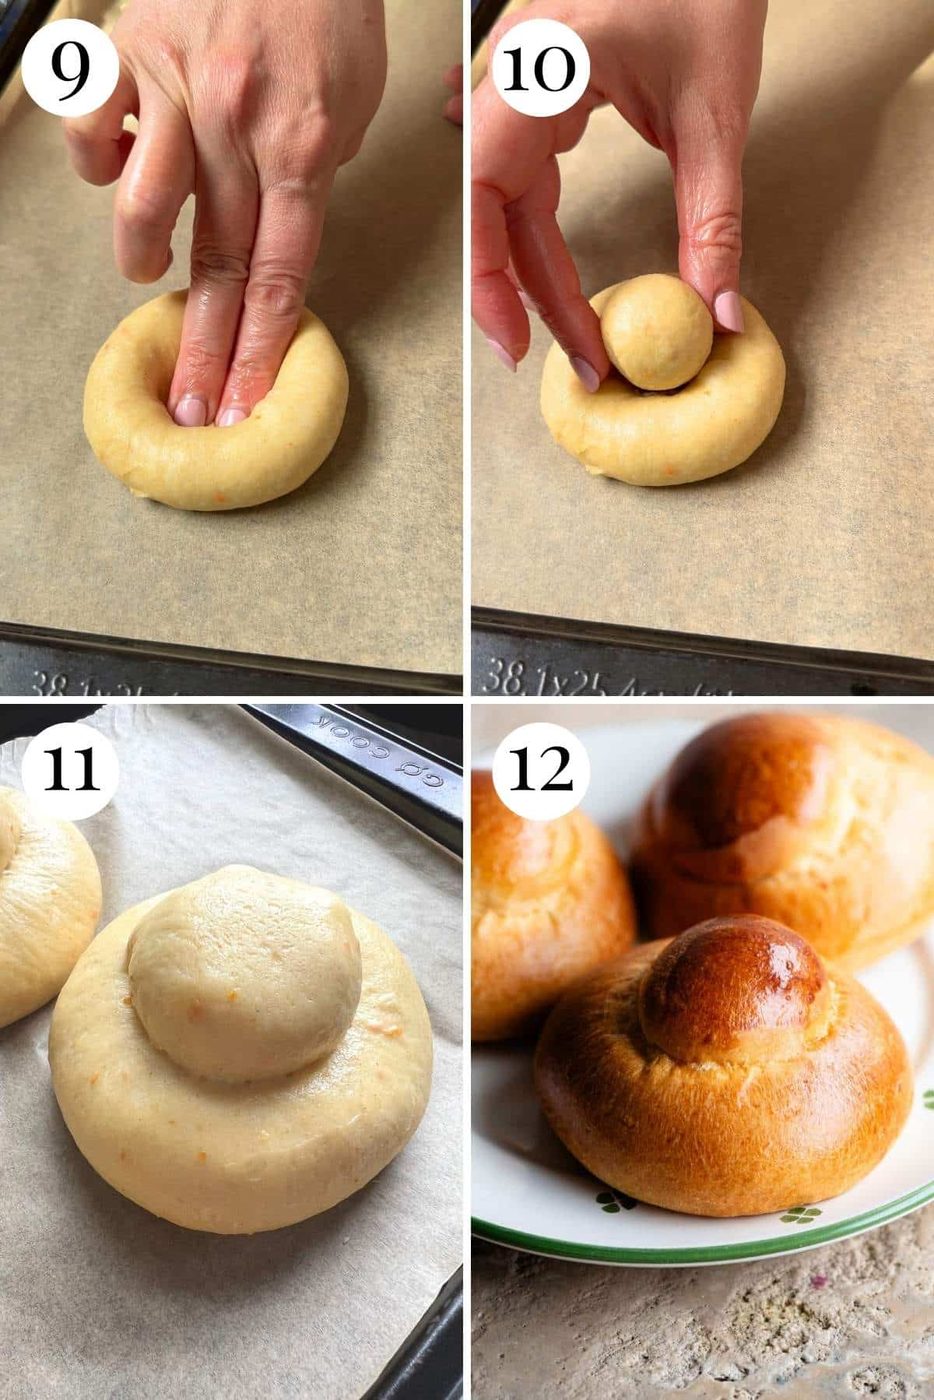
Step 7 (second proof) – cover the buns with plastic wrap and place in the fridge overnight. Remove from the fridge for 1-2 hours before baking, they should double in size (photo 11)
To bake the same day – alternatively, you can skip the overnight fermentation (although we highly recommend it for better flavour and texture) and allow the buns to proof for another 1-2 hours or until doubled in size.
Step 8 (bake) – Preheat the oven to 170C/340F fan 190/375F. Brush the buns with egg wash and bake in the oven for 15-20 minutes until golden brown all over (photo 12). Remove and enjoy warm or once cooled completely, store in an airtight container.
Recipe tips and FAQs
- Doing an overnight proof – We tested this recipe many times, and as much as we wanted to provide a same-day dough, it was never as good as an overnight fermentation, so if you have time, it's well worth it. The texture becomes softer, and there's a noticeable difference in flavour.
- Shaping the dough – to make the shaping process easier, you can shape them into 6 large buns without the little balls on top (tuppo).
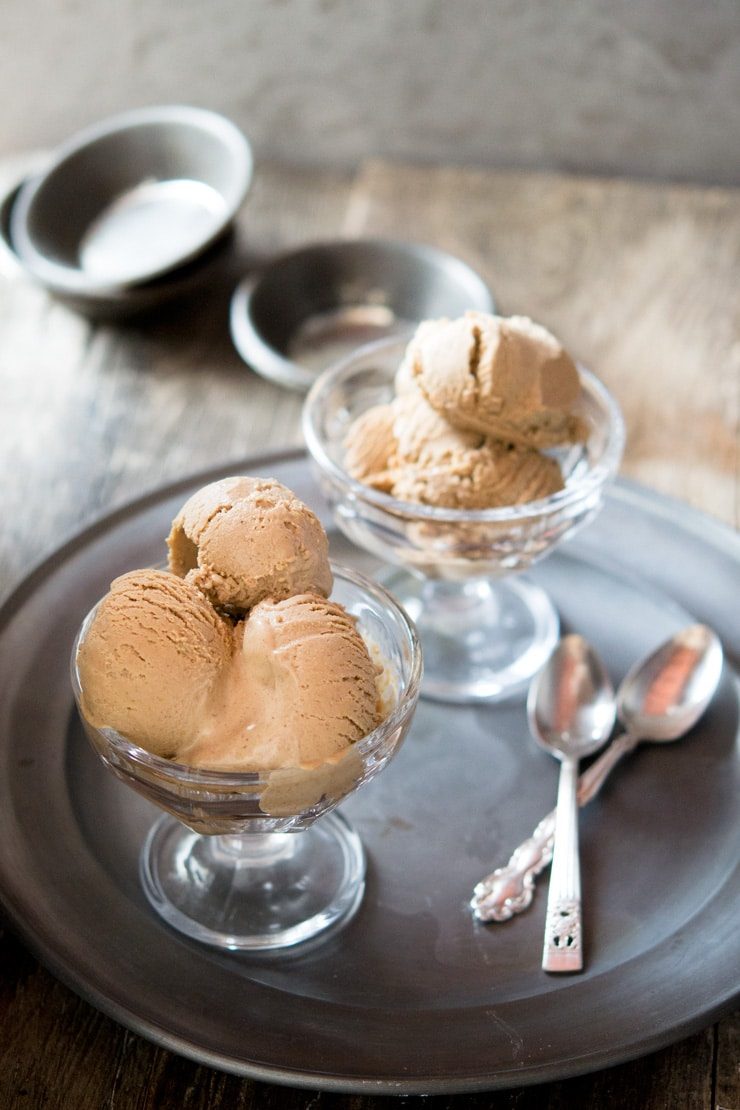
- Serving suggestions – other than granita, you can make these into gelato sandwiches (yes, that's a thing and good) or cut them in half and spread them with jam, fresh whipped cream hazelnut chocolate spread or pistachio cream.
Yes, but brioche dough is sticky and not easy to handle. You need to use a slapping technique when working with it to develop the gluten, and it takes about 20-25 minutes. This is a great tutorial by Richard Bertinet on how to do this.
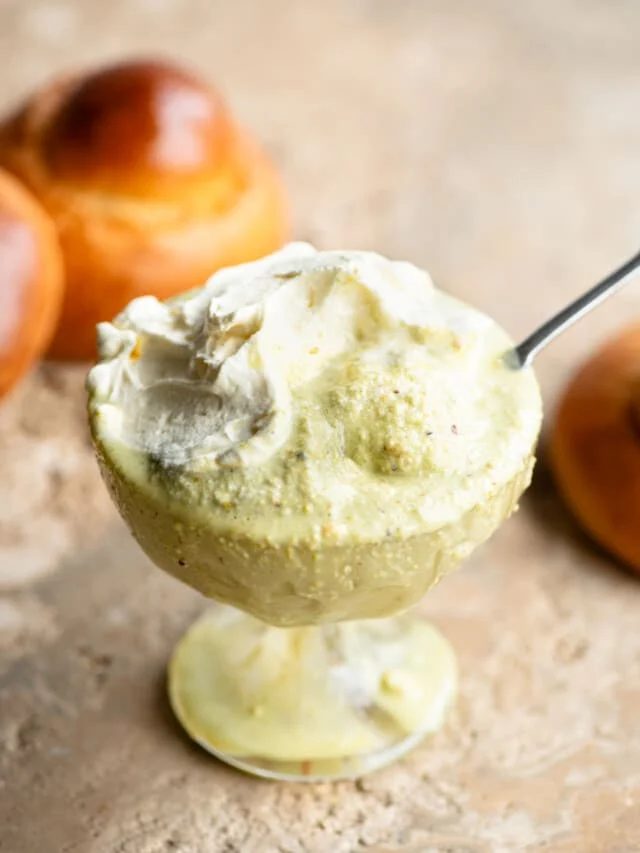
Granita and gelato to serve with your brioche
Italian Desserts
Sicilian Pistachio Granita
Italian Desserts
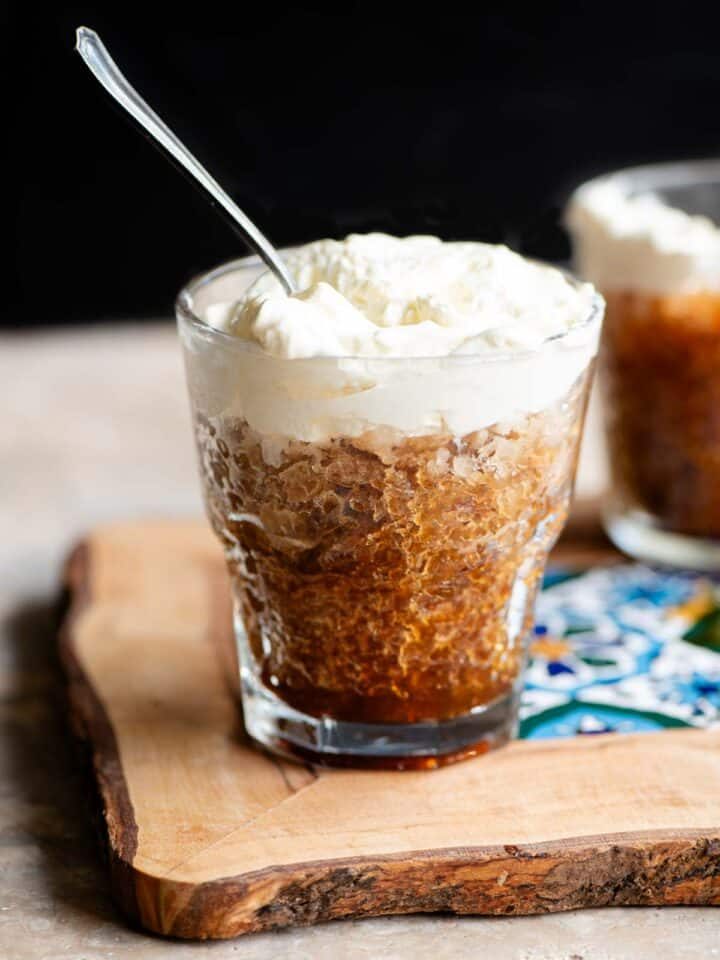
Granita al Caffè con Panna (Coffee Granita)

Italian Desserts
Aperol Spritz Granita
Italian Desserts
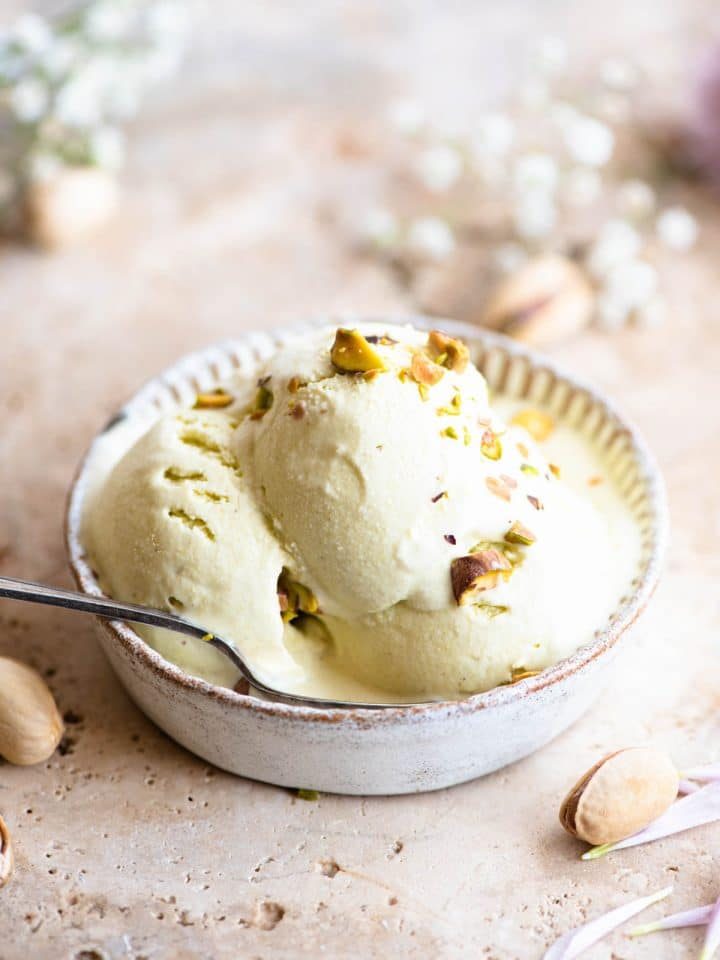
Pistachio Ice Cream (Gelato al Pistacchio)
Ingredients
Makes 6 brioche buns
- 275 g (2 cups) bread flour
- 1 large egg (at room temperature (plus another 1 for egg wash))
- 1 orange zest
- 1 tablespoon honey
- 1 teaspoon vanilla extract
- 125 ml (1/2 cup) milk (slightly warmed)
- 70 g (5 tablespoons) unsalted butter (at room temperature)
- 1/2 teaspoon fine salt
- 2 g (1/2 teaspoon) instant yeast
- 45 g (scant 1/4 cup) caster sugar ((can also use granulated))
Equipment
- Stand mixer
- Dough hook
- large mixing bowl
- Baking tray
- Parchment paper
- Plastic wrap (cling film)
Method
Important notes before starting
The instant yeast we used can be added straight to dry ingredients, but not all yeast is the same. Check your packet instructions, and if it needs to be activated in liquid first, do this in some of the milk needed in the recipe.
We recommend gently warming the milk so it's not fridge cold. Make sure it's not hot or too warm, or it'll scramble the egg and melt the butter.
Make the dough
Put the flour, yeast, milk, egg, orange zest, honey and vanilla in the bowl of a stand mixer with the dough hook attached and mix on a low speed until a rough dough is formed.
Combine the sugar and salt and add them to the mixer. Keep mixing until fully incorporated.
Next, with the mixer on a medium speed (number 4 on a KitchenAid) add around 1 tablespoon of butter at a time, allowing it to fully incorporate into the dough before you add more.
When all the butter has been added, put a timer on a knead the dough for 20 minutes on a medium speed. After 20 minutes, the dough should be glossy and smooth, tacky but not stick to your hands, and most of the bowl should be clean.
Lightly grease a large mixing bowl with butter or olive oil and transfer the dough to the bowl. Cover with plastic wrap and let the dough proof at room temperature until doubled in size (about 4-6 hours).
After the first proof, tip the dough out onto a clean work surface. Cut the dough into 6 equal pieces and cut a small piece off of each for the tops. If weighing the dough, cut 78g for the base and 20g for the tops.
Shaping the dough
To shape each ball (bottom and tops) gently pinch the edges of the dough into the middle (this helps build tension underneath). Flip it over so it's seam side down, Cup your hands around the dough and gently rotate it in a circular motion, keeping the edges tucked under to form a smooth ball.
Place the large balls on a baking tray lined with parchment paper and press them in the middle with two fingers to create an indent. Shape the small balls the same way and place them on top inside the indent.
Second proof
Cover the tray with plastic wrap. We recommend placing the brioche in the fridge overnight for a second proof, as we found this really improves flavour and texture, but you can let the buns proof again at room temperature until doubled in size and bake on the same day.
If proofing overnight, remove them from the fridge and let them come to room temperature before baking (1-2 hours). They should double in size in that time.
Baking
Preheat the oven to 170C/340F fan 190C/375F static.
Brush the brioche with a beaten egg and bake in the oven for 15-20 minutes until golden brown all over.
Kitchen notes
Storage once cooled completely, store the brioche buns in an airtight container or ziploc bags for up to 5 days. Brioche tends to dry out quickly within 1-2 days, but these reheat beautifully. Pop them in a preheated oven at 180C/350F for 5-7 minutes, and they become soft and good again.