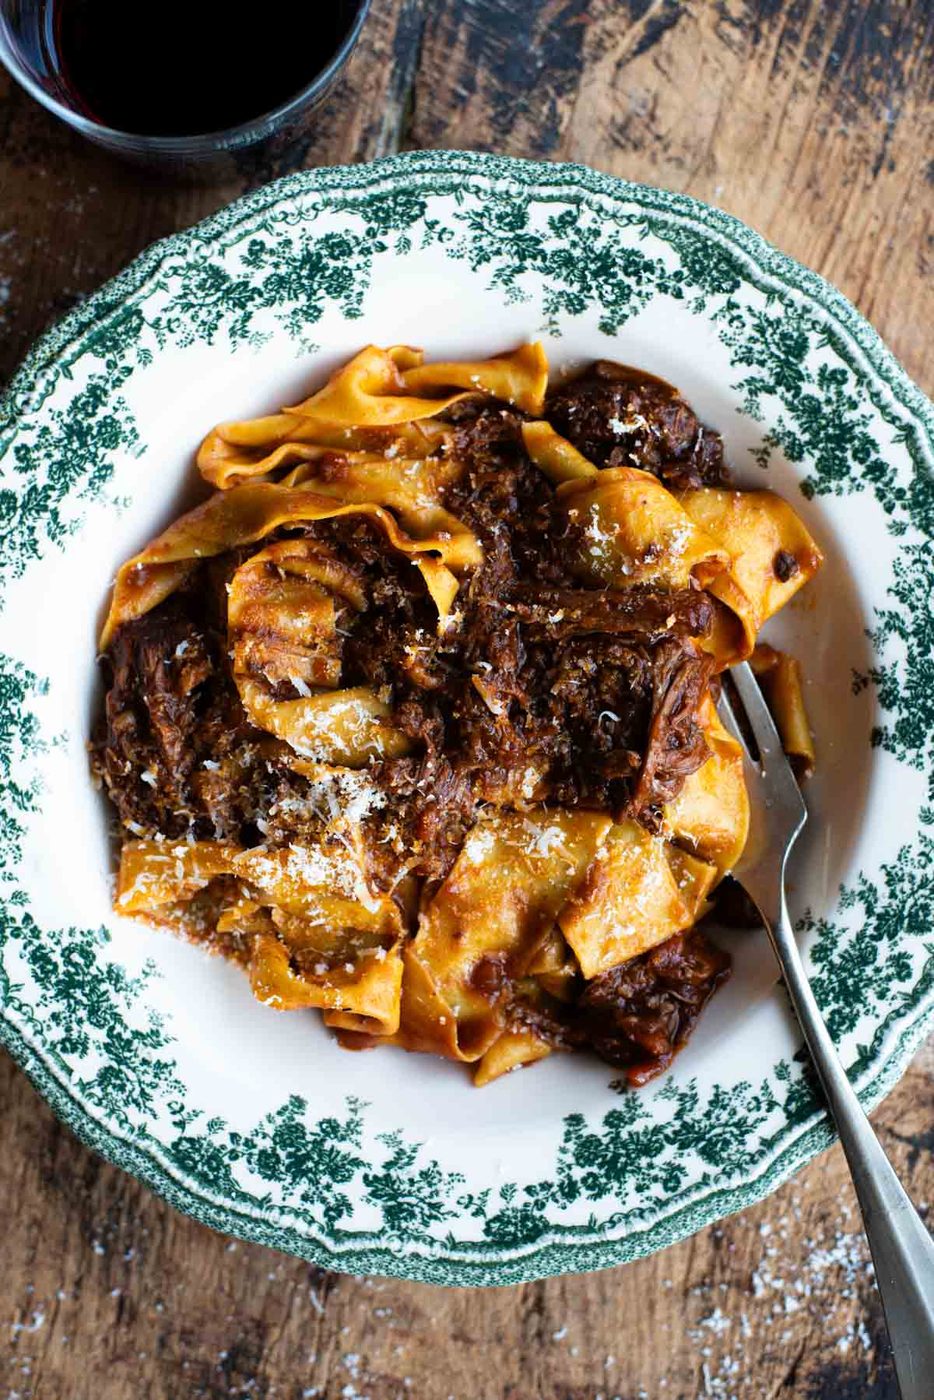
Homemade Agnolotti, Step by step
- Makes 4 servings (40-50 agnolotti)
- Prep 1 hour
- Cook 5 minutes
- Total 1 hour 35 minutes
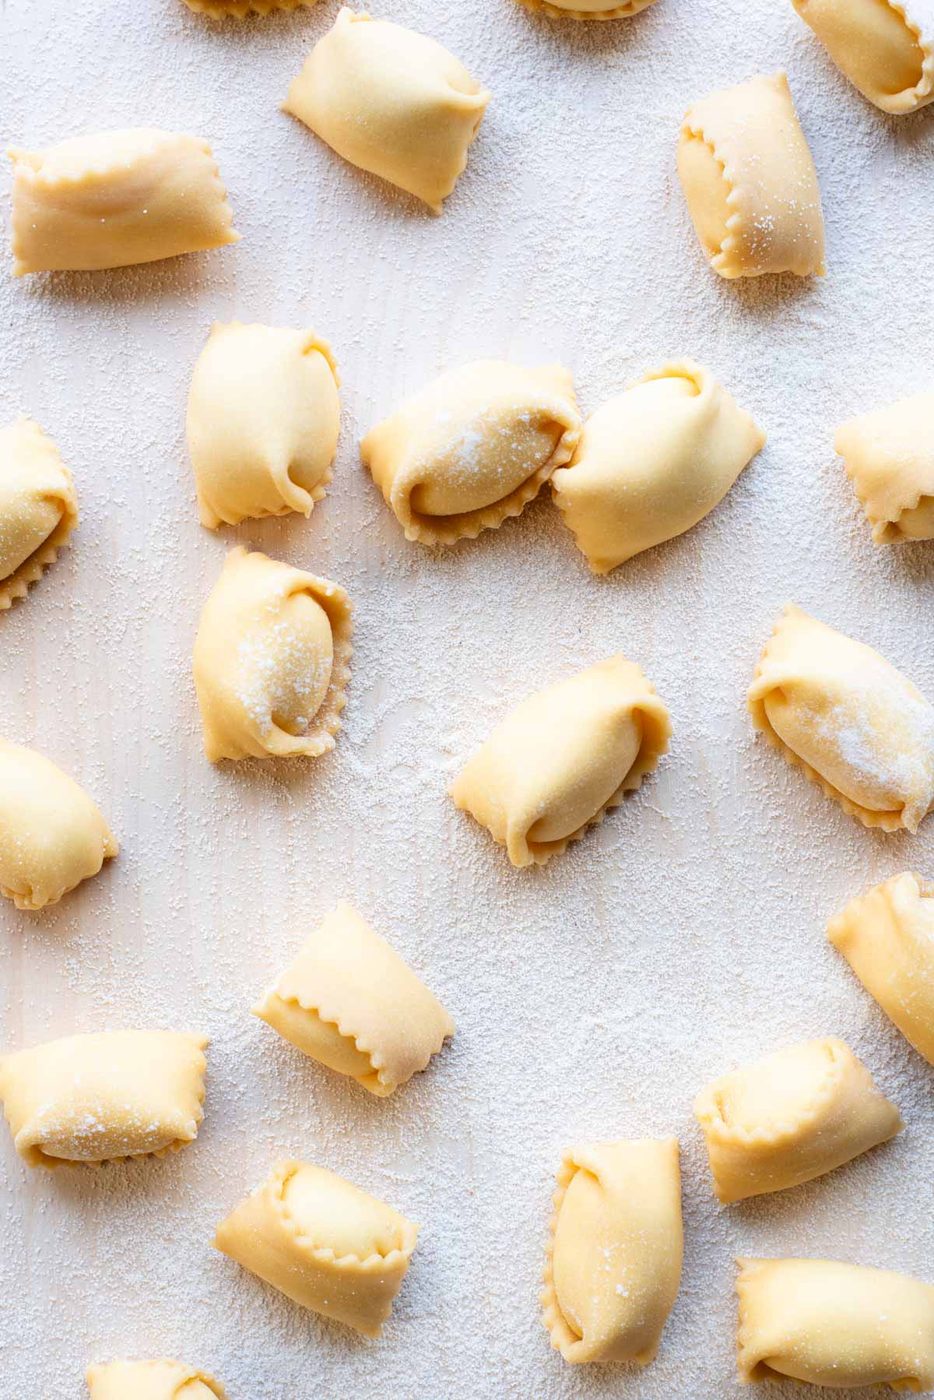
How to make Homemade Agnolotti from scratch. This beautiful filled pasta may look complicated but it's actually fairly easy to make at home. Our step by step tutorial will guide you through the whole process from start to finish including helpful photos and video.
Agnolotti del Plin is a traditional filled pasta from Piedmont in northern Italy. They're traditionally filled with stewed meat and vegetables and served in a butter sauce or a meat braising liquid which is so comforting and good.
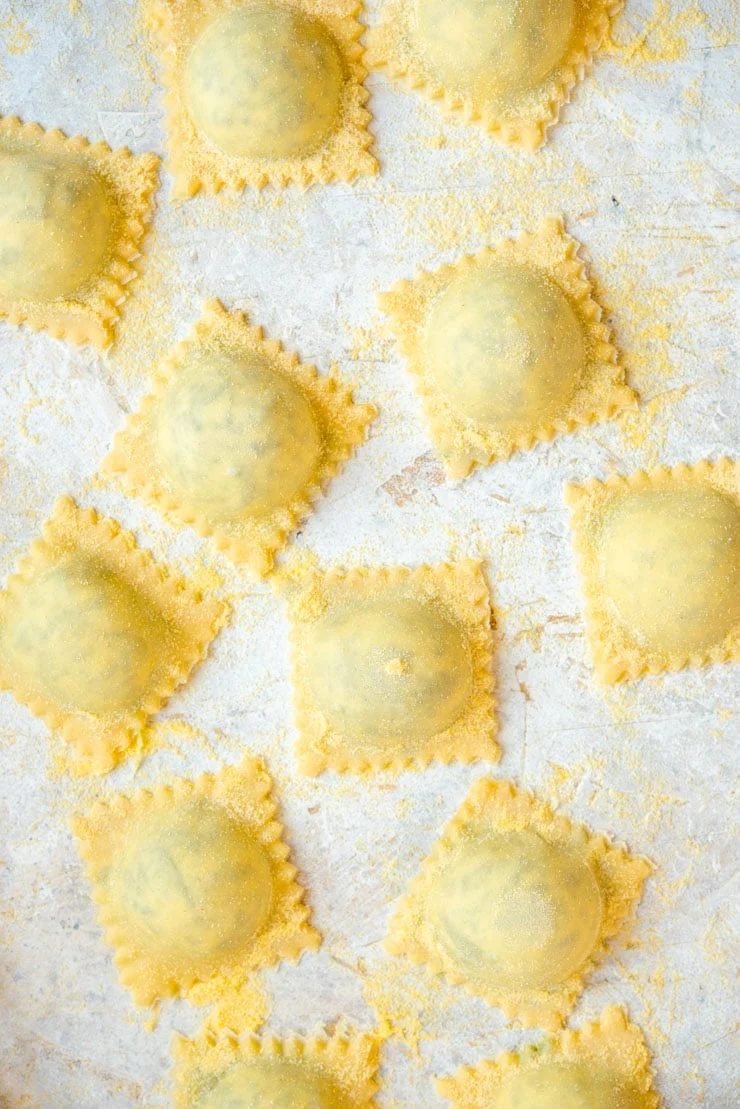
This filled pasta is similar to ravioli but is folded differently giving it a slightly different shape and is actually a little easier to make (in our opinion) since there is less chance of air bubbles.
And like homemade ravioli Agnolotti are a labour of love. They do take some time to make but they are unbelievably good and suited to special occasions like Christmas, birthday meals or family get-togethers.
This recipe uses a cheesy ricotta filling but you can fill your Agnolotti with whatever you like (more on that below) same goes for the sauce. See the full tutorial below with all our helpful tips, Happy pasta making!
See the recipe below including notes on ingredients, step by step photos, tips, variations and a video tutorial. For the full printable recipe scroll to the bottom or click the recipe link below
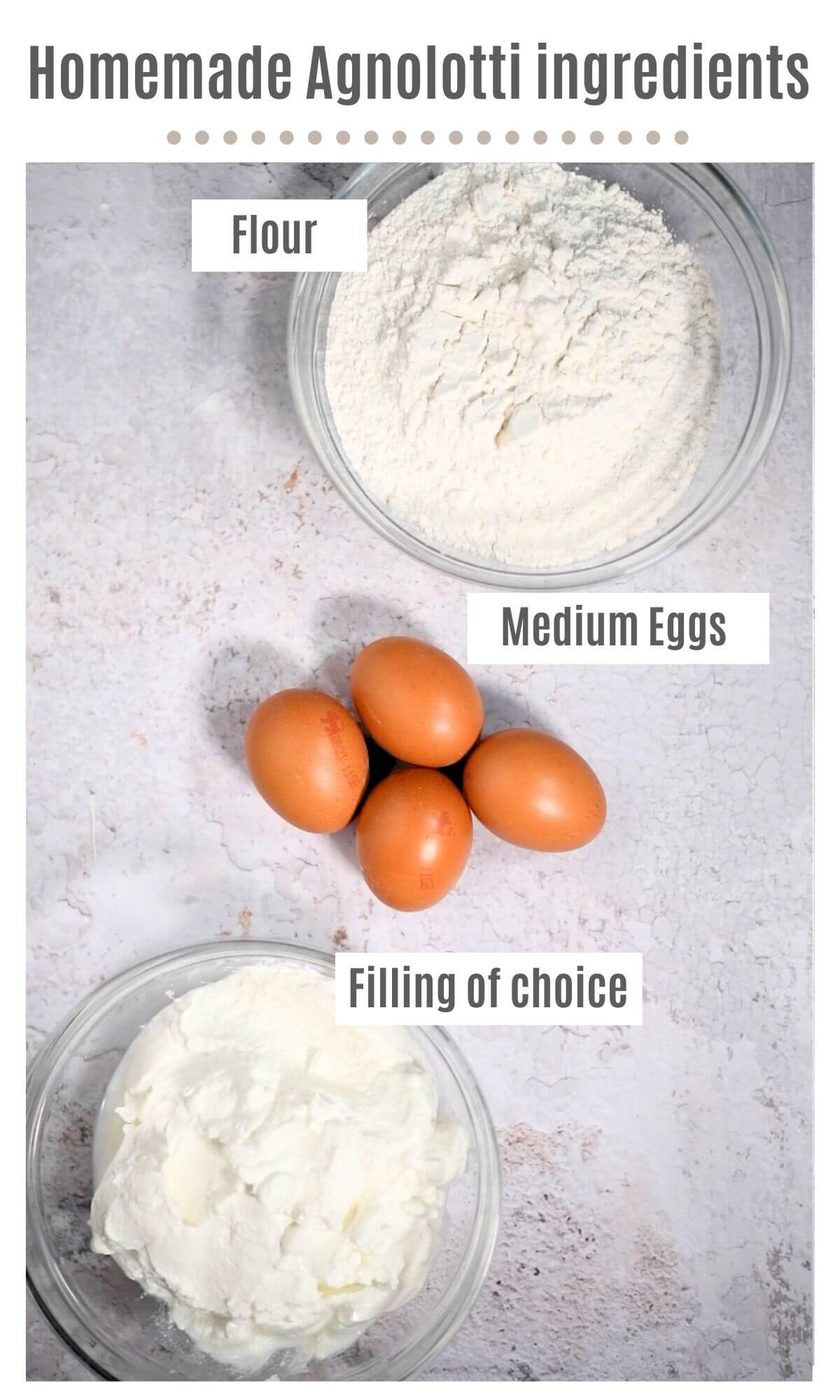
Ingredient notes and substitutions
- Flour – Italian 00 flour is the preferable flour to use for making pasta due to it's extra fine consistency.
- Eggs – use medium-sized eggs for this since we're adding an extra yolk for richness.
- Filling – ricotta is a great filling choice and can easily be adapted with different flavours such as lemon zest or cheese. Our recipe uses ricotta, provolone cheese and black pepper.
- Sauce – you can opt for an easy tomato saucebutter and sage sauce or even a cream sauce. The choice is yours!
Step by step photos and instructions
Preparation tips
This recipe will show you how to make homemade Agnolotti that you can prepare with any filling or sauce you like. If you'd like to use ricotta as your filling we recommend straining it for at least 1 hour before using.
We also recommend making your sauce in advance so all you need to do is heat it up when you're ready to cook the Agnolotti. If you're making a butter sauce you can do this last minute.
Make the pasta dough
Place the flour on a clean work surface and make a large well in the middle. Add the eggs and egg yolk to the well and beat them with a fork (photos 1 and 2).
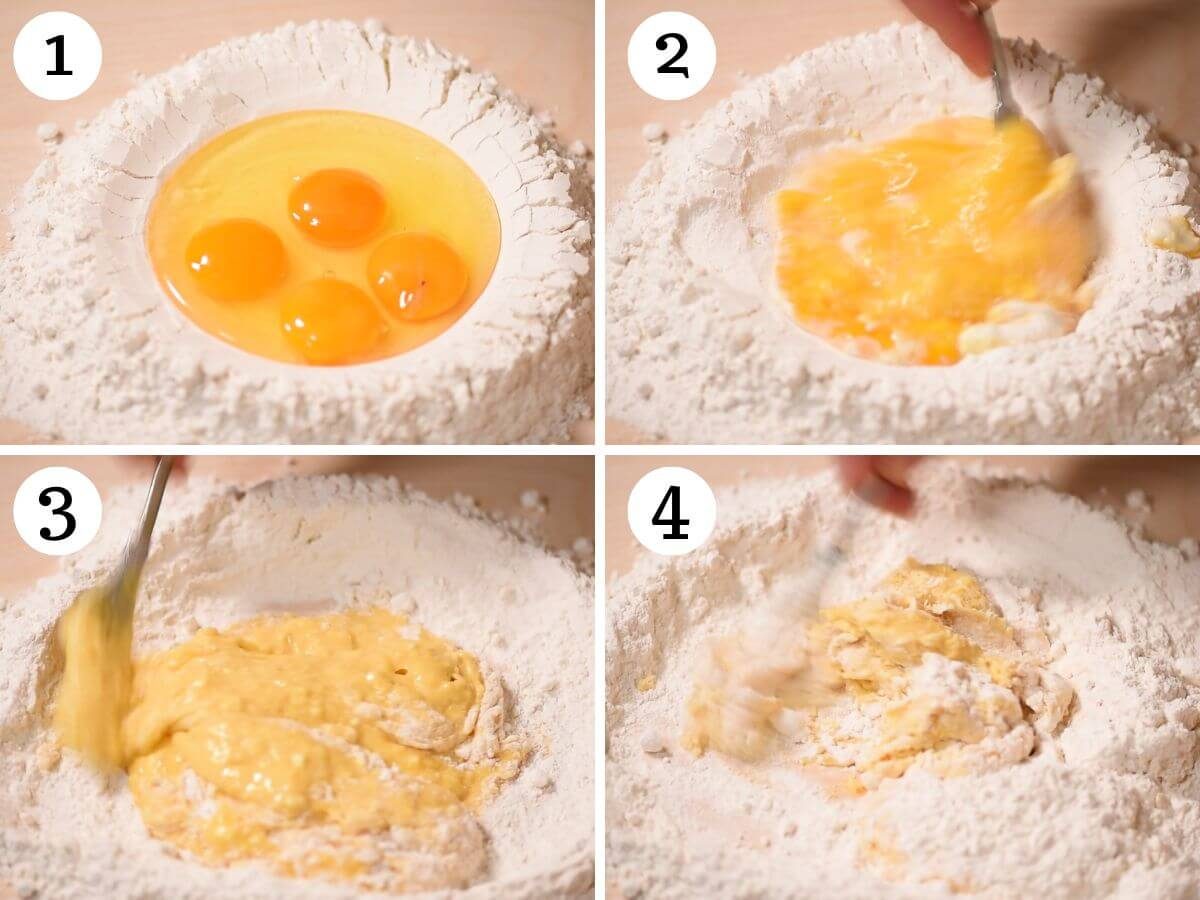
Start to incorporate the flour into the beaten egg a little at a time until a rough dough forms. Use your hands to bring the dough together and knead the dough for about 10 minutes until smooth and elastic. If you find the dough is too sticky use a little extra flour (photos 3-7).
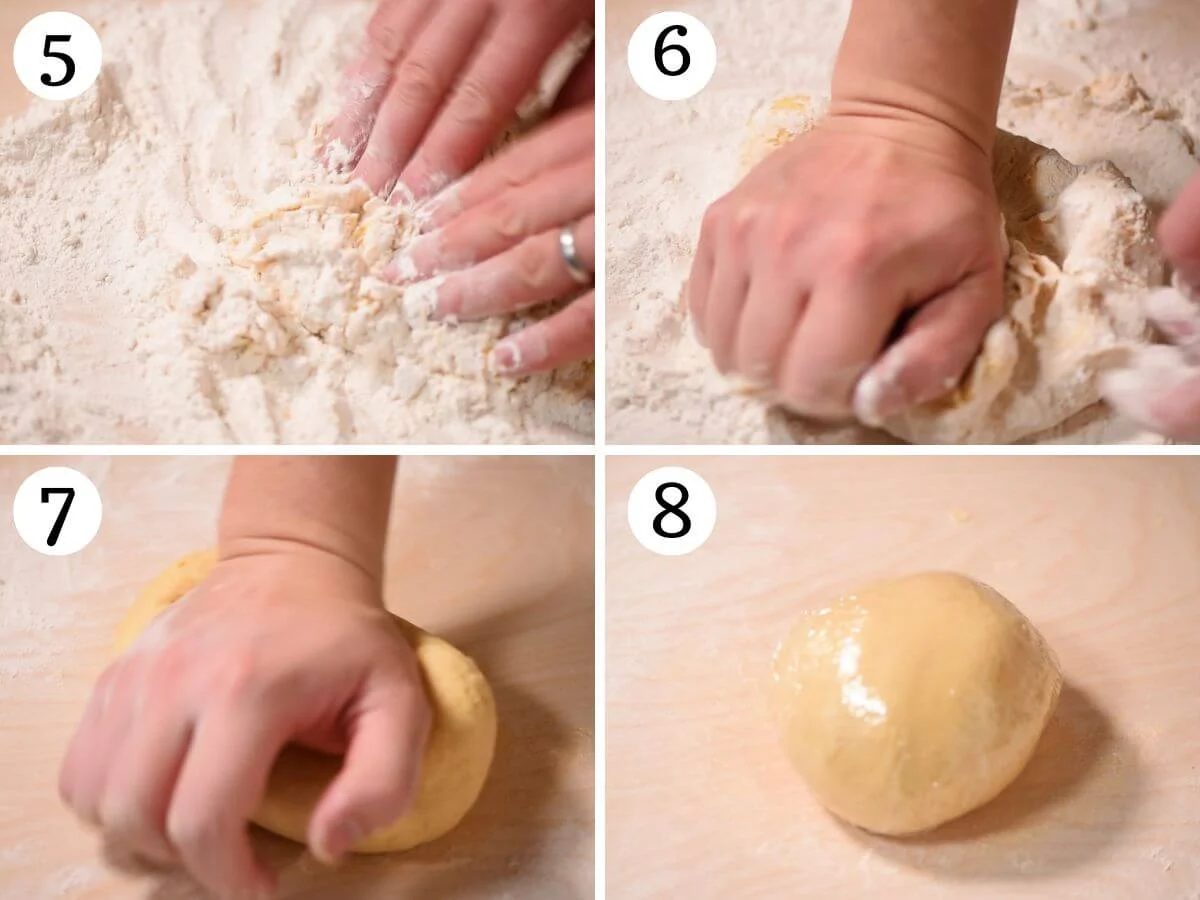
Wrap the dough in plastic wrap (cling film) and let it rest at room temperature for at least 30 minutes. You can make the dough the night before and store it in the fridge overnight (bring it to room temperature before using) (photo 8).
To roll out the pasta dough
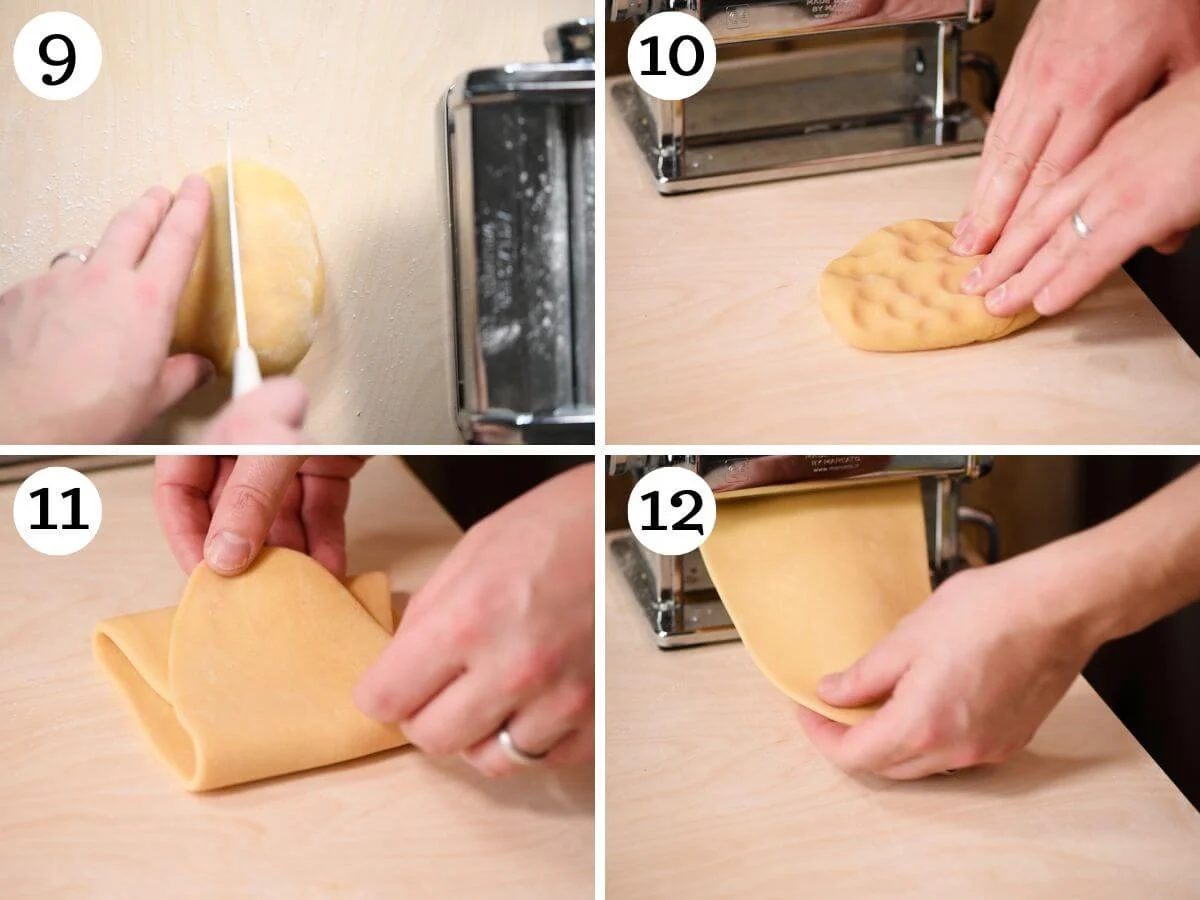
Cut the dough in half and keep one half wrapped in plastic wrap while using the other. Press the dough flat enough to fit into the widest setting of your pasta machine (you can use a rolling pin to help) (photos 9 and 10).
Pass the dough through the widest setting of your pasta machine (usually number 0) then fold one end into the middle of the dough and the other end directly over it as if you were creating a leaflet. Flatten the dough again and pass it through the widest setting once more. Repeat this process another two times (photos 11 and 12).
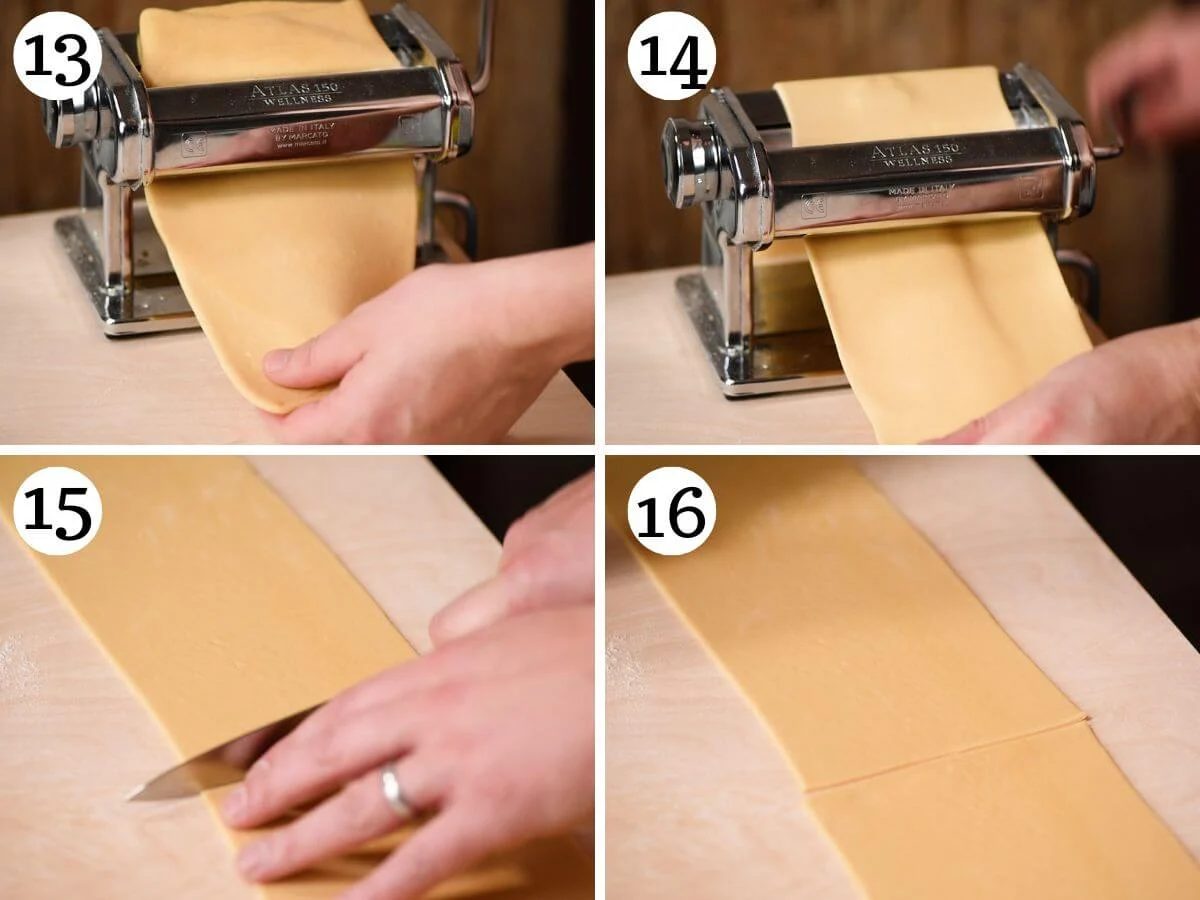
Your dough is now ready to roll out. Roll the dough through each setting once finishing on number 6. You may need to cut the dough in half if it gets too long to handle easily (photos 13-16).
Lay a sheet of pasta out on your work surface and pipe the filling along the middle of the pasta in one long line leaving about 1 inch free at both ends (photo 17).
Fold the pasta right over the filling and secure it tightly using the side of your hand or finger (photos 18 and 19).
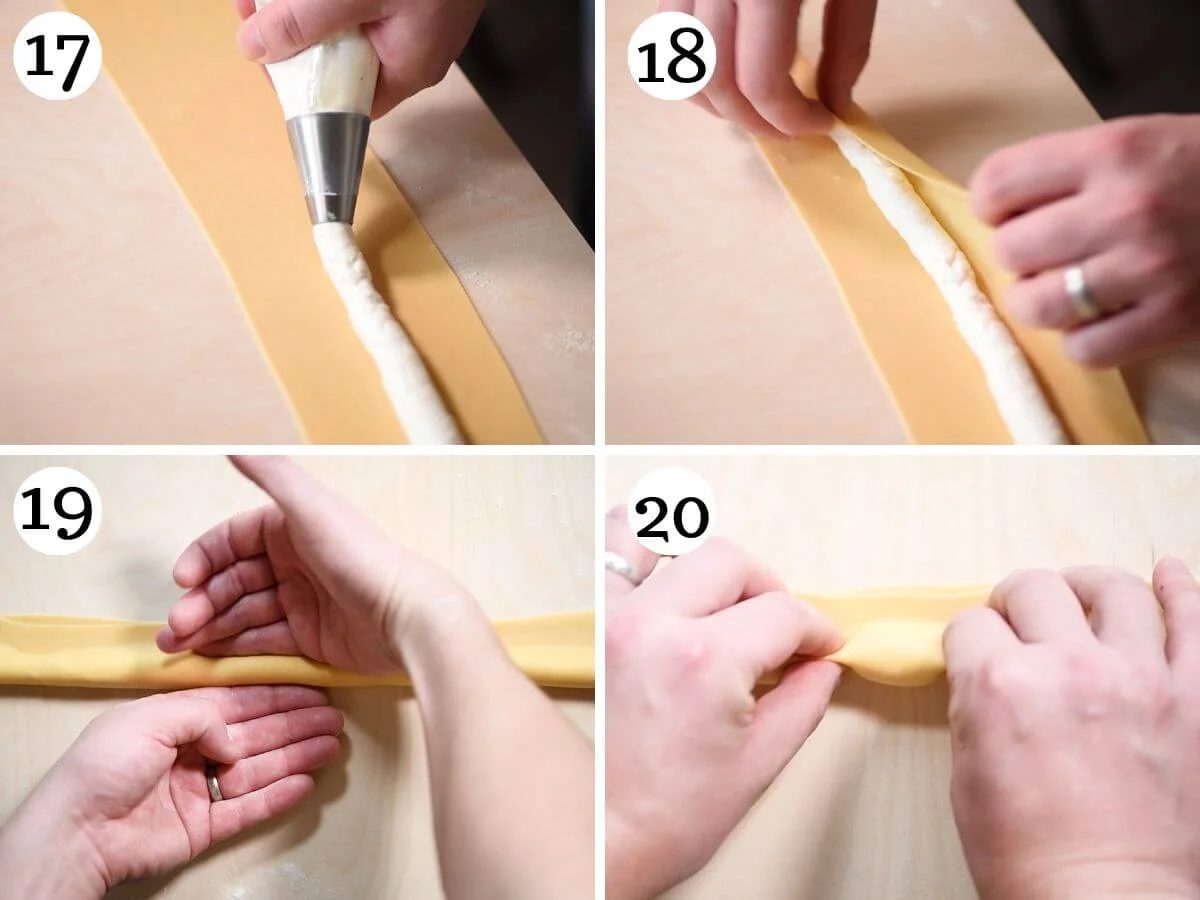
Pinch along the filling to create roughly 1 inch wide Agnolotti. Trim the excess pasta along the edge then using your pasta wheel swiftly cut through each pinched section to cut the pasta into individual Agnolotti (photos 20-24).
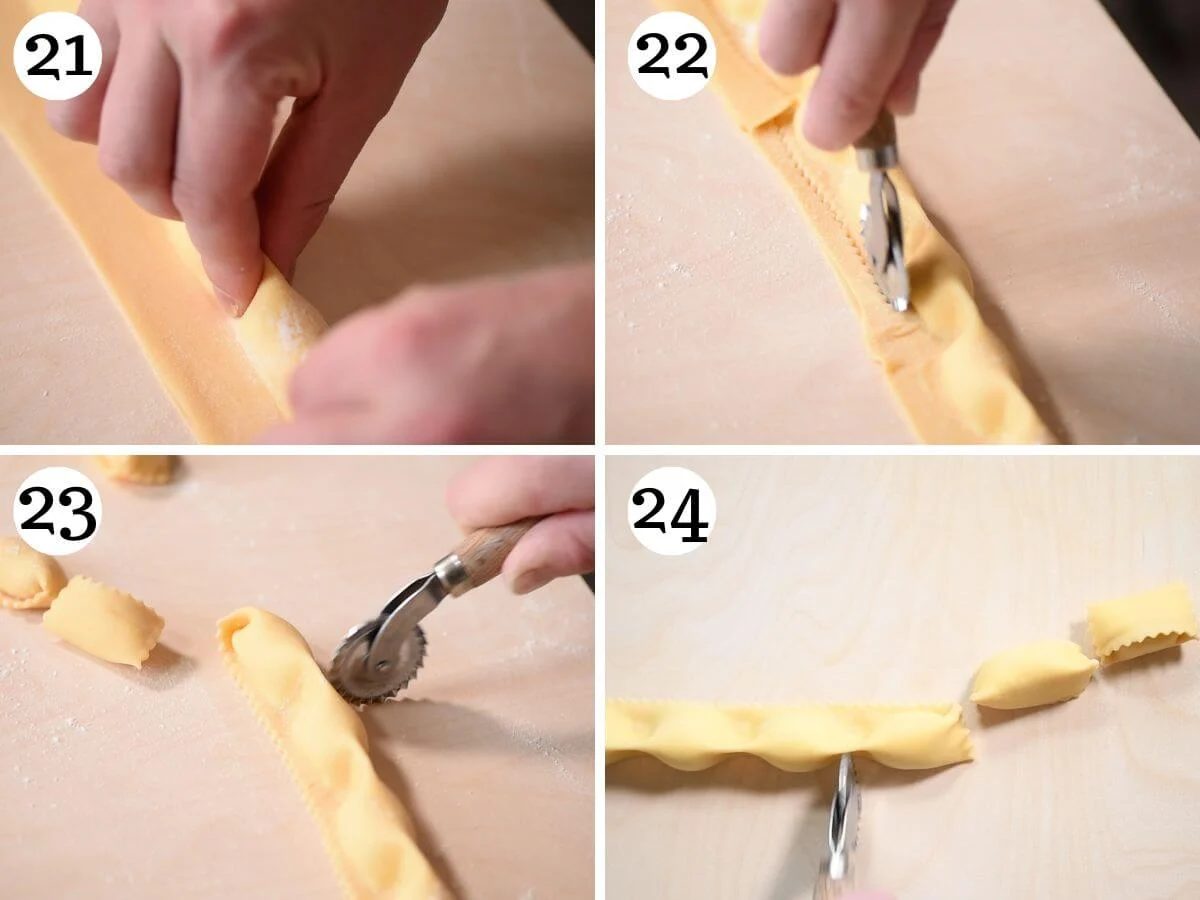
Lay the cut Agnolotti on a surface lightly dusted with flour or semolina while you make the rest.
Filling method 2
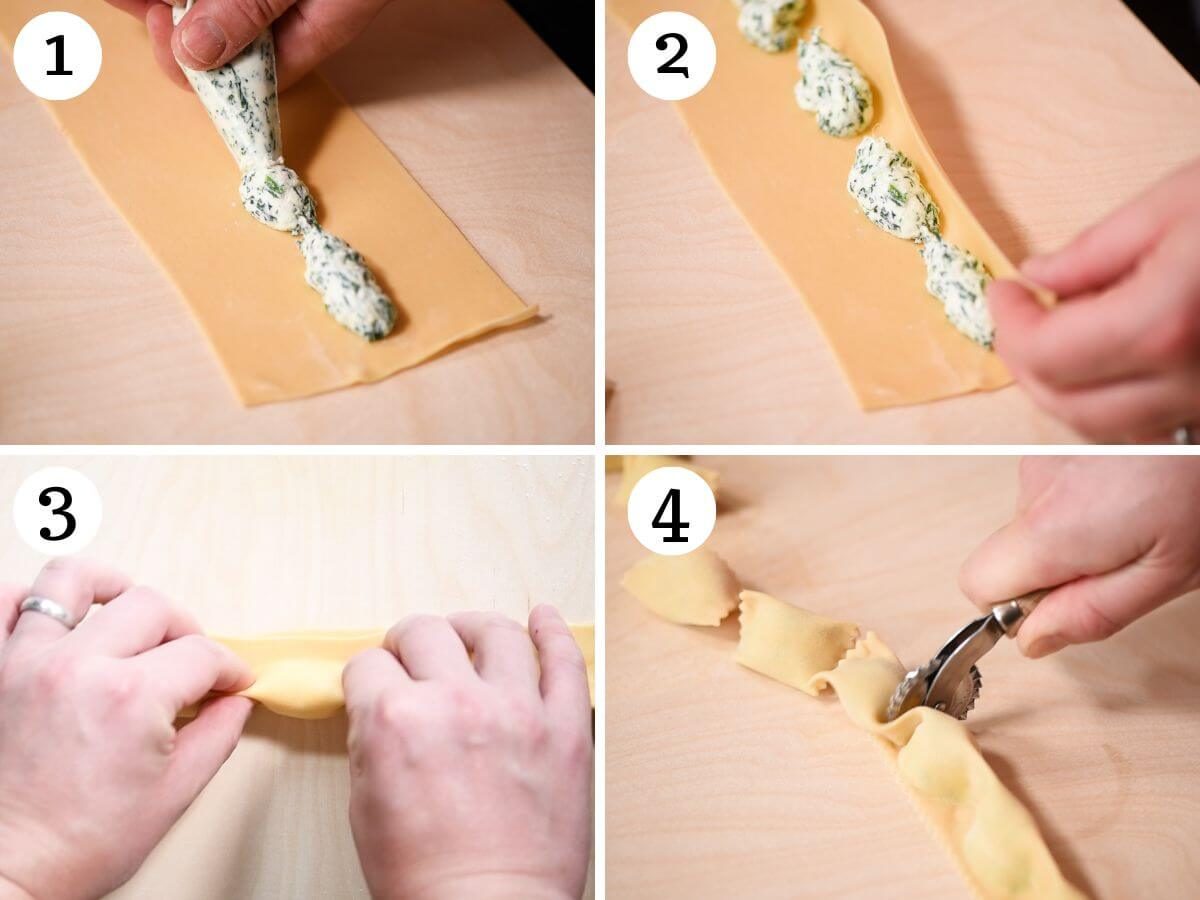
The method below (filling method 2) uses a piping bag to pipe the filling in small sections instead of in one long line.
Use this method if your filling isn't entirely smooth (e.g spinach and ricotta) as some of the filling can get caught in between each Agnolotto.
Tip: When using this method there is more chance of catching air bubbles inside the pasta. To avoid this pinch the Agnolotti before securing the long edge so air can escape.
Filling method 3
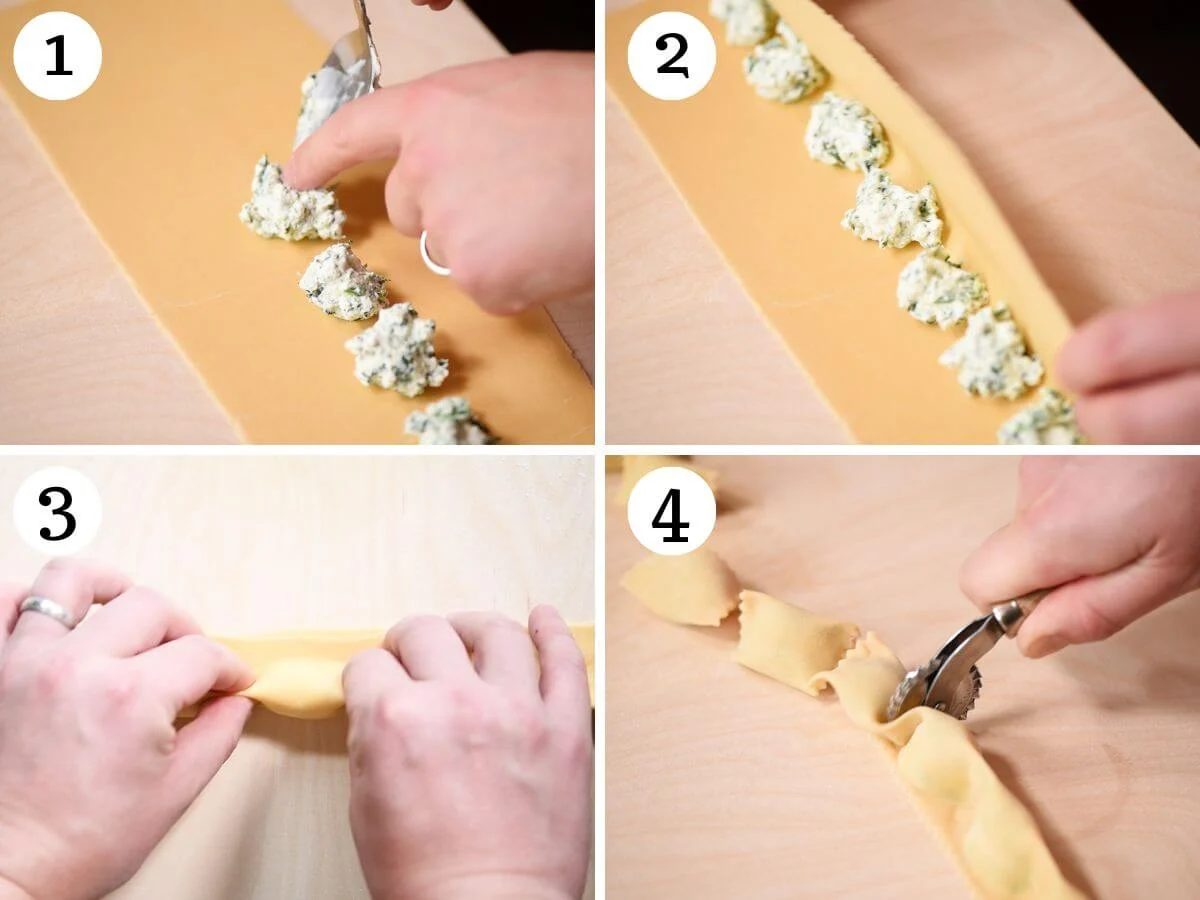
The third way to fill your Agnolotti (filling method 3) shows you how to fill your Agnolotti using a spoon.
Cook the Agnolotti
Bring a large pot of water to a boil and salt it well. Add the Agnolotti and boil for around 3 minutes.
Use a slotted spoon to drain the Agnolotti from the water and place directly in your pasta sauce. Toss to coat in your sauce and serve.
Sauces and filling ideas
- Meat ragu – traditionally Agnolotti is filled with stewed meat mixed with vegetables such as braised beef and cabbage.
- Ricotta filling – strain the ricotta for at least 1 hour and mix it with freshly grated cheese such as provolone, smoked scamorza or Parmigiano Reggiano. Alternatively, you can use lemon zest for a fresher taste. You'll need around 2 cups (500g) of ricotta.
- Mushroom filling – our mushroom ravioli is a firm favourite and always gets rave reviews. Use the same filling to make Angolotti.
- Squash or pumpkin filling – use the same filling from our butternut squash ravioli.
- Tomato sauce – you can either use our quick tomato sauce recipe or saute some garlic and/or onion and use tomato passata (tomato puree US) for a quick and good sauce. Add some fresh basil at the end.
- Butter and sauce – this is such a quick and easy sauce to make but it does need to be made last minute. Follow the same sauce from our squash ravioli.
- Cream or cheesy sauces – there are so many good ones to choose from but our favourites are our Gorgonzola cream sauceParmesan cream sauce and Cream, Parmigiano and peas.
Recipe tips and FAQs
- Weigh your flour – We say this a lot but it's important. The only way to achieve accurate results is to weigh your flour with a kitchen scale (it takes 2 seconds). We do our best and measure flour with cups for every single recipe that requires it so we also provide that measurement, but we can't control how people measure the cups at home. We find the best method is to spoon the flour into cups and level it off with a knife.
- Eggs – if using large eggs skip the extra egg yolk. You also may need to incorporate more flour if it feels too soft/sticky.
- Sealing the pasta – if you find that your pasta isn't tacky enough you can lightly dab a little water along the edge before sealing the pasta over the filling.
- Don't use too much flour – try not to use too much extra flour when kneading the dough or it'll dry out. Same goes for rolling it out use a light dusting when needed.
- Resting the dough – it's important to let the dough rest for at least 30 minutes after kneading to let the gluten relax. This makes it much more pliable and easier to use.
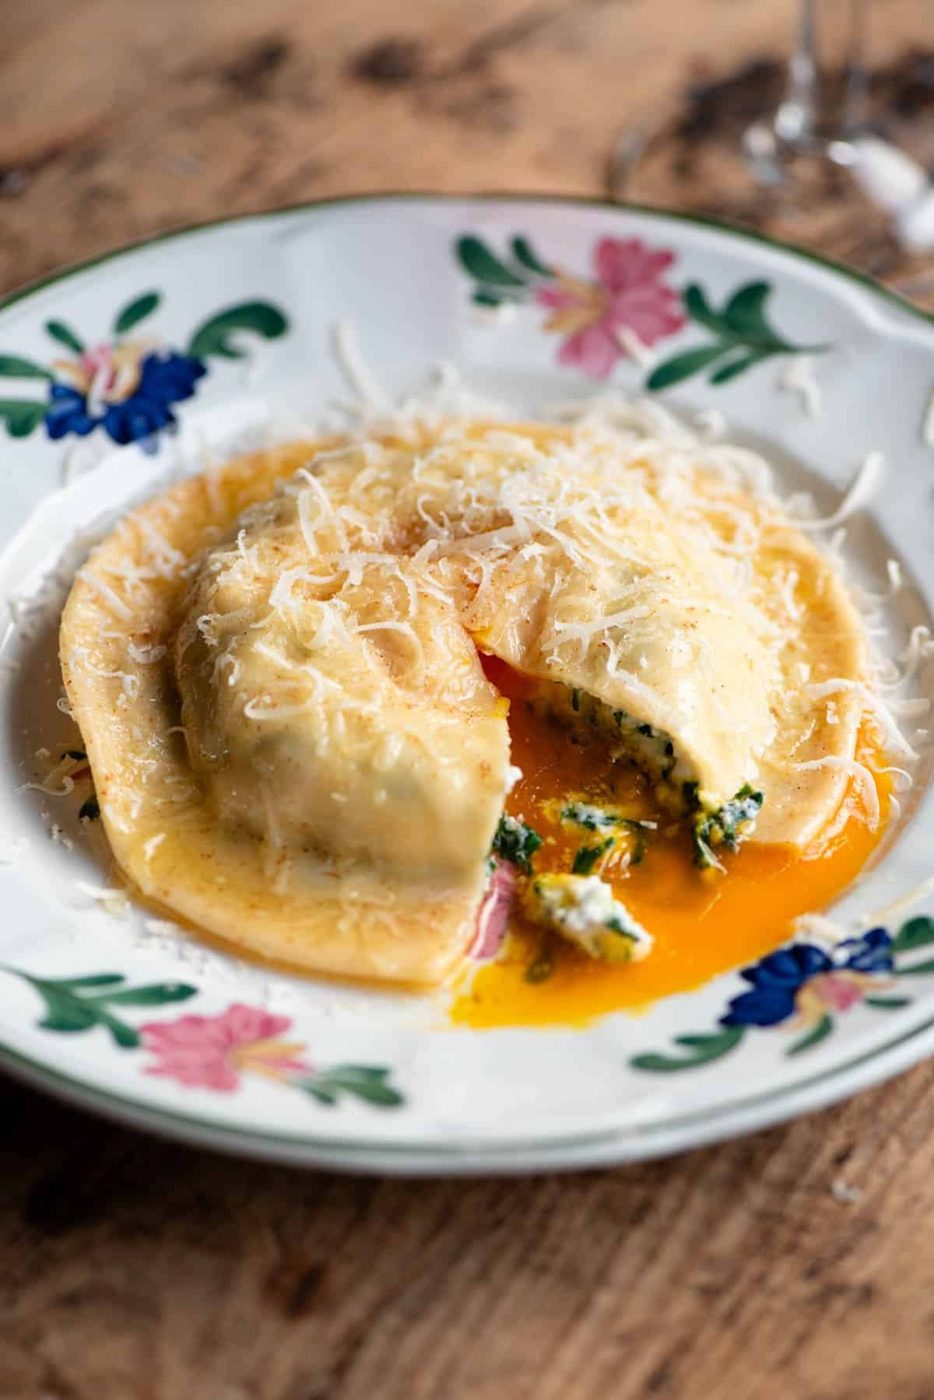
The difference between these two filled pastas is the shape. Ravioli places one piece of pasta over the other and has four cut edges (or can be rounded like our egg yolk ravioli). Agnolotti uses one sheet of pasta and is folded over.
How to freeze fresh Agnolotti
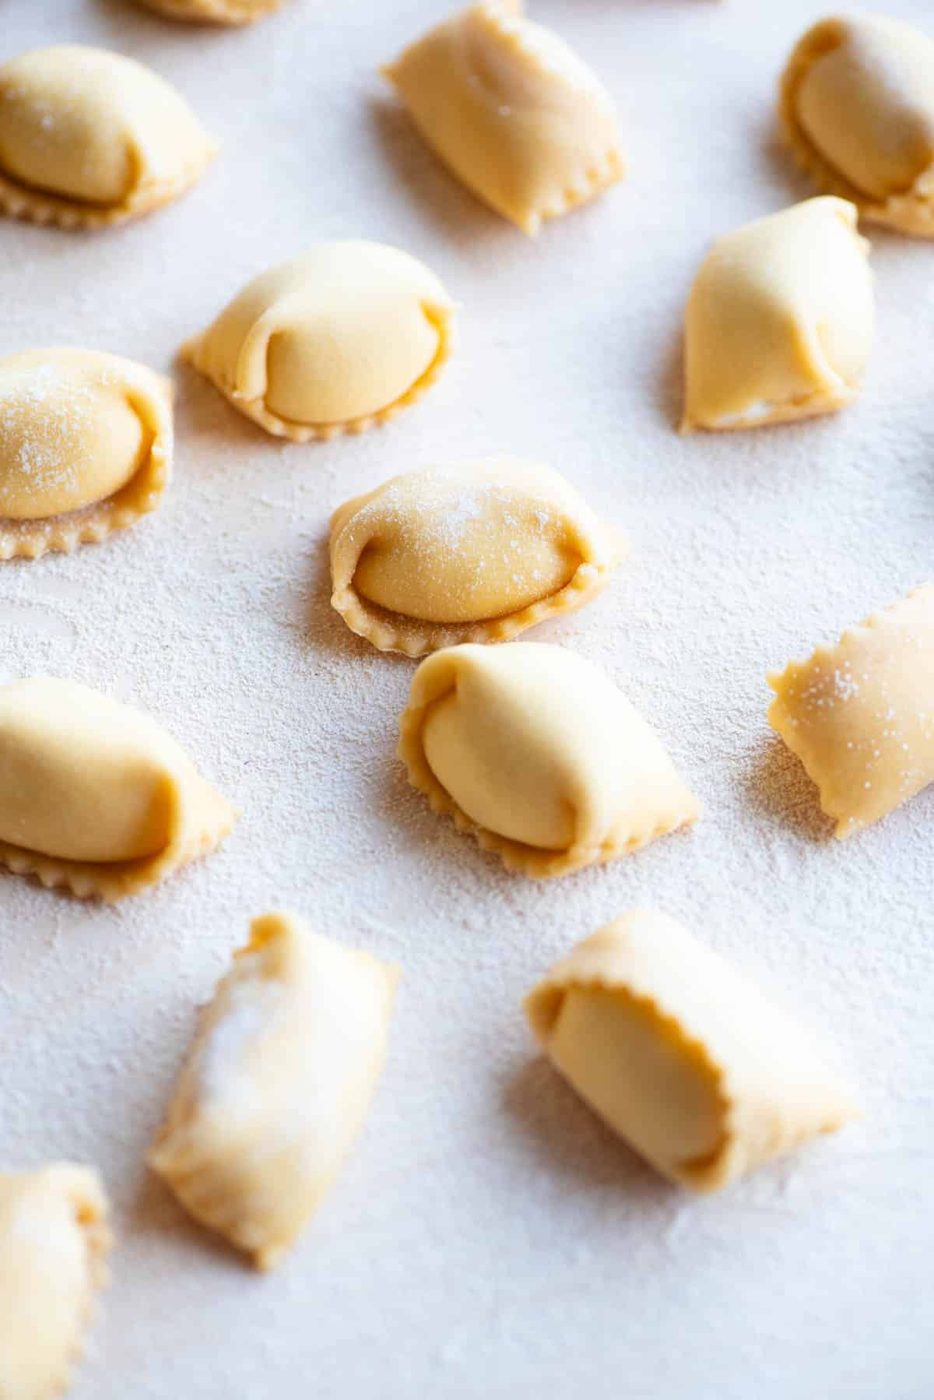
This is a question we get asked often when it comes to homemade pasta. Freezing pasta is the solid way to have a good home-cooked meal on the table when you don't have a lot of time or energy to make it from scratch.
Here's our recommended method for freezing homemade Agnolotti or any filled pasta.
- Note on blanching – filled pasta like ravioli or agnolotti can become brittle once frozen which means they can crack easily either in the freezer or in boiling water. The best thing to do is blanch them first before freezing (we know it's an extra step but you've went to effort of making homemade pasta so you don't want your efforts to go to waste).
- How to blanch pasta – bring a large pot of water to a boil and add the agnolotti. Once they start to float to the top (or after 1-2 minutes) remove them with a slotted spoon and lay them on a clean kitchen towel to air dry.
- Freeze or refrigerate – after blanching the pasta will keep well in the fridge for up to 3 days or can be frozen. Freeze them flat in an even layer then once frozen you can transfer to freezer bags to save room.
More homemade pasta tutorials
Tips & Tricks
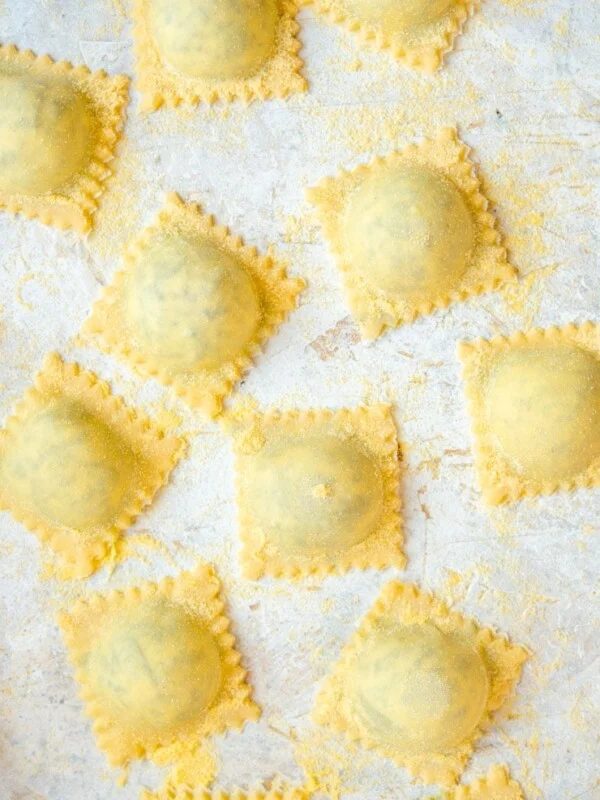
How to Make Homemade Ravioli – The Ultimate Guide
Fresh Pasta
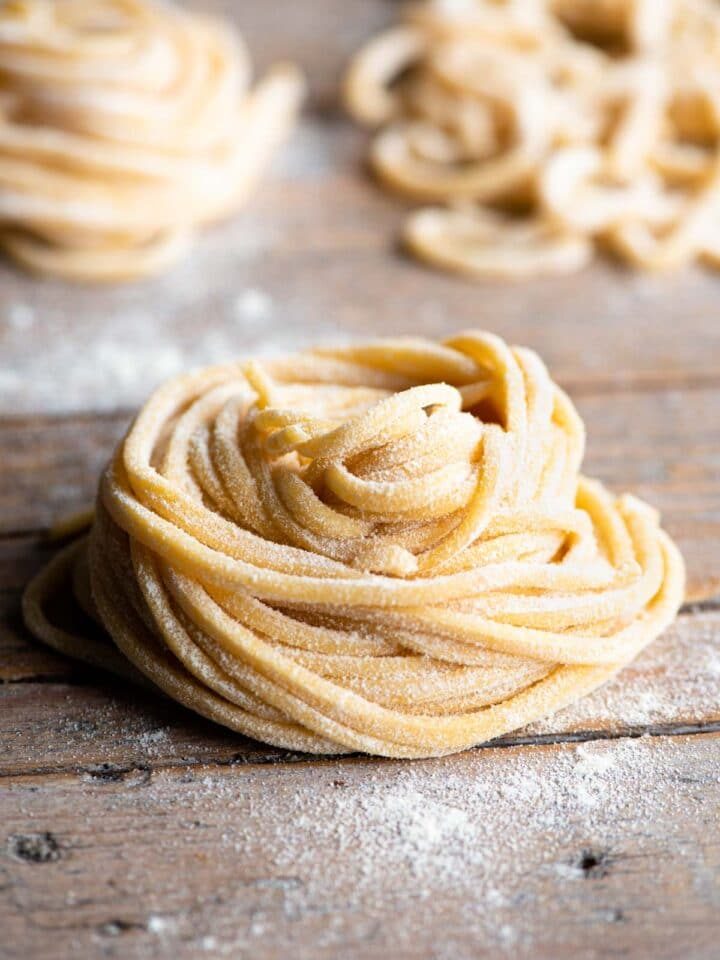
Homemade Tonnarelli Pasta (Spaghetti alla Chitarra)
Fresh Pasta
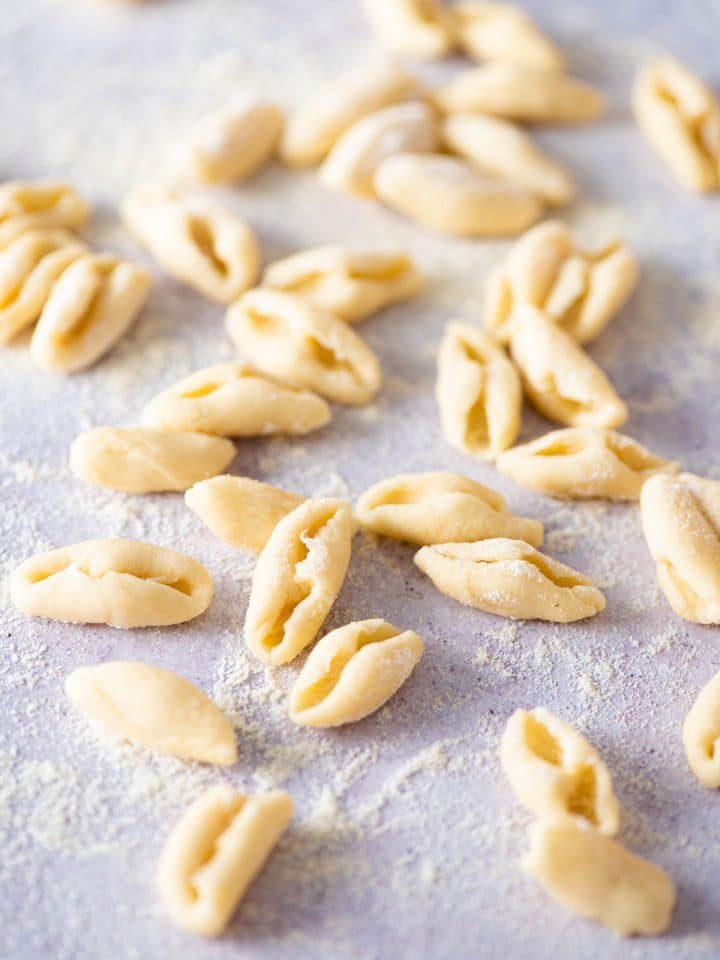
Homemade Cavatelli Pasta
Fresh Pasta
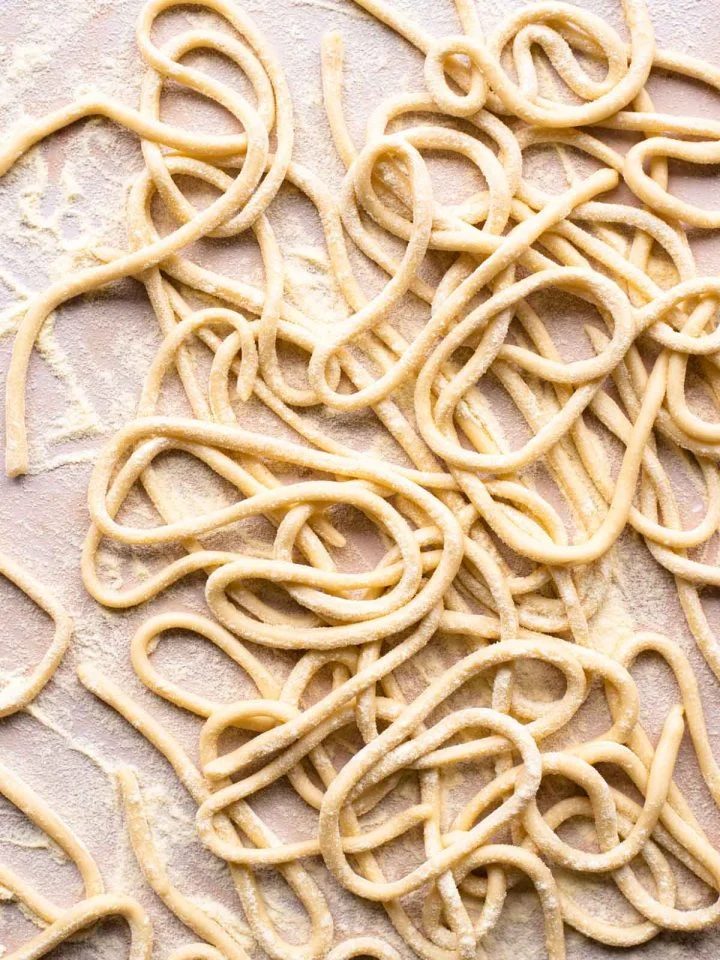
How to make Pici Pasta
Ingredients
Makes 4 servings (40-50 agnolotti)
Pasta dough
- 3 medium eggs
- 1 medium egg yolk
- 300 g Italian 00 flour (plus extra for dusting (2 and 1/4 cups))
Filling (optional see notes for more ideas)
- 2 cups ricotta ((500g) strained for at least 1 hour)
- 1 cup grated provolone piccante cheese ((100g) (can also use smoked scamorza or Fontina))
Equipment
- Pasta machine or rolling pin
- Piping bag
Method
Preparation tips
This recipe will show you how to make homemade Agnolotti that you can prepare with any filling or sauce you like. If you'd like to use ricotta as your filling we recommend straining it for at least 1 hour before using.
We also recommend making your sauce in advance so all you need to do is heat it up when you're ready to cook the Agnolotti. If you're making a butter sauce you can do this last minute.
Make the pasta dough
Place the flour on a clean work surface and make a large well in the middle. Add the eggs and egg yolk to the well and beat them with a fork.
Start to incorporate the flour into the beaten egg a little at a time until a rough dough forms. Use your hands to bring the dough together and knead the dough for about 10 minutes until smooth and elastic. If you find the dough is too sticky use a little extra flour.
Wrap the dough in plastic wrap (cling film) and let it rest at room temperature for at least 30 minutes. You can make the dough the night before and store it in the fridge overnight (bring it to room temperature before using).
Make your filling
If using our filling, mix the ricotta in a bowl with grated provolone cheese and add a pinch of black pepper then set aside.
To roll out the pasta dough
Cut the dough in half and keep one half wrapped in plastic wrap while using the other. Press the dough flat enough to fit into the widest setting of your pasta machine (you can use a rolling pin to help).
Pass the dough through the widest setting of your pasta machine (usually number 0) then fold one end into the middle of the dough and the other end directly over it as if you were creating a leaflet. Flatten the dough again and pass it through the widest setting once more. Repeat this process another two times.
Your dough is now ready to roll out. Roll the dough through each setting once finishing on number 6. You may need to cut the dough in half if it gets too long to handle easily.
Lay a sheet of pasta out on your work surface and pipe the filling along the middle of the pasta in one long line leaving about 1 inch free at both ends.
Fold the pasta right over the filling and secure it tightly using the side of your hand or finger (see photos or video for visual explanation).
Pinch along the filling to create roughly 1 inch wide Agnolotti. Trim the excess pasta along the edge then using your pasta wheel swiftly cut through each pinched section to cut the pasta into individual Agnolotti.
Lay the cut Agnolotti on a surface lightly dusted with flour or semolina while you make the rest.
Cook the Agnolotti
Bring a large pot of water to a boil and salt it well. Add the Agnolotti and boil for around 3 minutes.
Use a slotted spoon to drain the Agnolotti from the water and place directly in your pasta sauce. Toss to coat in your sauce and serve.
Kitchen notes
- Weigh your flour We say this a lot but it's important. The only way to achieve accurate results is to weigh your flour with a kitchen scale (it takes 2 seconds). We do our best and measure flour with cups for every single recipe that requires it so we also provide that measurement, but we can't control how people measure the cups at home. We find the best method is to spoon the flour into cups and level it off with a knife.
- Eggs if using large eggs skip the extra egg yolk. You also may need to incorporate more flour if it feels too soft/sticky.
- Sealing the pasta if you find that your pasta isn't tacky enough you can lightly dab a little water along the edge before sealing the pasta over the filling.
- Don't use too much flour try not to use too much extra flour when kneading the dough or it'll dry out. Same goes for rolling it out use a light dusting when needed.
- Resting the dough it's important to let the dough rest for at least 30 minutes after kneading to let the gluten relax. This makes it much more pliable and easier to use.