Walnut Focaccia
- Makes 12 servings
- Prep 30 minutes
- Cook 15 minutes
- Total 3 hours 45 minutes
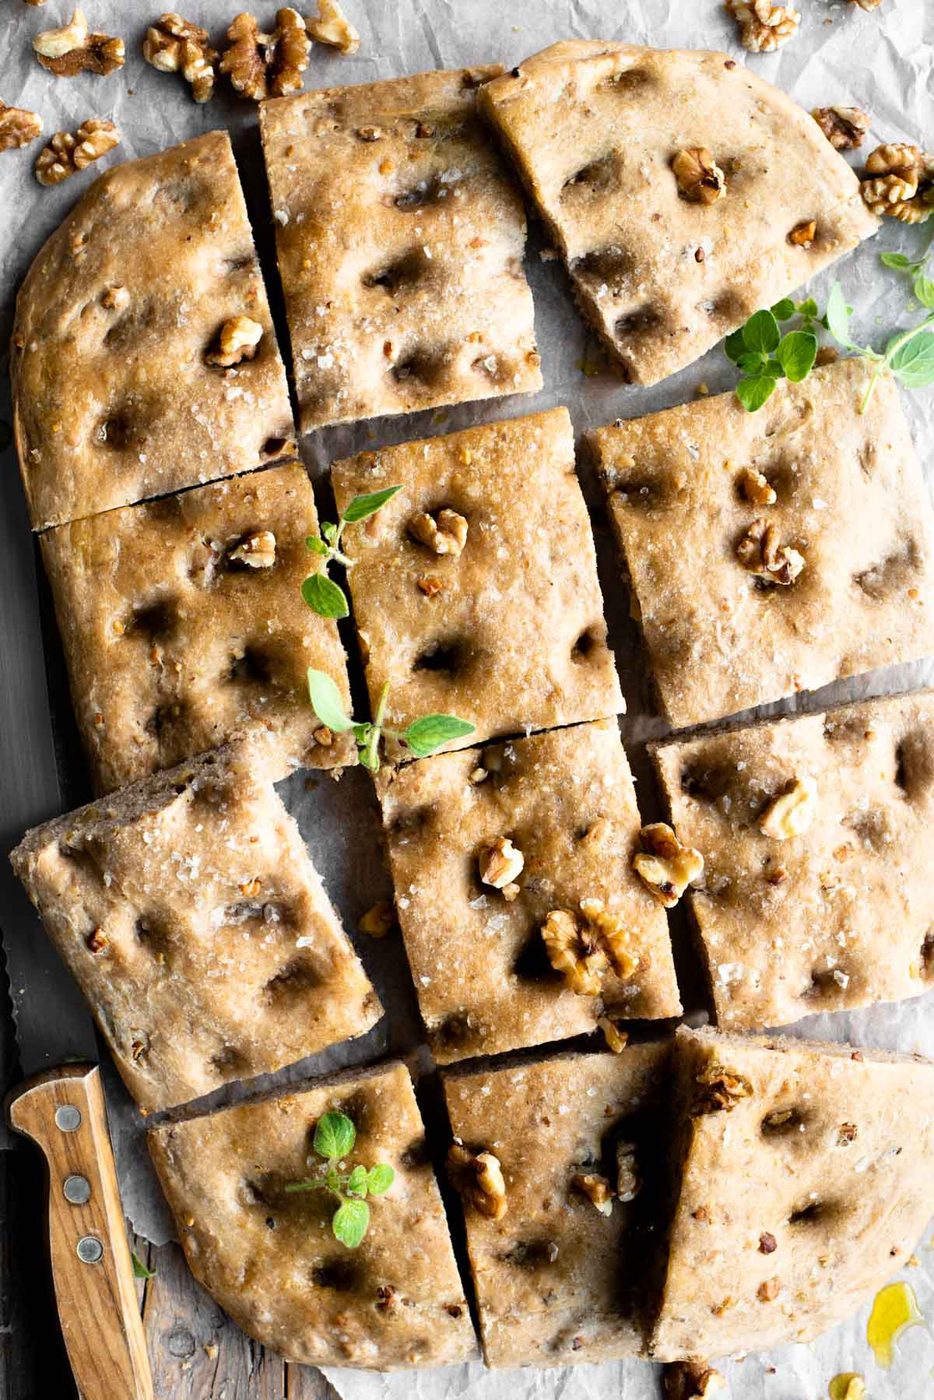
Walnut Focaccia – a good and easy to make Italian bread with nutty and slightly sweet flavours. solid during Autumn and Winter for dunking in soups, moping up a rich ragu or spreading with Gorgonzola cheese, good!
A classic focaccia bread is so easy to customise, you can top it with things like tomatoes and olives or incorporate flavours into the dough.
This recipe uses finely chopped walnuts giving the focaccia a beautiful nutty and slightly sweet flavour and it's so easy to do!
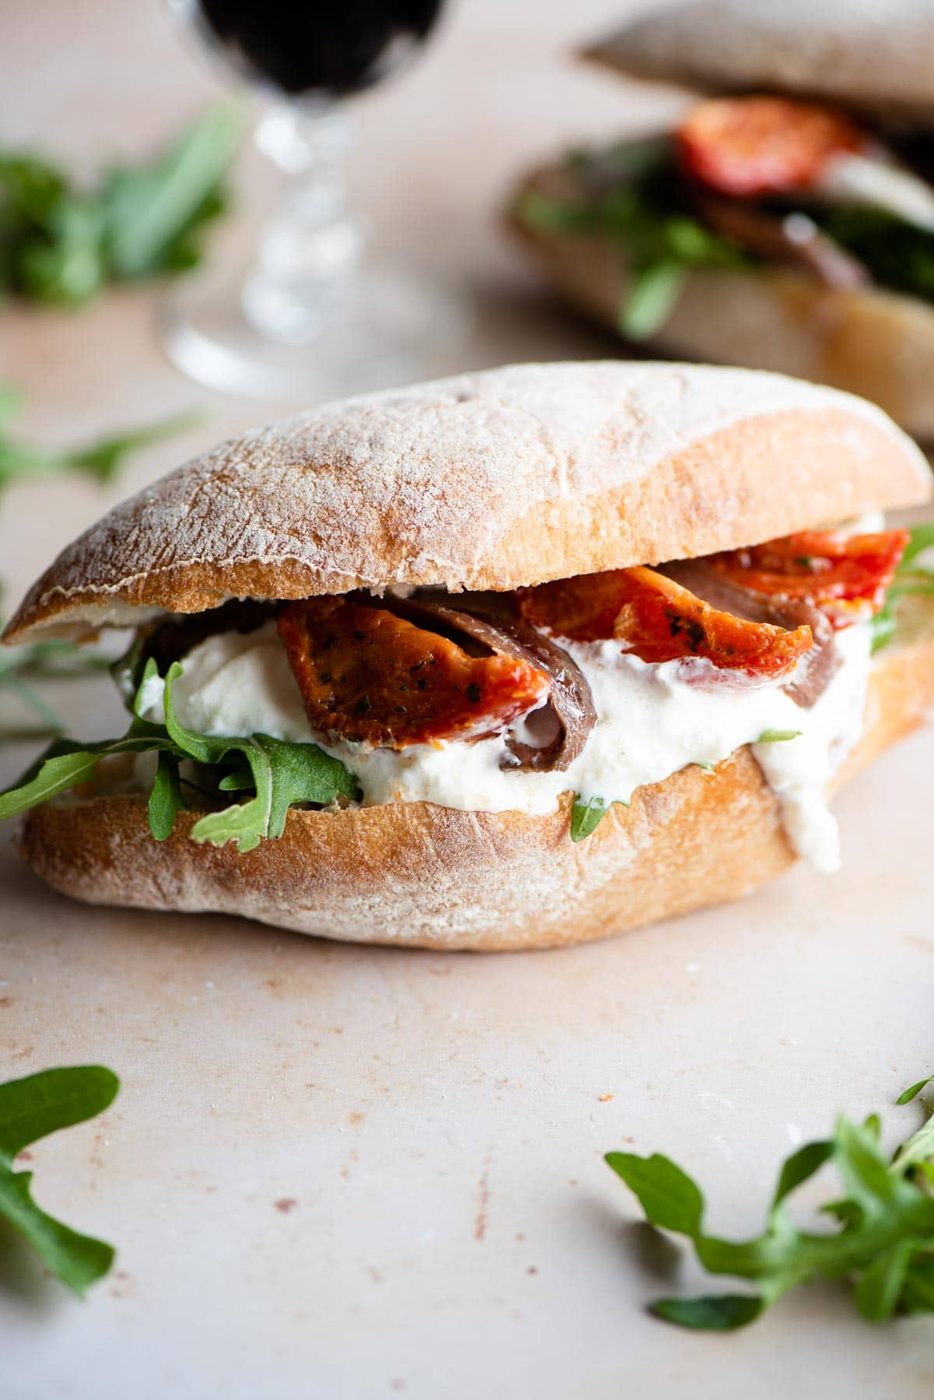
Eat the bread still warm from the oven drizzled with olive and salt or make it into a sandwich with gorgonzola cheese and cured meats.
Ingredients – what you need
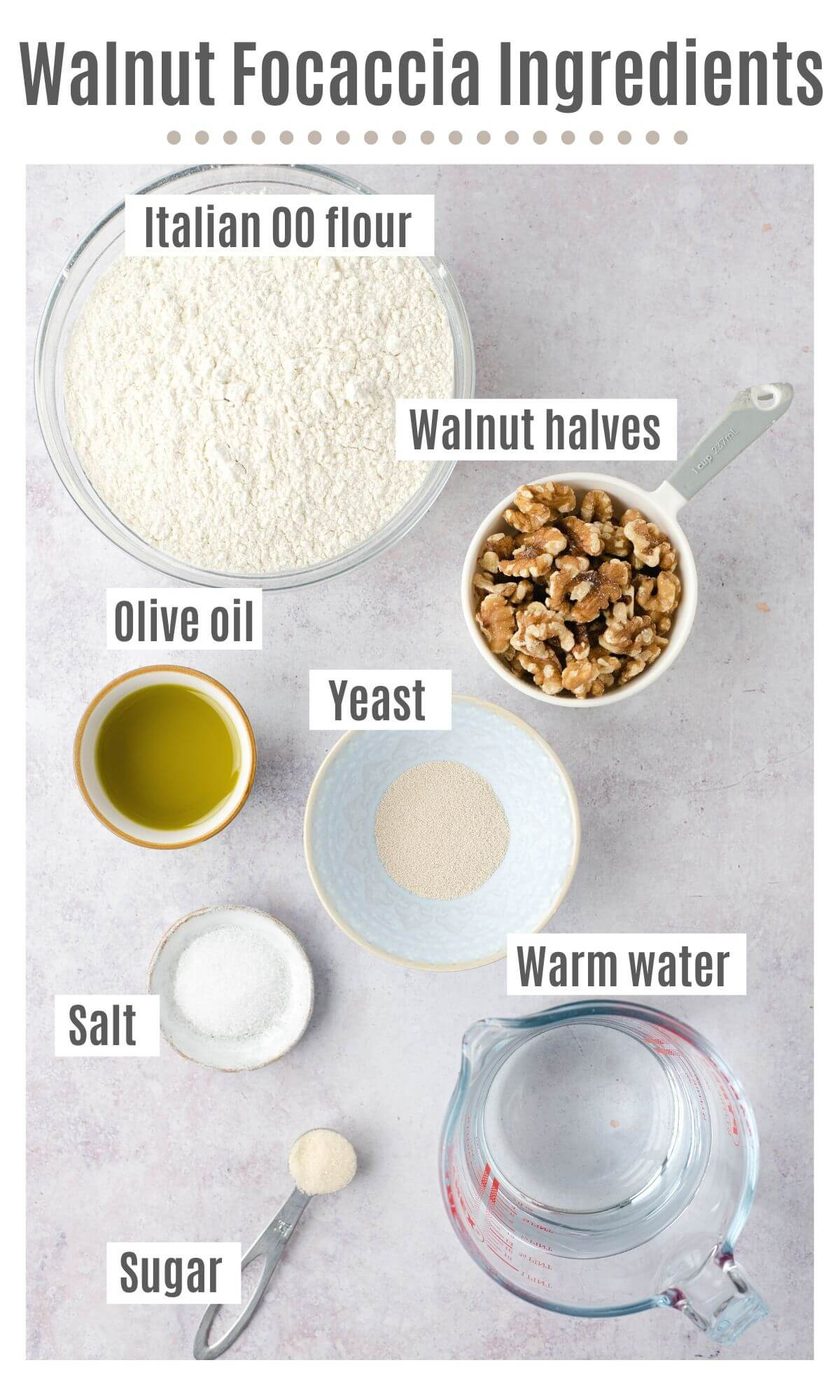
See the photo below that shows you everything you need to make this recipe plus some important notes on ingredients!
Notes on ingredients
- Italian 00 Flour – if you're a lover of Italian food then it's always a good idea to have 00 flour in the cupboard, it makes a big difference. If you don't have it you can use all-purpose flour.
- Walnuts – use walnut halves and finely chop them so you have small and slightly bigger pieces throughout your focaccia.
- Yeast – use fast-action yeast also known as instant yeast which you can add directly to the flour. read the packet incase your yeast has to be activated in water first.
Step by step photos and recipe instructions
Mix dry ingredients – finely chop the walnuts then add them to a large bowl with the flour, mix to combine (photo 1).
Add the yeast, sugar and salt to opposite sides of the bowl then stir to combine (photo 2).
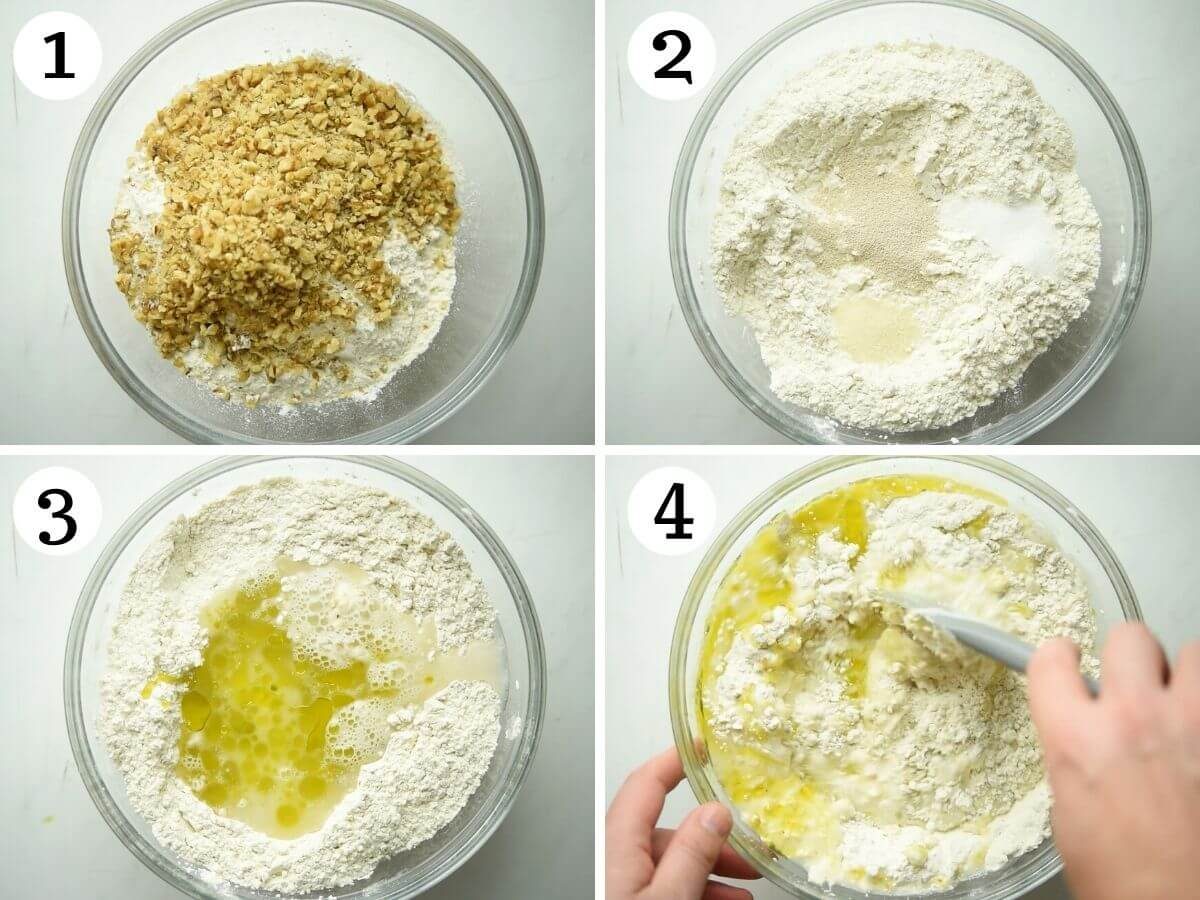
Add wet ingredients – add the olive oil and water to the bowl and mix to form a rough dough (photos 3 & 4).
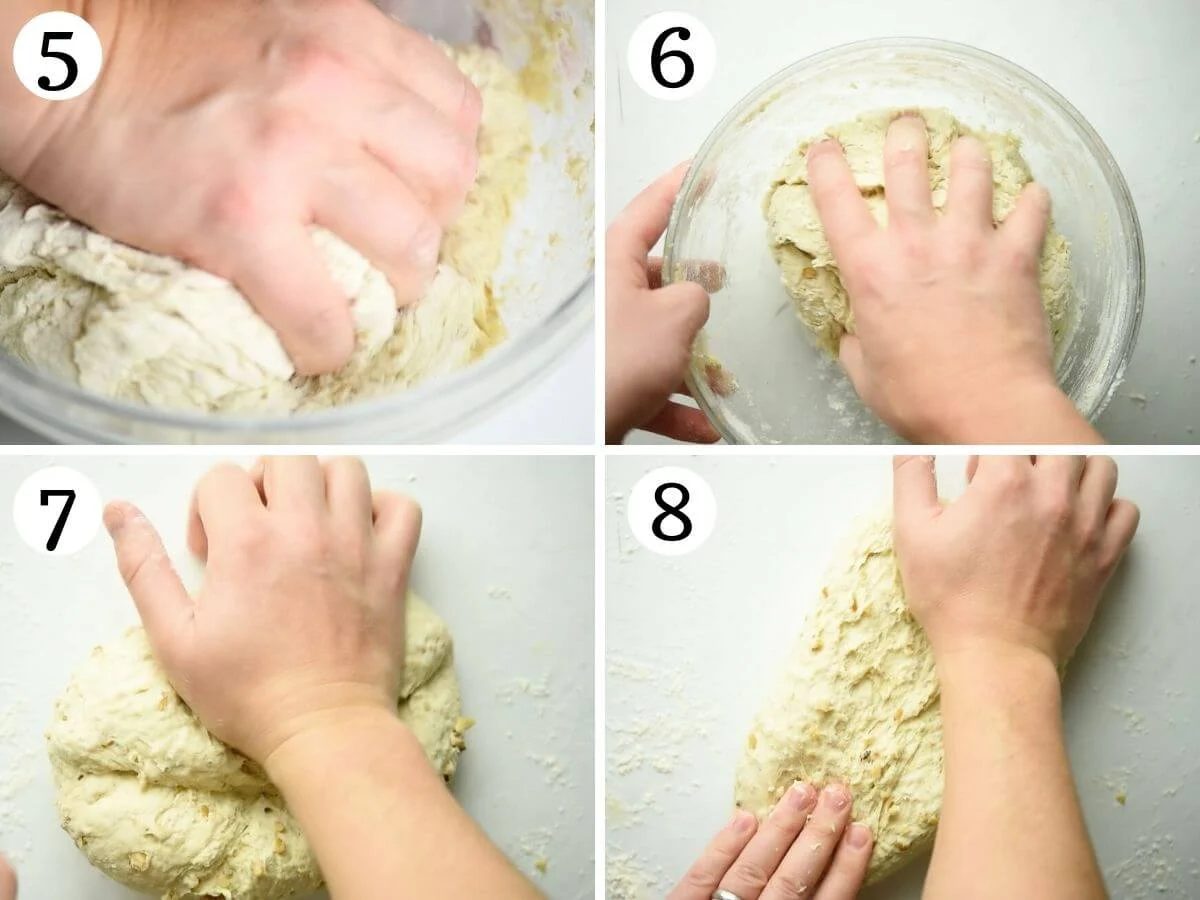
Knead – tip the dough onto a lightly floured work surface and knead for 10 minutes until smooth and elastic (photos 5-9).
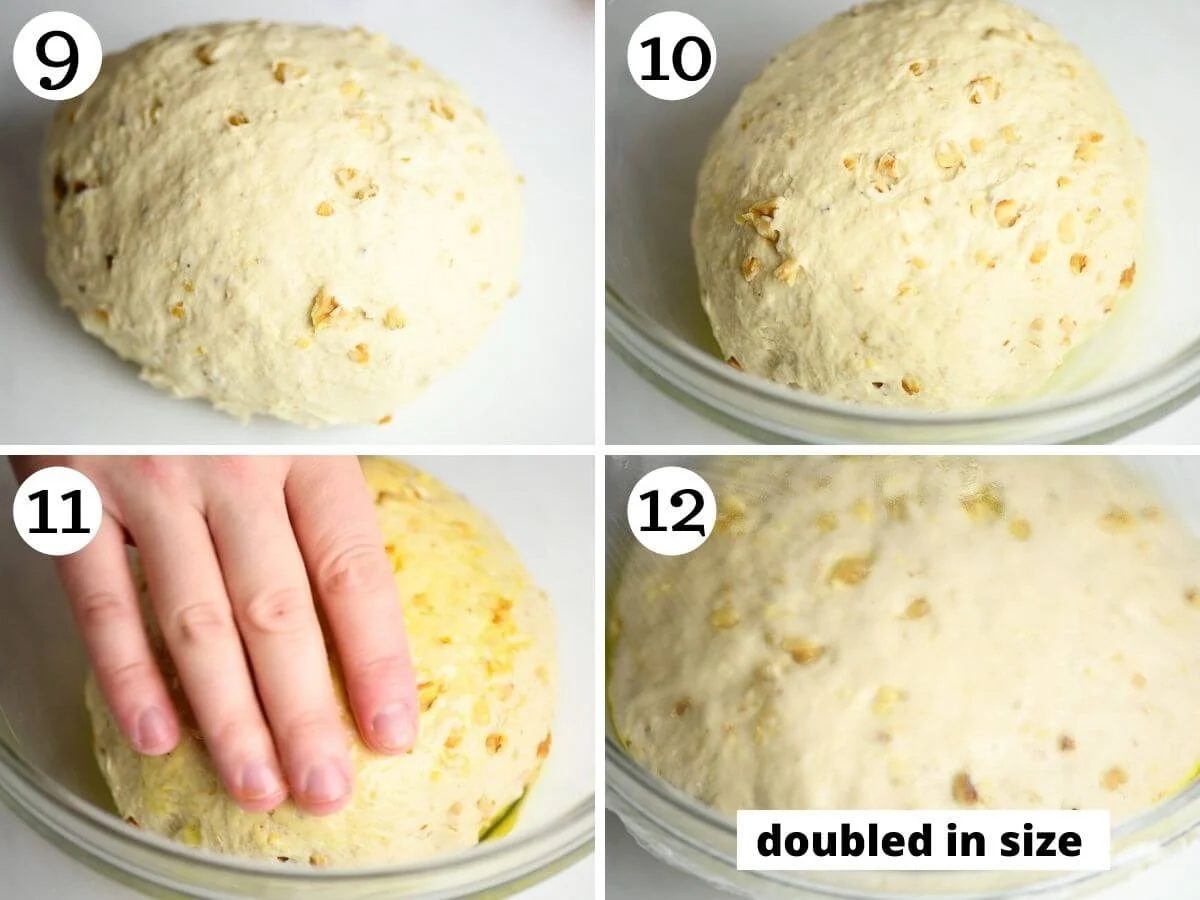
Proof number 1 – grease a large bowl with olive oil and add the dough making sure to rub a little oil on top of the dough too. Cover with plastic wrap and let it double in size (photos 10-12).
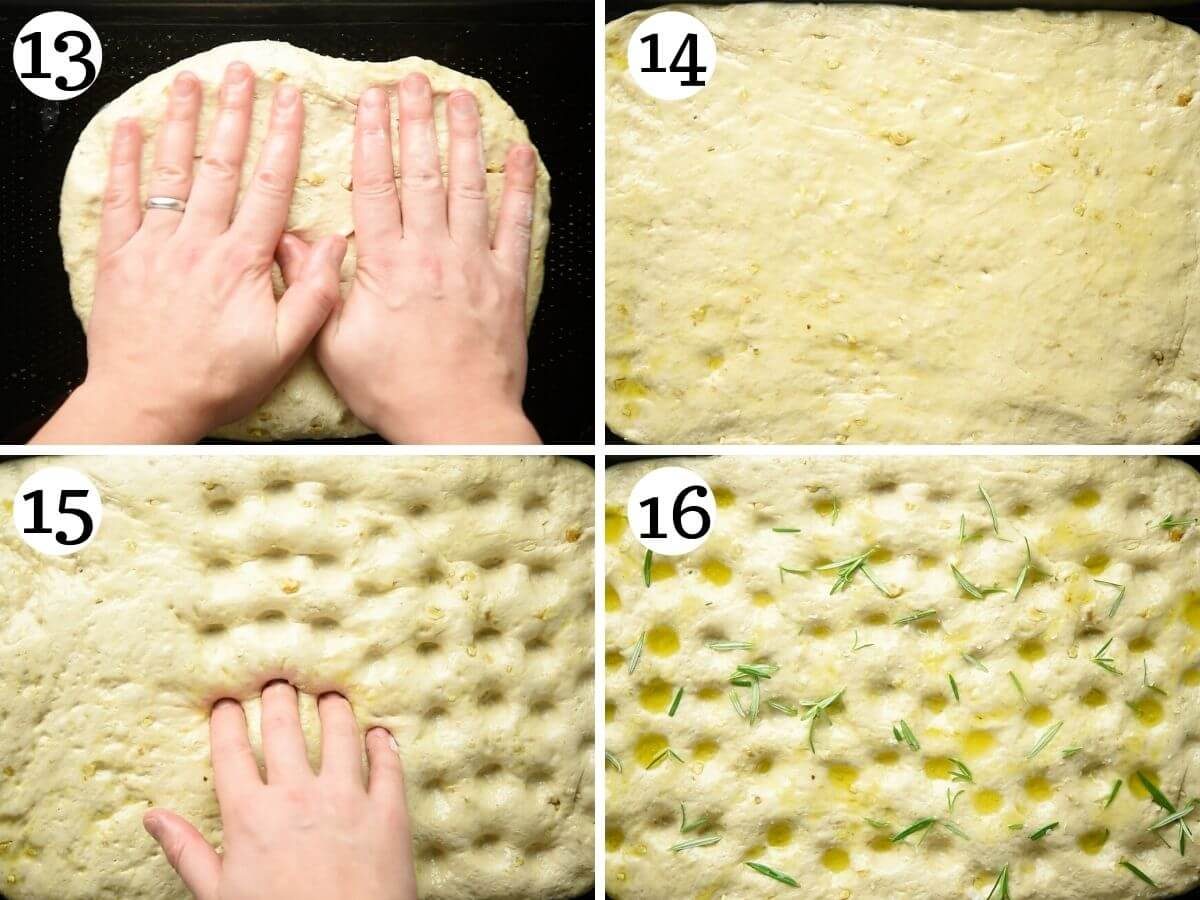
Shape the focaccia – lightly grease a large baking tray with olive oil and lightly press the dough to fit the tray (photo 13 & 14).
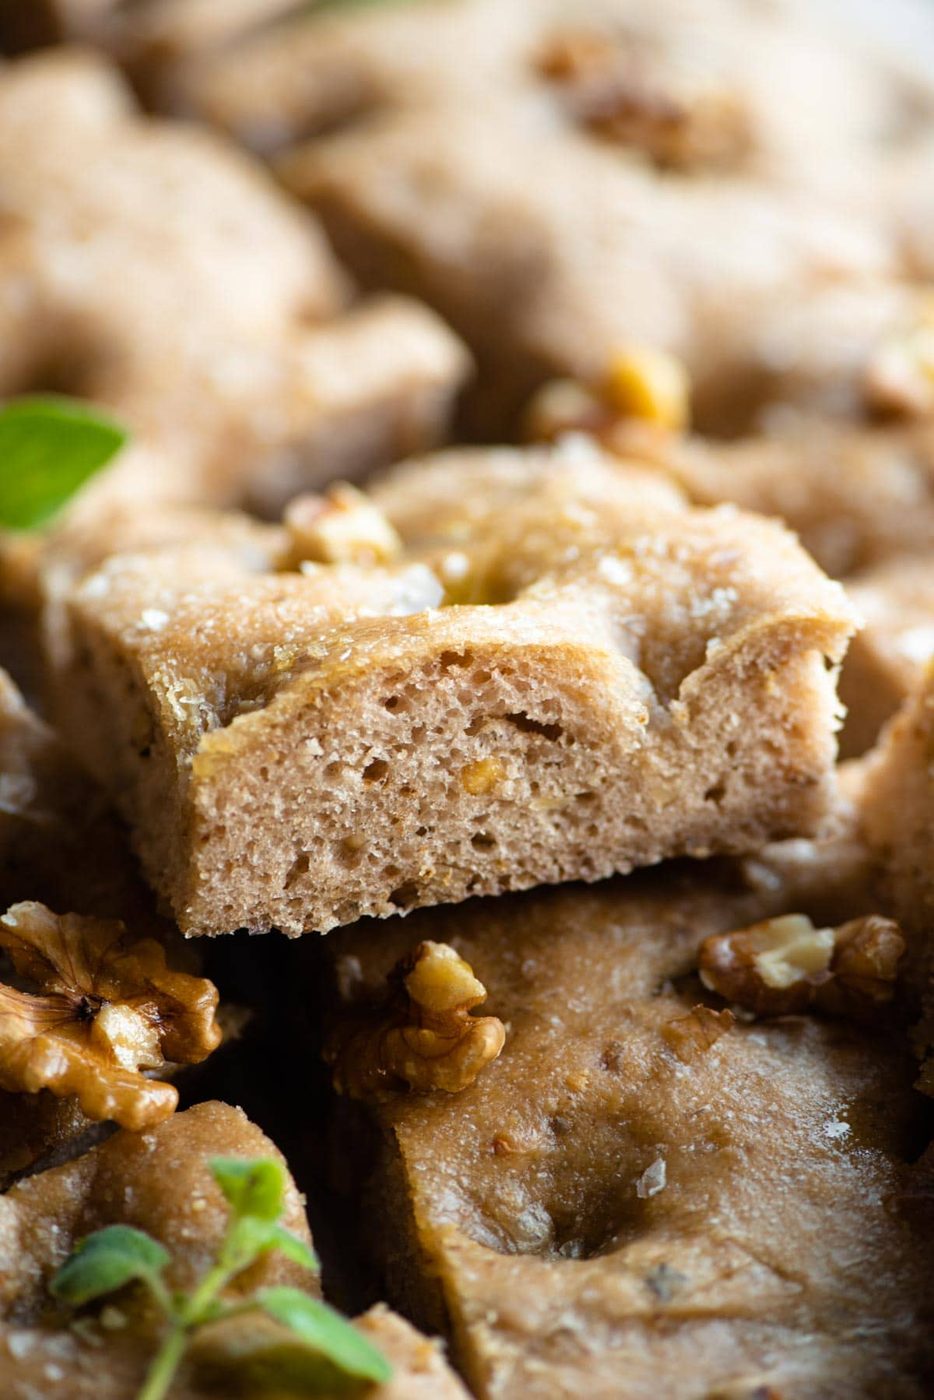
Bake – once doubled in size, make dimples all over the dough using your fingertips. Drizzle with more oil, salt and herbs if using. then bake in the oven for 15-18 minutes (photos 15 & 16).
Recipe tips and FAQs
- Use warm water – it's important to use warm water when making the focaccia, it helps with the rise. If you use cold water it's ok it'll take much longer to proof, hot water however will damage the yeast preventing it from rising at all.
- Toppings – you can top your focaccia with fresh herbs such as rosemary or oregano.
- Use a kitchen scale if possible – if you make Italian breads, cakes, pasta or pizzas often then a kitchen scale is the best way to ensure you get solid results each time.
- If using cups – if you are measuring your flour in cups it's so important to spoon the flour into the cup then level it off with a knife. If you scoop the flour you will overpack your cup with too much flour.
The focaccia is best served on the day it's made as it will start to dry out.
Can we use a stand mixer?Yes, if you don't want to knead the dough by hand you can use a dough hook attachment in a stand mixer instead.
More Italian breads and snacks
- Rosemary Focaccia Bread
- Focaccia Pizza
- La Piadina: Italian Flatbread
- Grissini – Italian Breadsticks
- Taralli Pugliesi (Italian Snack)
- Easy Pumpkin Bread Rolls
Ingredients
Makes 12 servings
- 4 cups Italian 00 Flour ((500g) see note 1)
- 1 1/3 + 1 tablespoon warm water ((320ml))
- 1 cup walnut halves ((100g))
- 4 tablespoons olive oil (plus extra for drizzling)
- 1 teaspoon sugar
- 1 teaspoon fine salt
- 1 pinch sea salt flakes (for topping)
- fresh rosemary or oregano (for topping (optional))
Method
Finely chop the walnuts so you have fine and slightly bigger pieces. Add them to a large mixing bowl with the flour and stir until combined.
Next, add the yeast, salt and sugar at separate sides of the bowl. Add the warm water and 4 tablespoons of olive oil and mix to form a rough dough.
Tip the dough out onto a lightly floured work surface and knead for 10 minutes until it's smooth and elastic.
Lightly grease a clean, large clean mixing bowl with olive oil and add the dough to the bowl rubbing a little oil on top of the dough too. Cover with plastic wrap (cling film) or a damp kitchen towel and leave in a warm but not hot place until doubled in size.
Once doubled in size, lightly grease a large baking tray (10x15 inch or similar) with oil and transfer the dough, squashing it down to fit the tray using your hands. Cover with plastic wrap again and leave it until it has doubled in size (about 1 hour).
Pre-heat the oven to450F/ 230C.
Remove the plastic wrap and make dimples all over the focaccia using your finger tips. Sprinkled with a little salt, add rosemary or oregano at this point if desired and drizzle with a few tablespoons of olive oil.
Bake in the oven for 15-18 minutes, until browned and crispy on top. Let it cool before serving (best served on the same day).
Kitchen notes
- Italian 00 flour is recommended but you can use all-purpose flour in a pinch. Important! if measuring flour in cups you must spoon the flour into your cup and level it off with a knife to avoid overpacking.
- Use a kitchen scale if possible flour is easy to measure wrong using cups so we highly recommend using a kitchen scale if possible.
- Yeast use fast-action yeast also known as instant yeast which you can add directly to the flour. read the packet in case your yeast has to be activated in water first.
- Storage the focaccia is best served on the same day it's made but will keep up to 3 days and can be reheated in a hot oven. Wrap leftover tightly in plastic wrap and foil to avoid it drying out.