Grissini – Italian Breadsticks
- Makes 20 breadsticks
- Prep 30 minutes
- Cook 12 minutes
- Total 2 hours 2 minutes
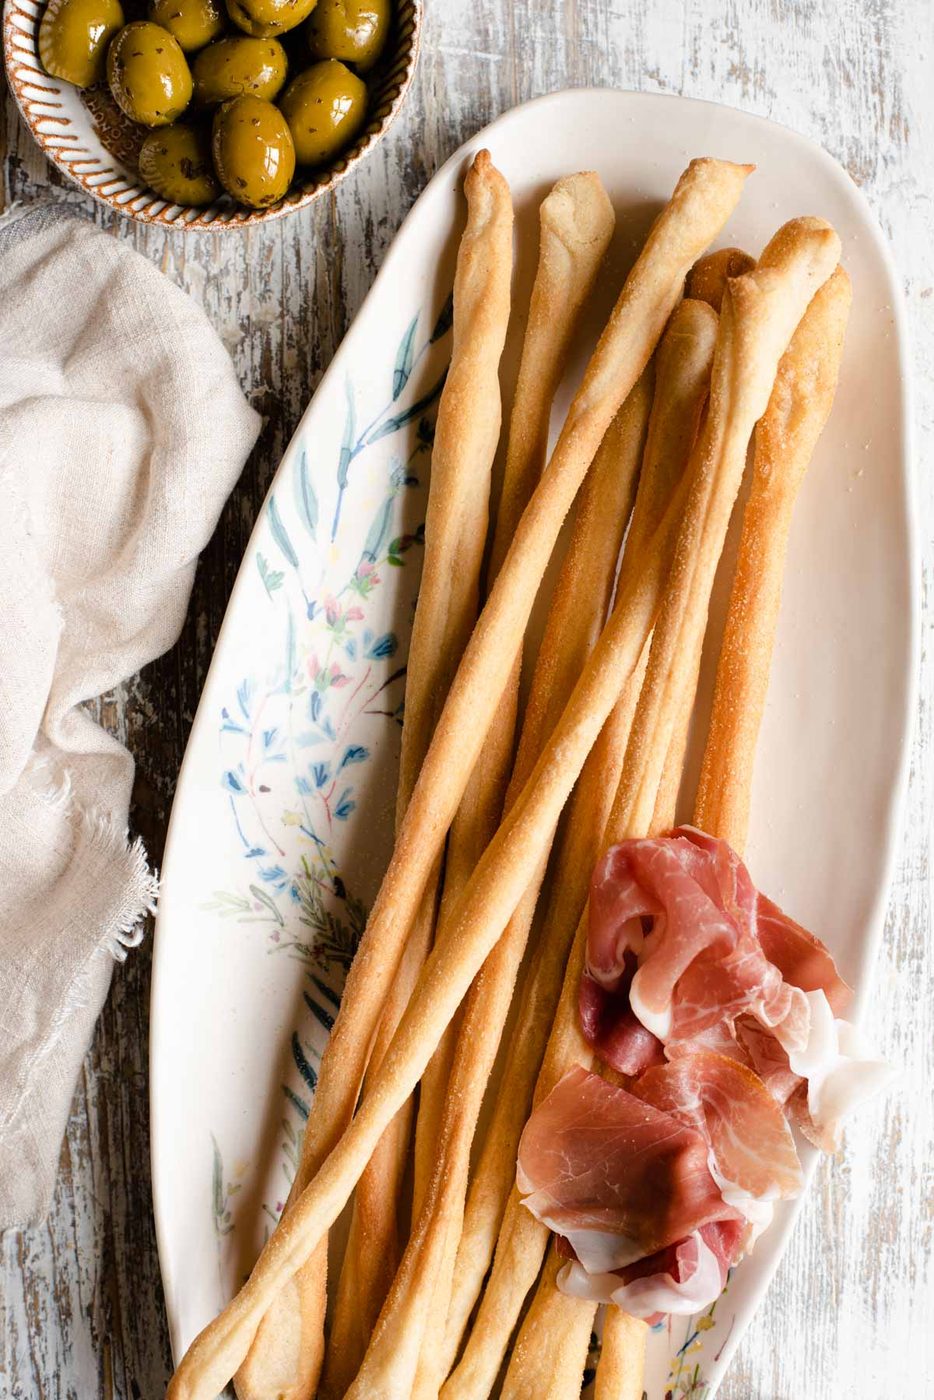
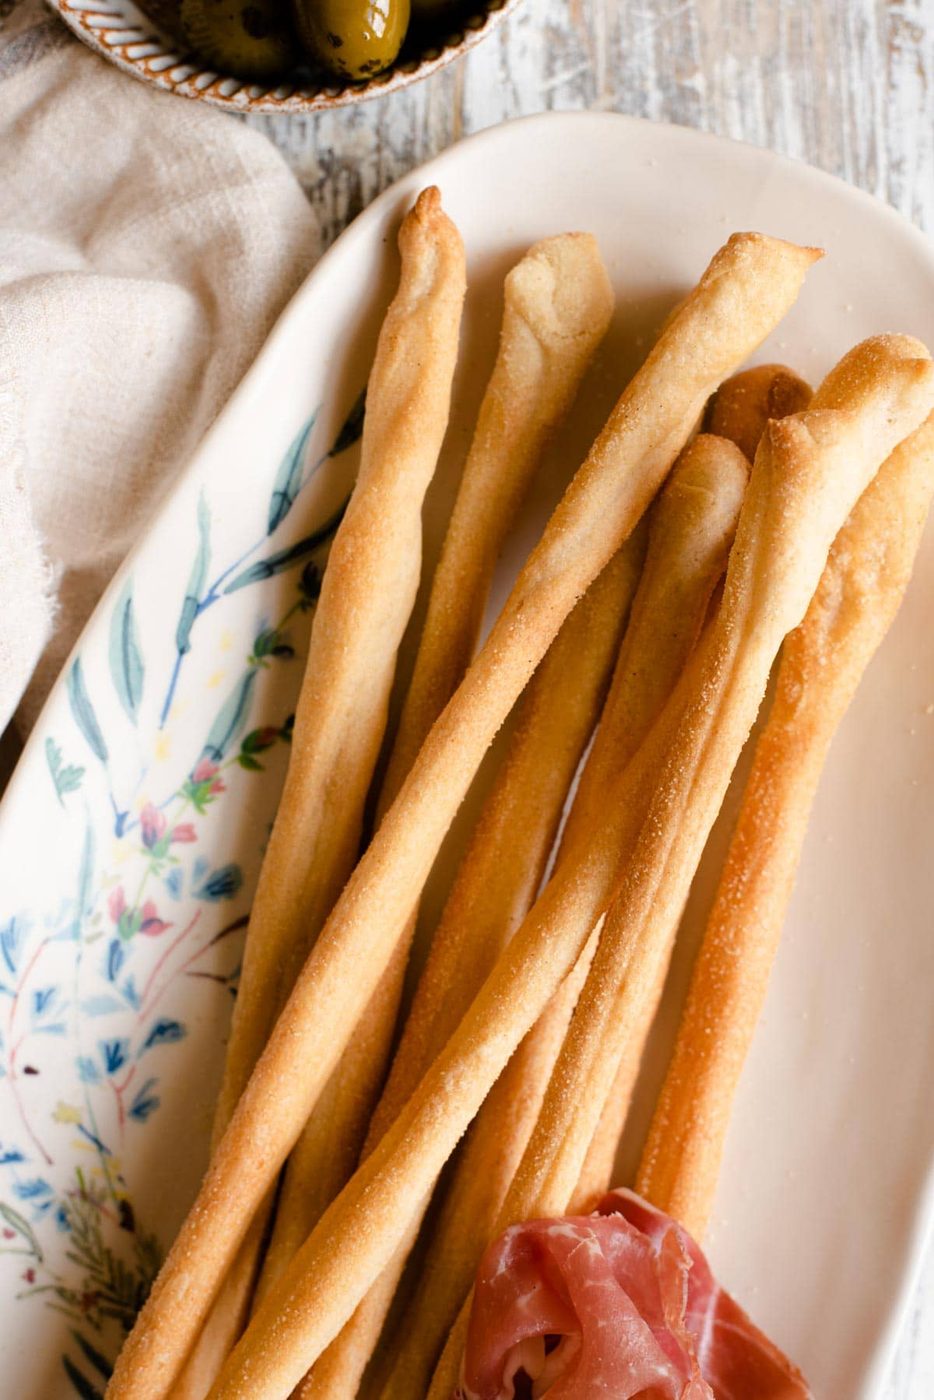
Italian Grissini – Long, thin and crispy homemade Italian breadsticks solid served with drinks cured meats and cheese for an Italian aperitivo or for dunking in dips or soup so good and easy to make at home!
Grissini are beautiful, rustic Italian breadsticks stretched by hand giving them that unique, knobbly homemade look.
Originating in Turin, these breadsticks have so many variations from sprinkling over poppy seeds to adding finely chopped fresh rosemary or red pepper flakes into the dough.
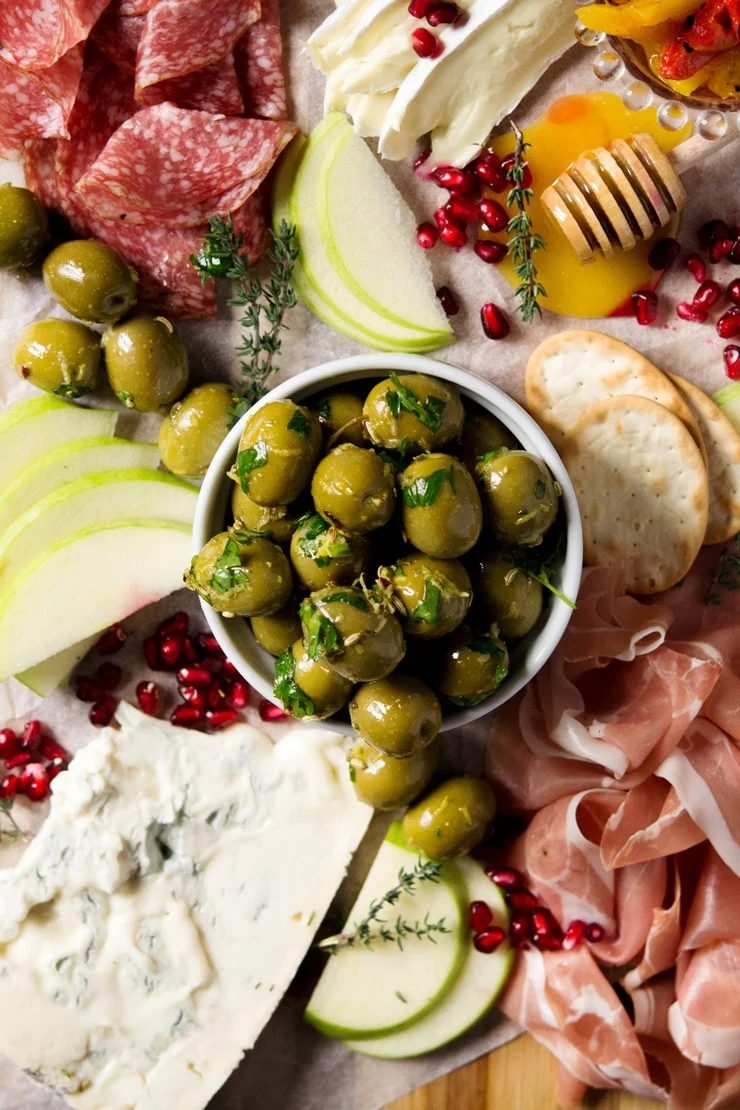
They're fun and easy to make and look so impressive on your dinner table. Serve them with drinks and traditional Italian antipasti such as cured meats, cheeses and olives or use them to dunk into dips and soups so good!
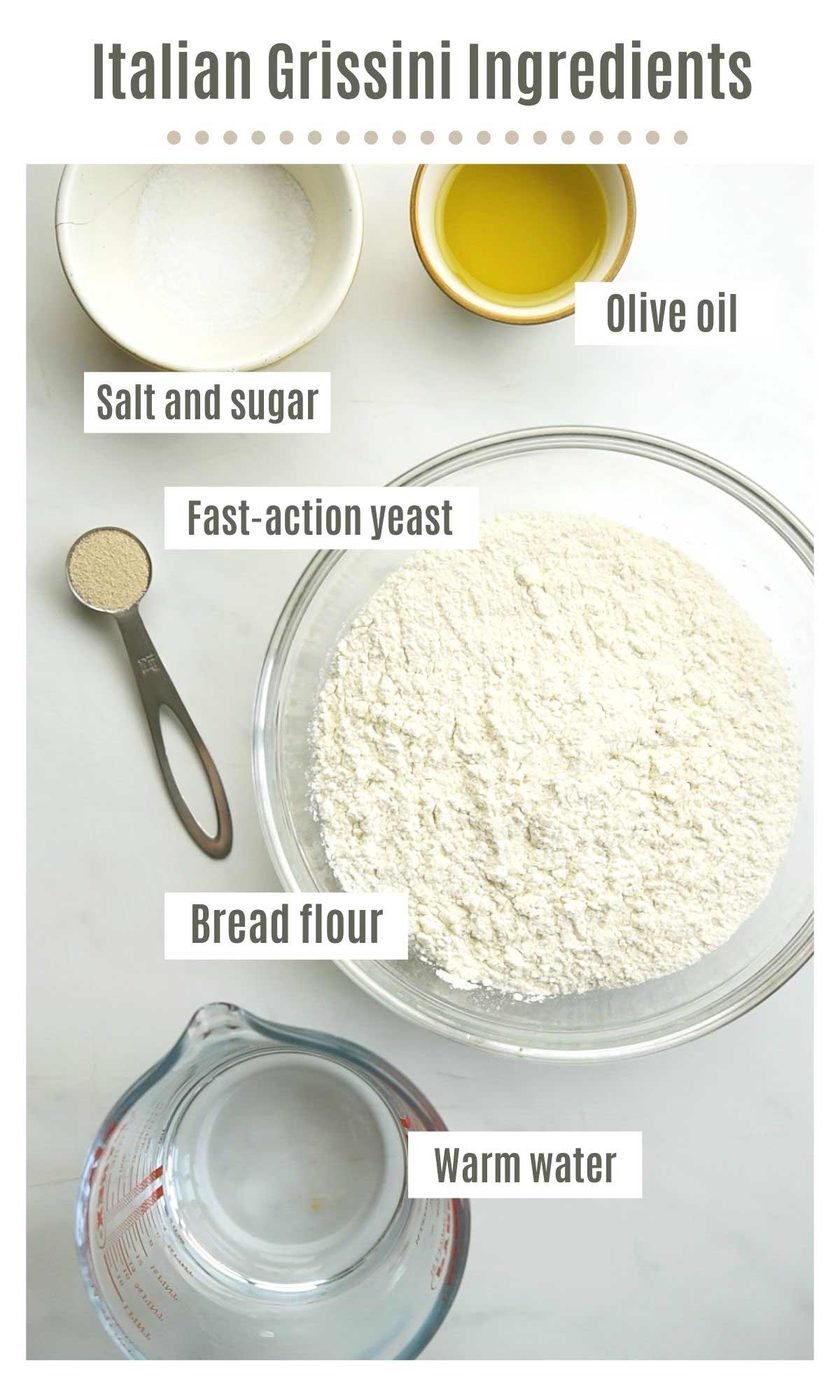
Ingredients – what you need
- Flour – strong bread flour gives the best texture but you can also use all-purpose flour.
- Water – use warm water and the dough will rise in half the time!
- Olive oil – olive oil goes both in the dough mix and is brushed on top for crispy and good breadsticks.
- Salt and sugar – for seasoning the breadsticks, you can also add in herbs and spices.
- Yeast – use fast action yeast
- Semolina – this is used to both dust the baking tray and dough before baking to stop the breadsticks from sticking.
See the photo below that shows all the ingredients you need to make good Grissini!
How to make Italian Grissini Breadsticks – step by step
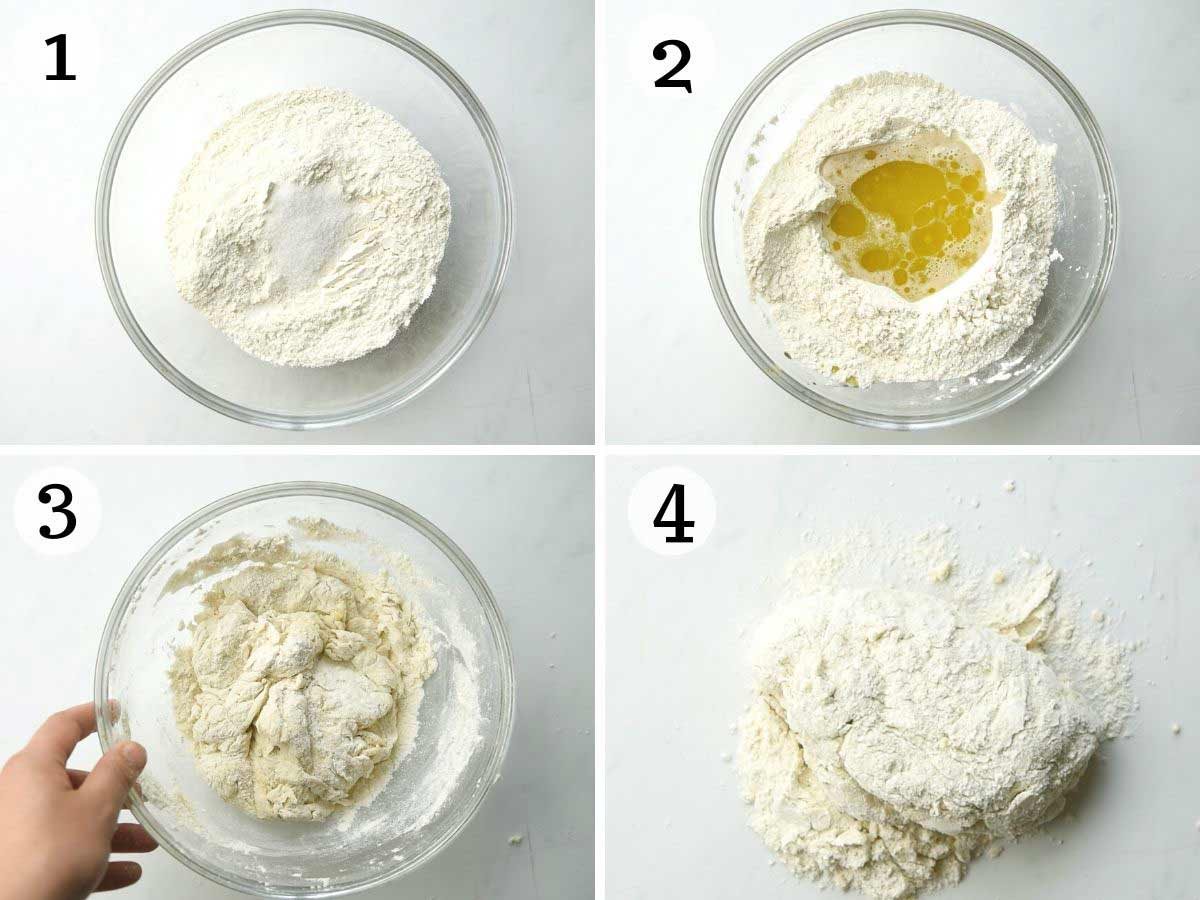
Place the flour, sugar and salt in a mixing bowl and stir together. Make a well in the middle and add the yeast, warm water and olive oil (photo 1 & 2).
Stir everything together until a rough dough forms then tip out onto a clean work surface. Knead the dough until it's smooth and elastic. You'll probably need to sprinkle the work surface lightly with flour as you knead the dough if it's sticking (photos 3 – 5).
Shape the dough into a ball and place in a clean bowl dusted lightly with flour. Cover with plastic wrap and let the dough rest for 15 minutes (photos 5 & 6).
After the dough has rested remove it from the bowl and press it gently to form a rectangle. Fold one edge lengthwise into the middle of the dough then fold the opposite edge right over so it overlaps the first fold right to the opposite end, it should resemble a log (photos 7 & 8).
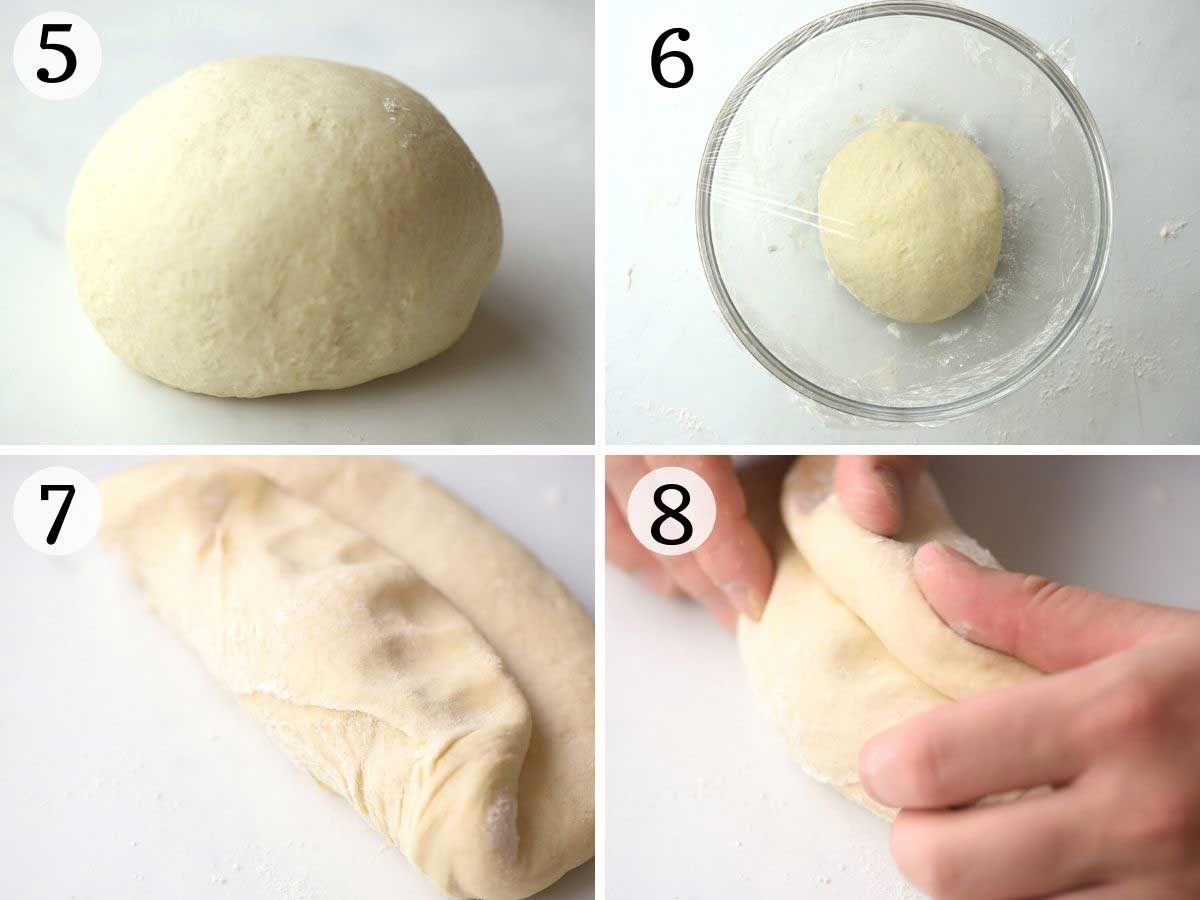
Turn the log over and gently push each end in so it resembles a rough rectangle. Place the dough on a baking tray brushed with olive oil. Brush the top of the dough with more olive oil loosely top with plastic wrap (photo 9).
Leave the dough to prove for 1 hour or until doubled in size (photo 10).
Lightly sprinkle semolina over the baking tray and sprinkle a little more over the uncovered dough.
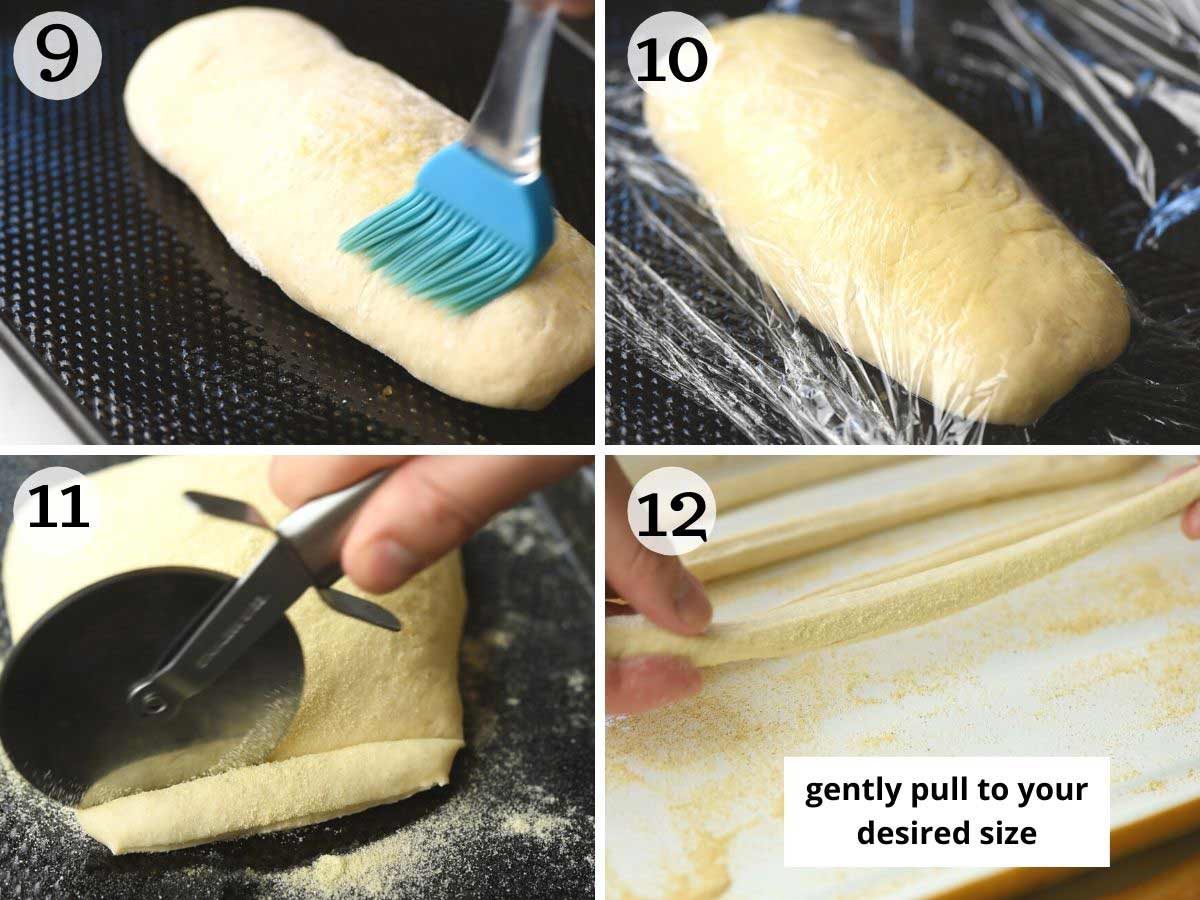
Using a pizza cutter or sharp knife cut 1/4 inch (1cm) thick strip widthwise from the dough. Gently stretch the dough into a long breadstick long enough to fit your tray.
Continue with the rest of the dough until your tray is filled with breadsticks making sure to keep a small gap between each one so they aren't touching (photos 11 – 13).
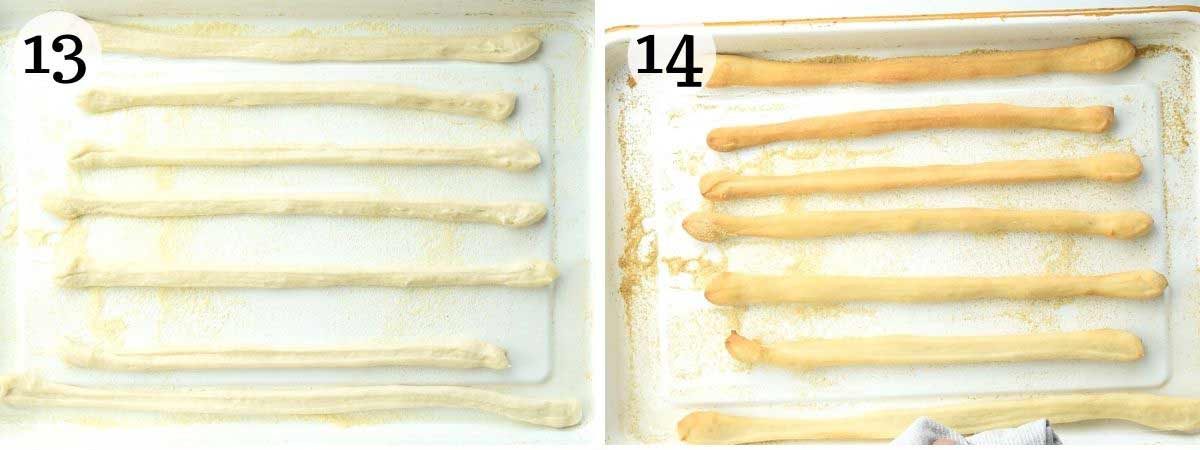
Bake in the oven for 12-15 minutes or until lightly golden. Let cool completely before serving (photo 14).
Swaps
- Parmesan breadsticks – add 1/4 cup (30g) freshly grated parmesan in with the flour mixture.
- Spicy breadsticks – add 1-2 tsp of dried chilli flakes or red pepper flakes to taste. We also love to add 1 tsp of fennel seeds, the combination is so good.
- Rosemary breadsticks – add 1-2 sprigs of fresh rosemary finely chopped and mix in with the flour. You can adjust the amount to taste.
- Seeded breadsticks – after shaping the Grissini lay them on your baking tray and lightly brush with more olive oil then sprinkle over sesame seeds, poppy seeds or whatever you like.
Top tips and recipe FAQs
- Yeast – We use fast action yeast that doesn't need to be activated in water first. Check your own packet instructions before use and if you need to you can add it to the warm water for the advised time before pouring into the flour.
- Proving – warm temperatures help dough rise quicker so use warm water to make the dough. If you use cold water that's fine it might take a little longer.
- Texture – the full cooking time will give you crunchy and crisp breadsticks if you'd like them a little softer cook them for around 5 minutes less.
Grissini are eaten as a snack or aperitivo with drinks alongside meats, cheese and olives. You can also use them for dunking into dips as an appetizer or serve with soups instead of croutons.
Do we need to use bread flour?Although bread flour gives these breadsticks the best texture it can be pricey to buy. We'v tested this recipe with all-purpose flour (plain) and Italian 00 flour and both make good Grissini!
How do you store Grissini?They will keep well in an airtight container for 5-7 days. If they start to turn slightly soft or chewy you can pop them back in a hot oven for 5 minutes to crisp up.
Can you freeze them?Yes, these breadsticks can be frozen in plastic freezer bags, containers or tightly wrapped in plastic wrap and aluminium foil. Thaw completely before serving, you can pop them in a hot oven to heat up if desired.
More Italian antipasti recipes you might like
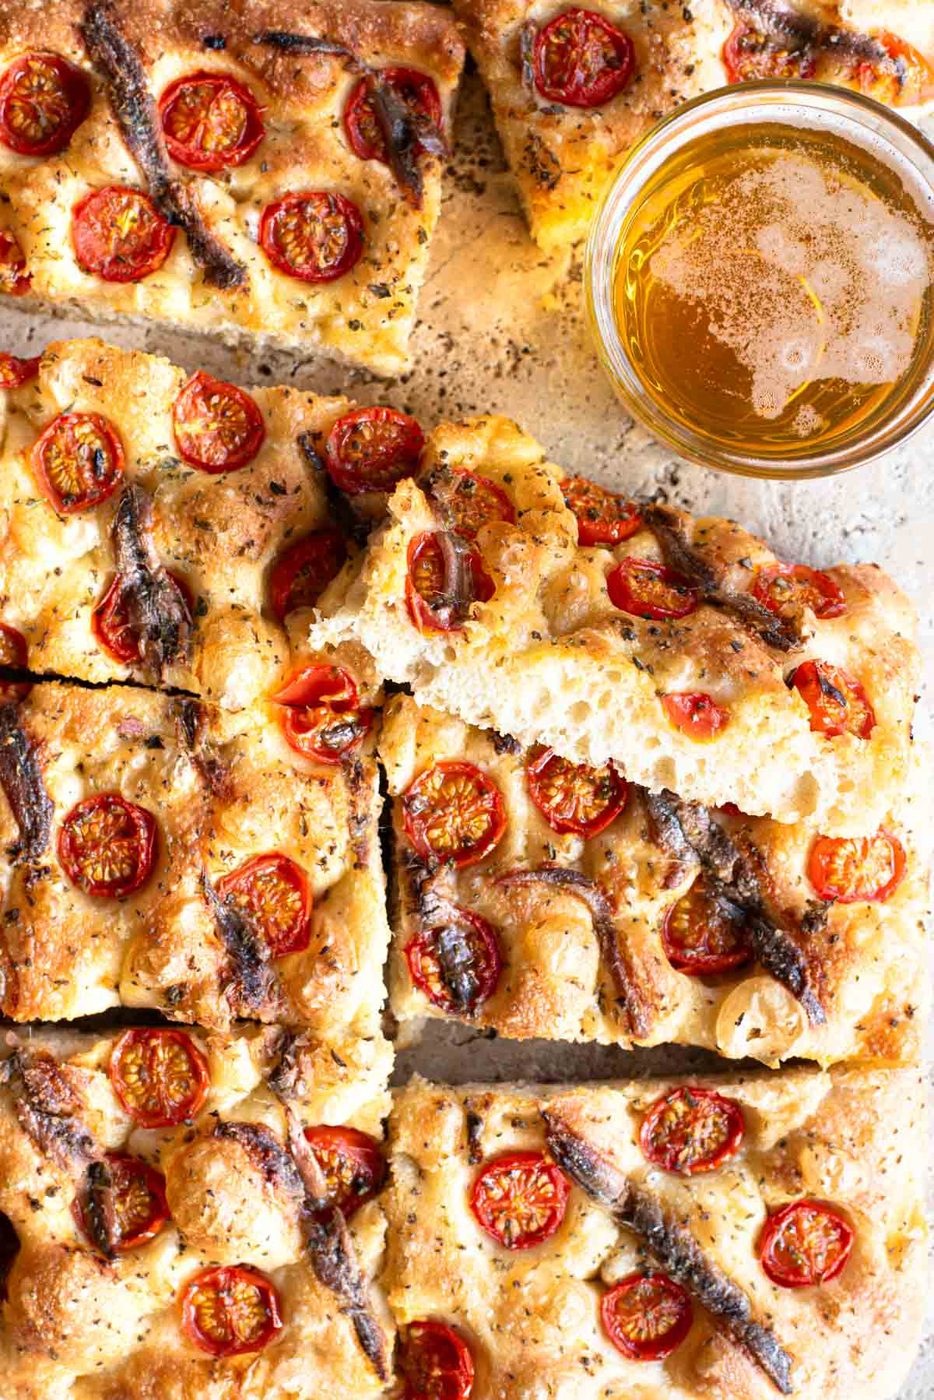
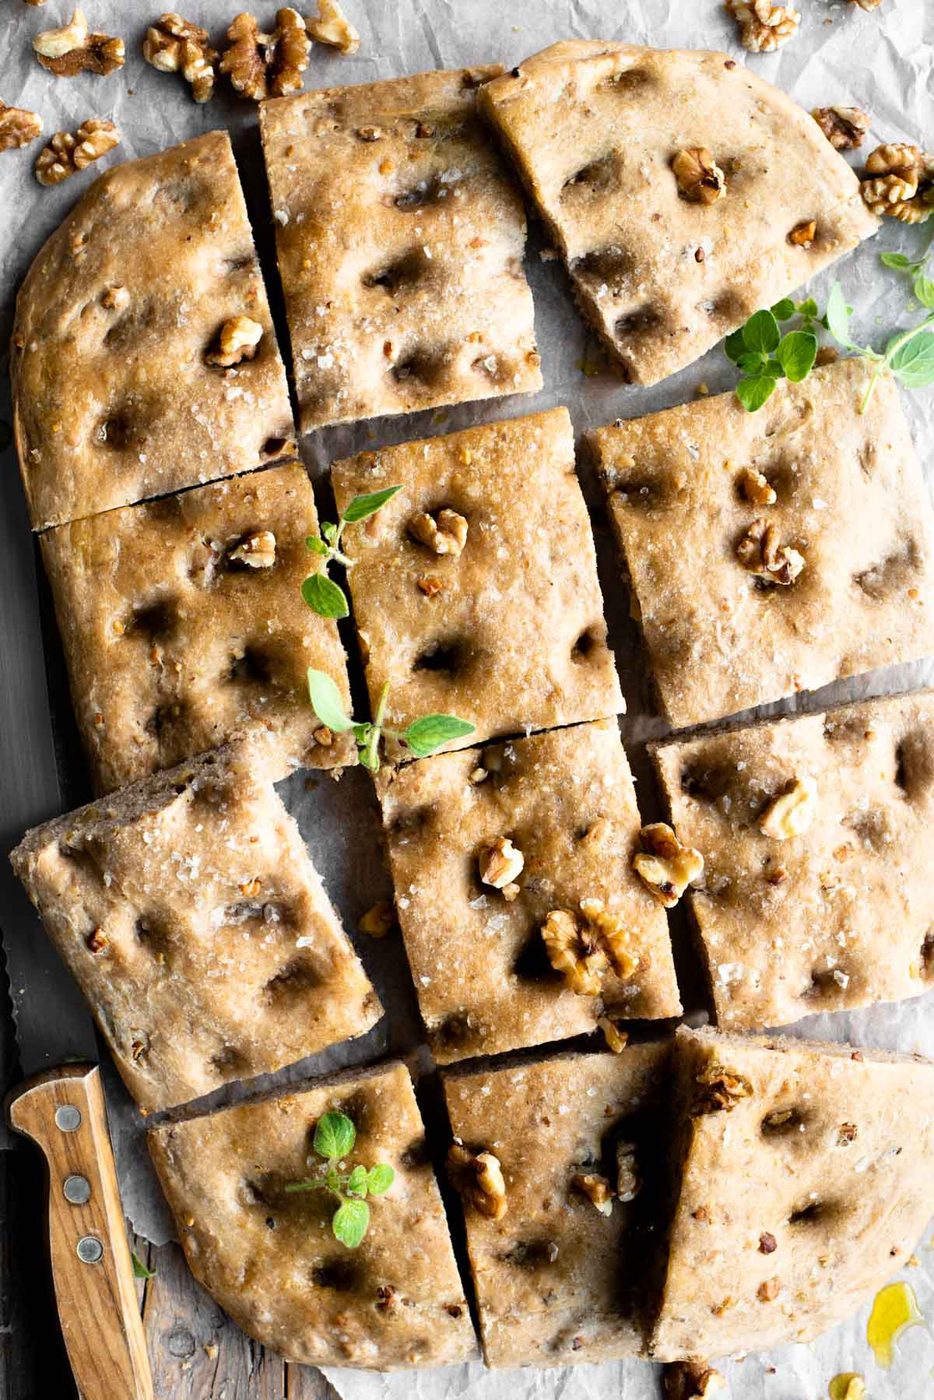
- Rosemary Focaccia Bread
- Gnocco Fritto (Italian Fried Dough)
- La Piadina: Italian Flatbread
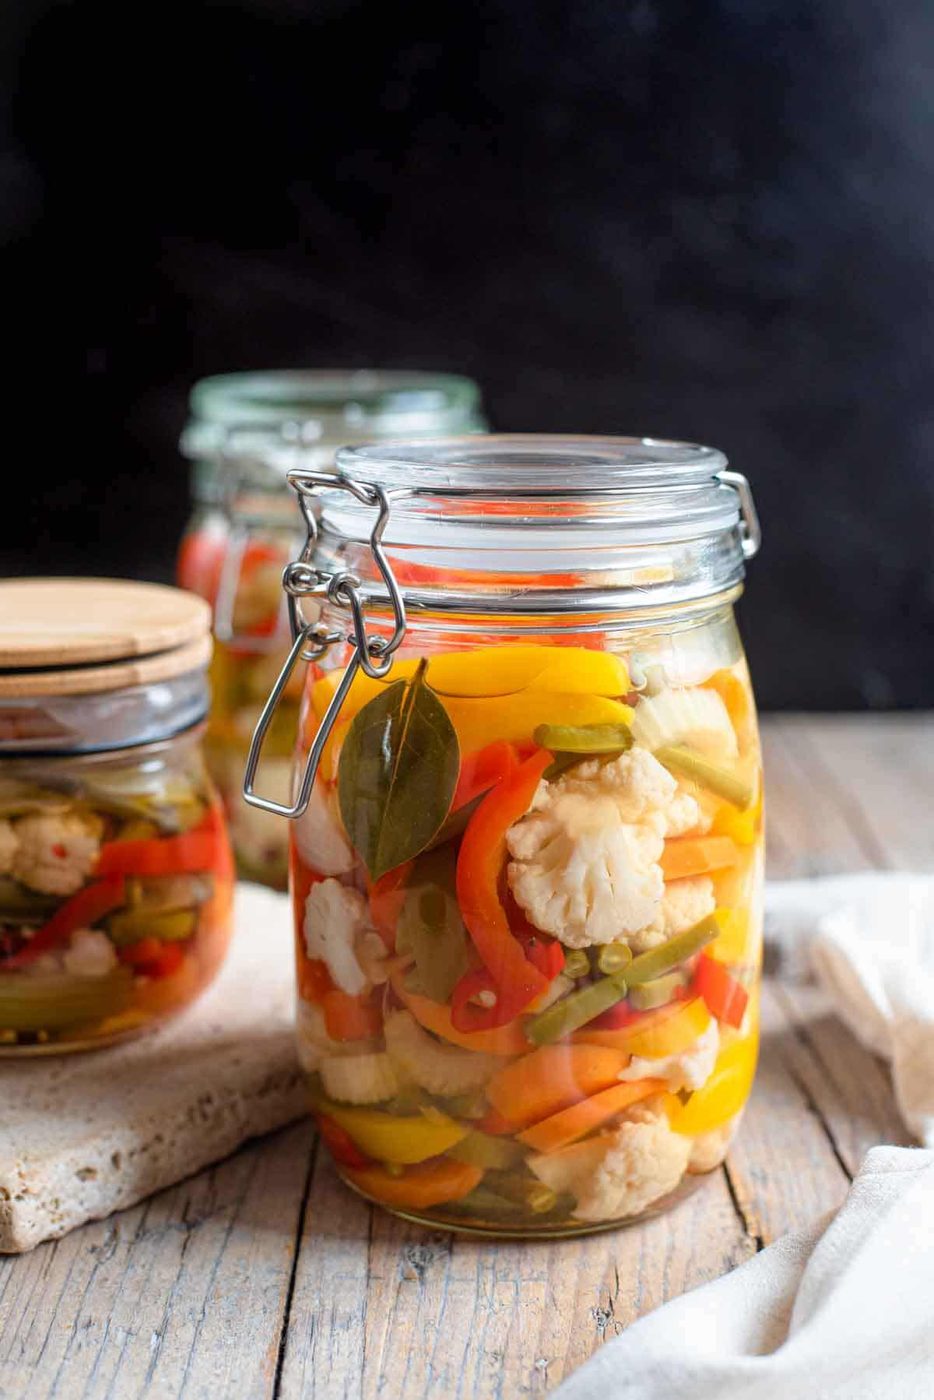
- La Giardiniera sott'aceto – Italian Pickled Vegetables
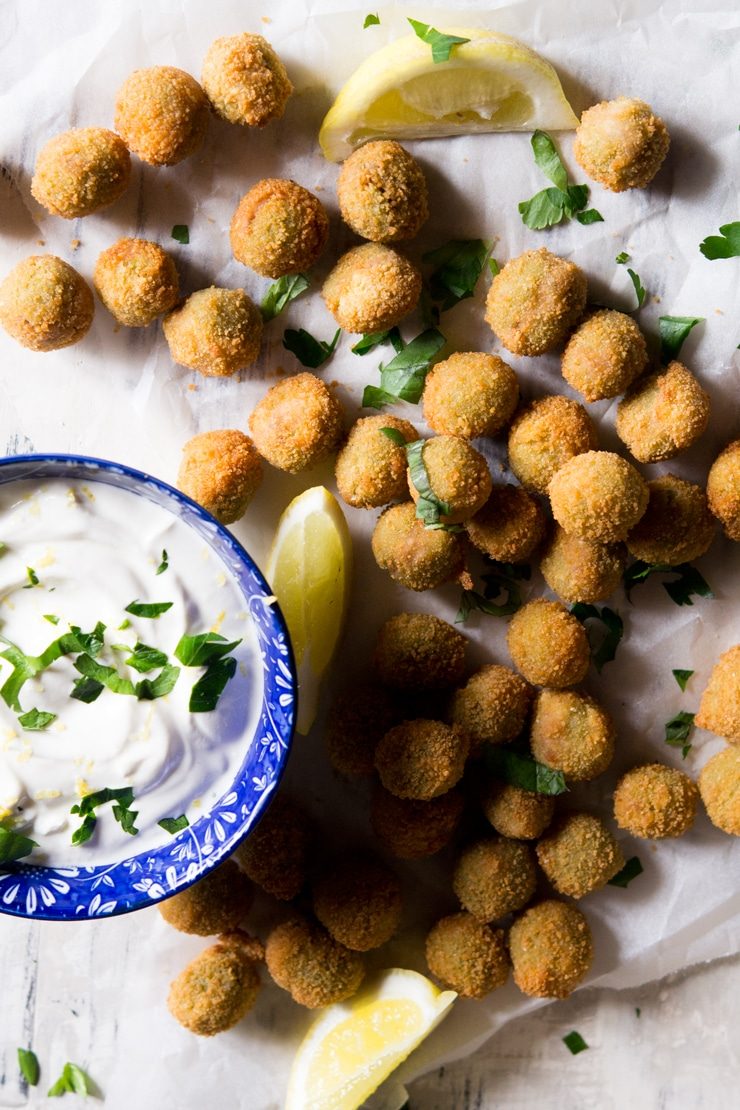
- Fried Sausage Stuffed Olives – good And Crispy
- Italian Farinata Chickpea Flatbread (La Cecina Toscana)
Ingredients
Makes 20 breadsticks
- 2 cups bread flour (spooned and levelled (270g))
- 1 tsp sugar
- 1.5 tsp fine sea salt
- 1 tsp fast action yeast
- 2 tbsp olive oil
- ¾ cup warm water ((180ml))
- semolina (, for dusting)
Method
Place the flour, sugar and salt in a mixing bowl and stir together. Make a well in the middle and add the yeast, warm water and olive oil.
Stir everything together until a rough dough forms then tip out onto a clean work surface. Knead the dough until it's smooth and elastic. You'll probably need to sprinkle the work surface lightly with flour as you knead the dough if it's sticking.
Shape the dough into a ball and place in a clean bowl dusted lightly with flour. Cover with plastic wrap and let the dough rest for 15 minutes.
After the dough has rested remove it from the bowl and press it gently to form a rectangle. Fold one edge lengthwise into the middle of the dough then fold the opposite edge right over so it overlaps the first fold right to the opposite end, it should resemble a log.
Turn the log over and gently push each end in so it resembles a rough rectangle. Place the dough on a baking tray brushed with olive oil. Brush the top of the dough with more olive oil loosely top with plastic wrap.
Leave the dough to prove for 1 hour or until doubled in size.
Pre-heat the oven to 450F (230C).
Lightly sprinkle semolina over the baking tray and sprinkle a little more over the uncovered dough.
Using a pizza cutter or sharp knife cut 1/4 inch (1cm) thick strip widthwise from the dough. Gently stretch the dough into a long breadstick long enough to fit your tray. Continue with the rest of the dough until your tray is filled with breadsticks making sure to keep a small gap between each one so they aren't touching.
Bake in the oven for 12-15 minutes or until lightly golden. Let cool completely before serving.
Kitchen notes
- Yeast We use fast action yeast that doesn't need to be activated in water first. Check your own packet instructions before use and if you need to you can add it to the warm water for the advised time before pouring into the flour.
- Proving warm temperatures help dough rise quicker so use warm water to make the dough. If you use cold water that's fine it might take a little longer.
- Texture the full cooking time will give you crunchy and crisp breadsticks if you'd like them a little softer cook them for around 5 minutes less.
- Storage They will keep well in an airtight container for 5-7 days. If they start to turn slightly soft or chewy you can pop them back in a hot oven for 5 minutes to crisp up.
- Freezing these breadsticks can be frozen in plastic freezer bags, containers or tightly wrapped in plastic wrap and aluminium foil. Thaw completely before serving, you can pop them in a hot oven to heat up if desired.