Lingue di Pizza, Crispy Pizza
- Makes 4 pizzas (serves 8)
- Prep 20 minutes
- Cook 20 minutes
- Total 1 hour 40 minutes
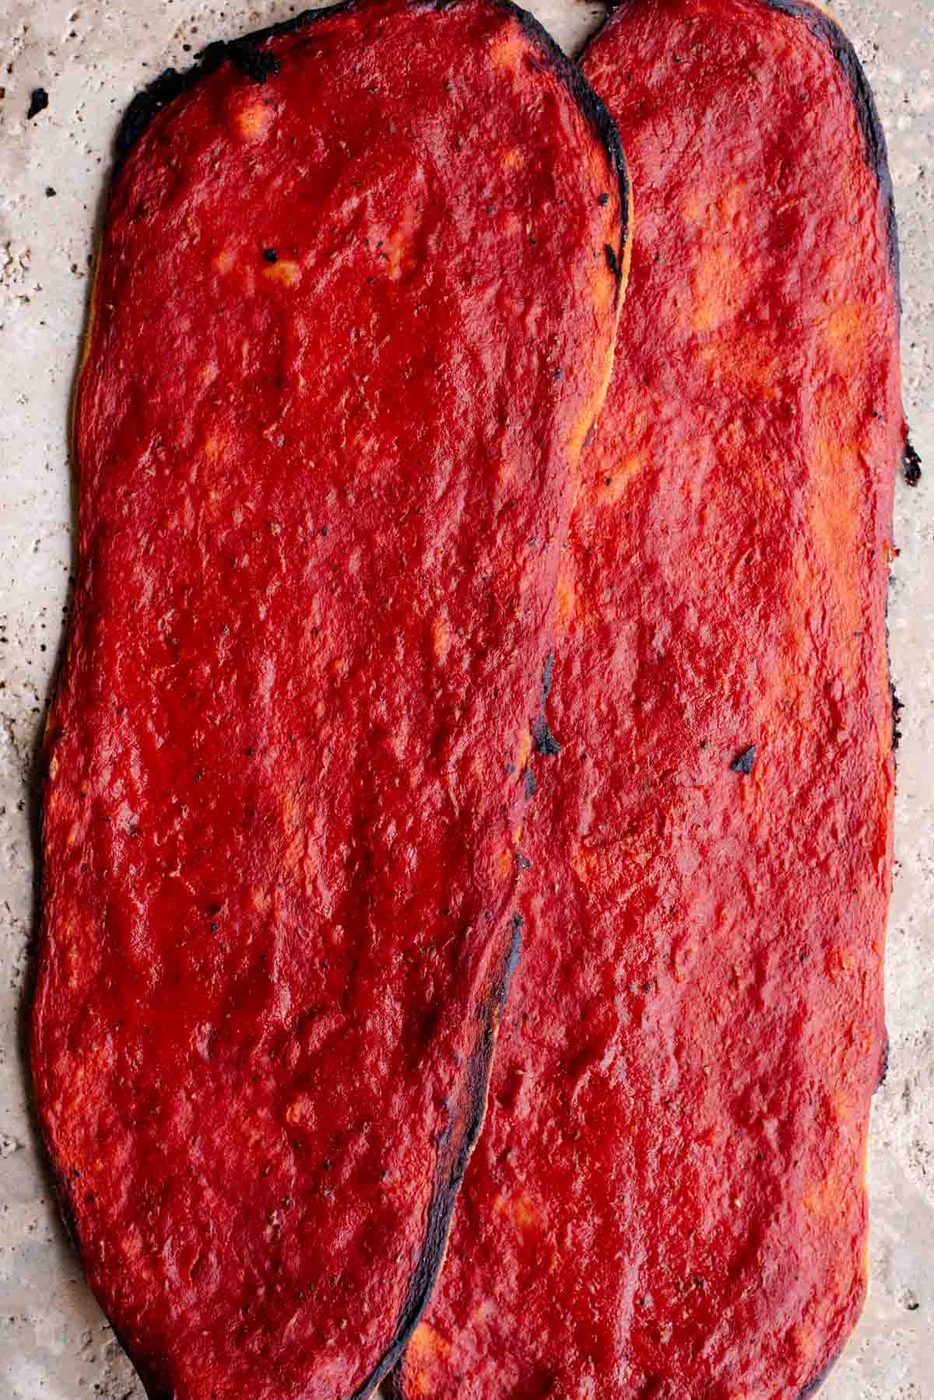
Lingue di Pizza are a good street food snack. The long, thin and crispy pizzas are yeast-free and quick and easy to make (1 hour resting time). Our recipe shows you how to make them step by step with two good topping variations!
Lingue di pizza are a popular street food in both Rome and Naples. The name translates as 'pizza tongues' because of their long, thin shape.
They are incredibly good and so easy to make. We love making these for lunch or as an aperitivo snack with a spritz and other nibbles. They're also solid if you're craving pizza but don't have much time on your hands.
They're yeast-free because the dough doesn't need to be proofed, and they have a good, crispy, and crunchy texture.
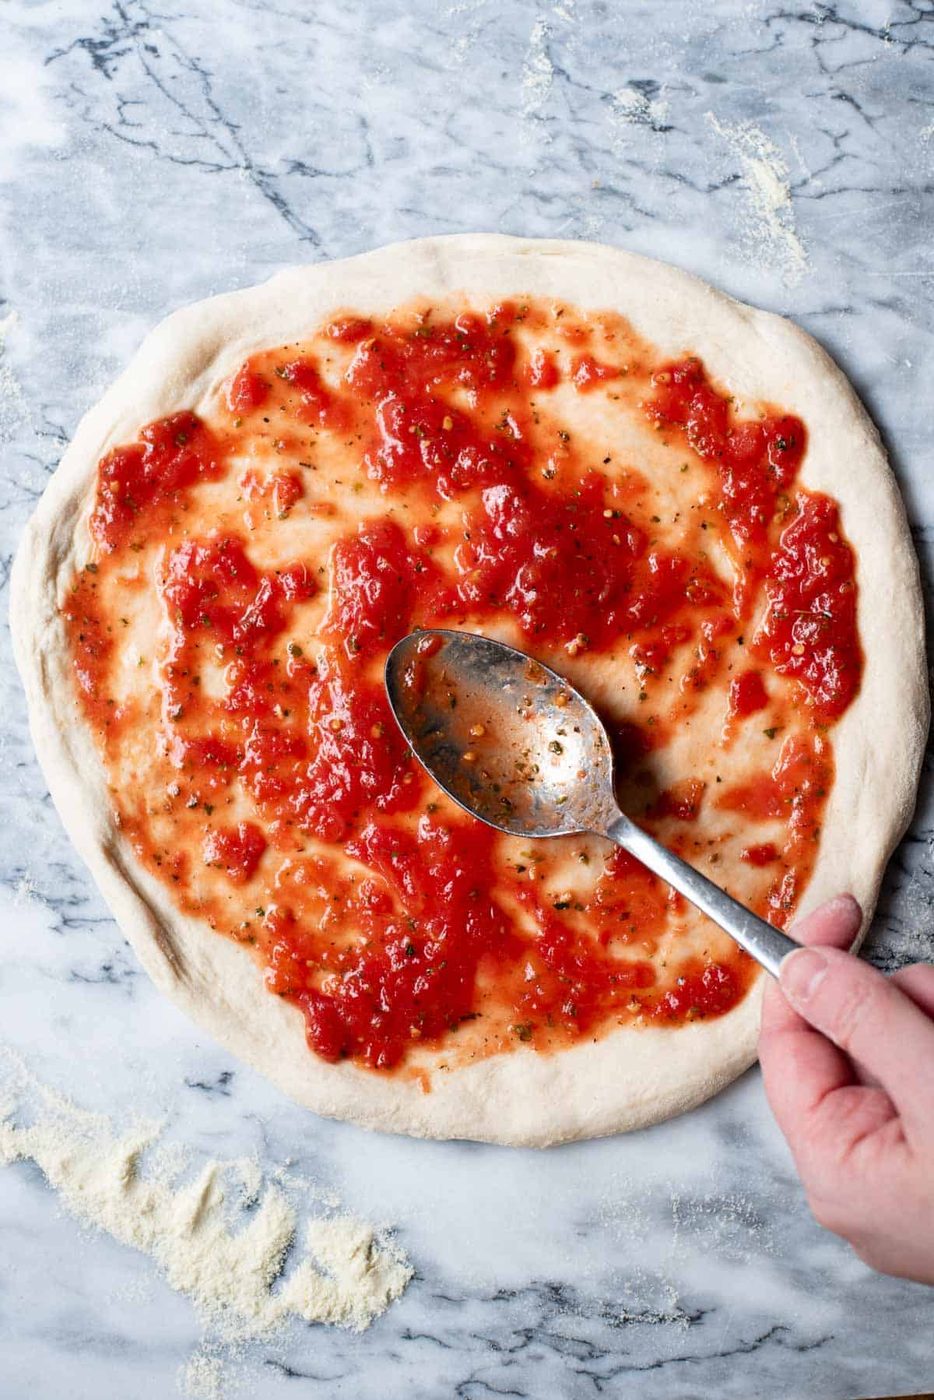
Lingue di Pizza are usually served with tomato and oregano on top. We like to add a little fresh, crushed garlic, but that's optional.
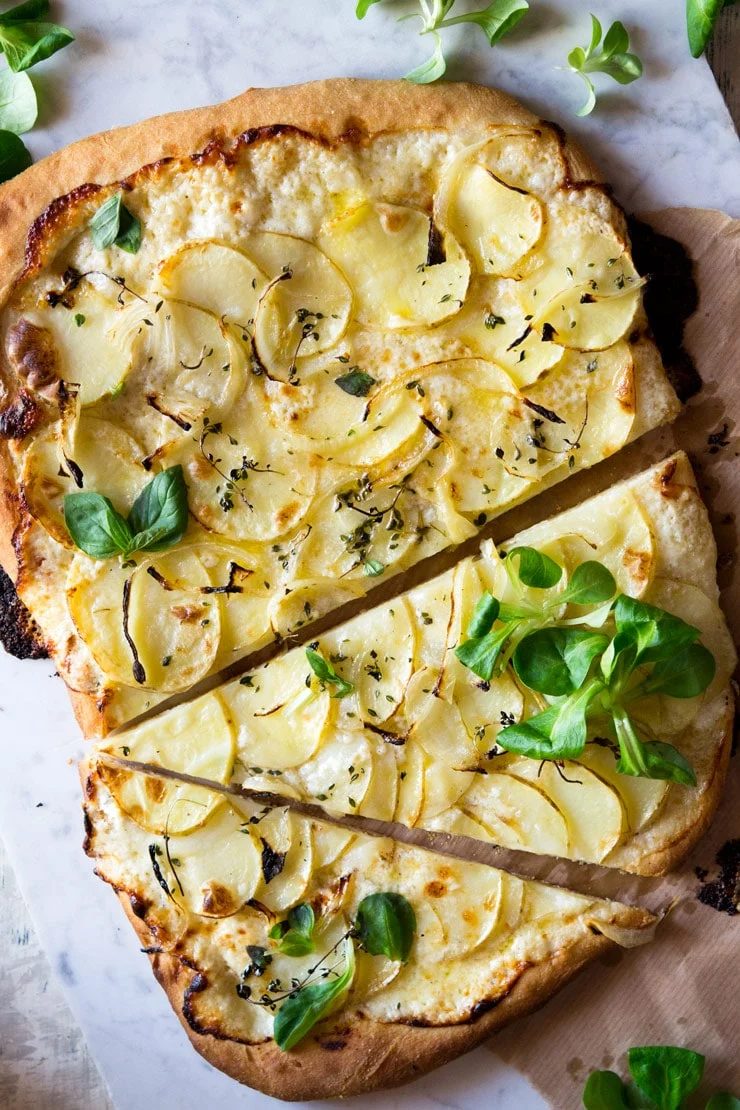
Another favourite topping is thinly sliced potato and rosemary, which is also insanely good. This recipe will show you how to make both, but feel free to experiment with different flavours of your own, enjoy!
Ingredient notes
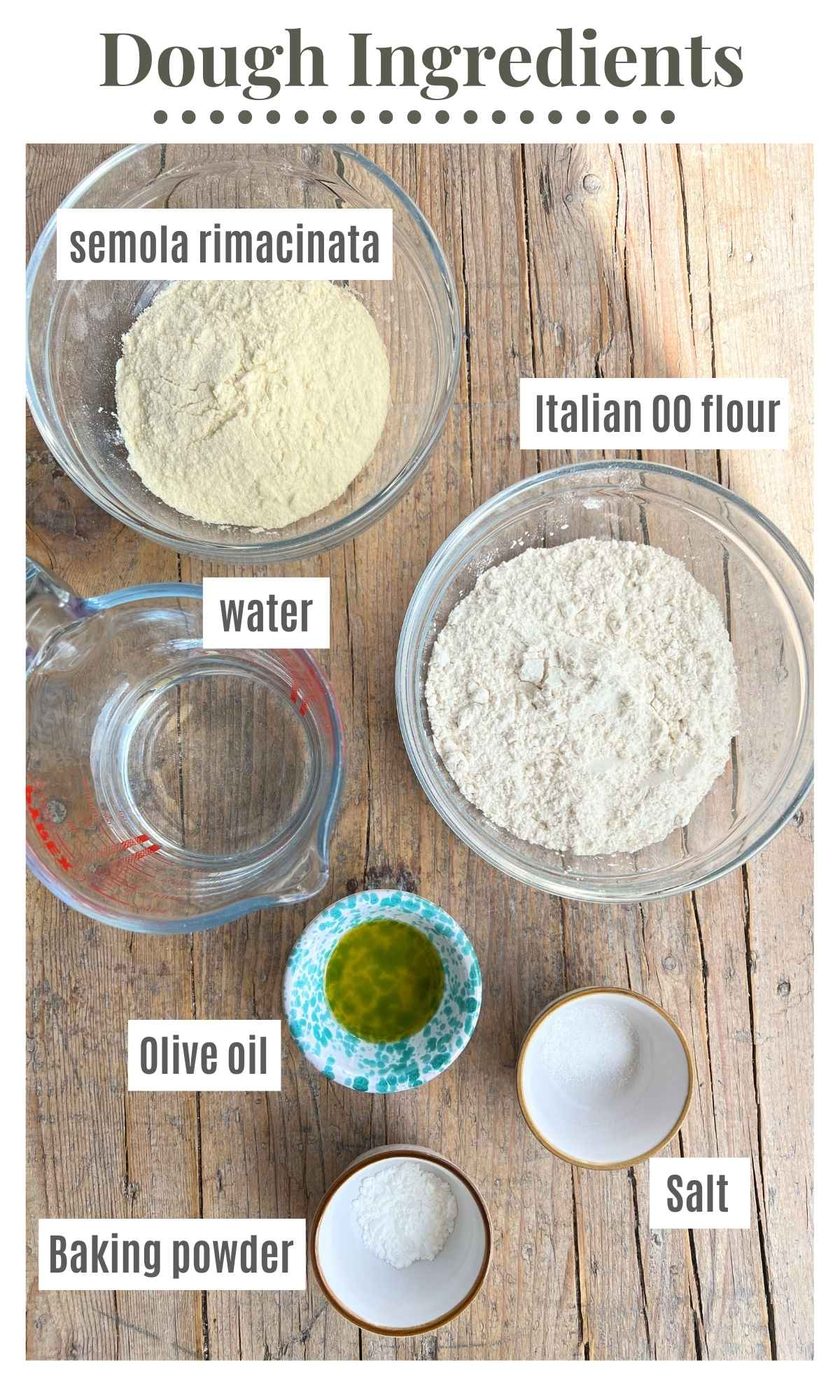
- Italian 00 flour – you can also use all-purpose flour.
- Semola Rimacinata – this adds both structure and crunch to the pizza dough. It's finely milled semolina, so it has the texture of flour. You should be able to find it in most Italian food stores or online (link in the recipe card).
- Baking powder – this is used instead of yeast to add a little lightness to the dough.
Visual walk-through of the recipe
Mix the dough – mix all the dry ingredients together, then add the oil and water. Mix to form a rough dough (photos 1-3).
Knead and rest – knead the dough for a few seconds into a ball, then cover it and let it rest for 1 hour. We turn the mixing bowl upside down to cover it, but you can also use plastic wrap (photos 4 and 5).
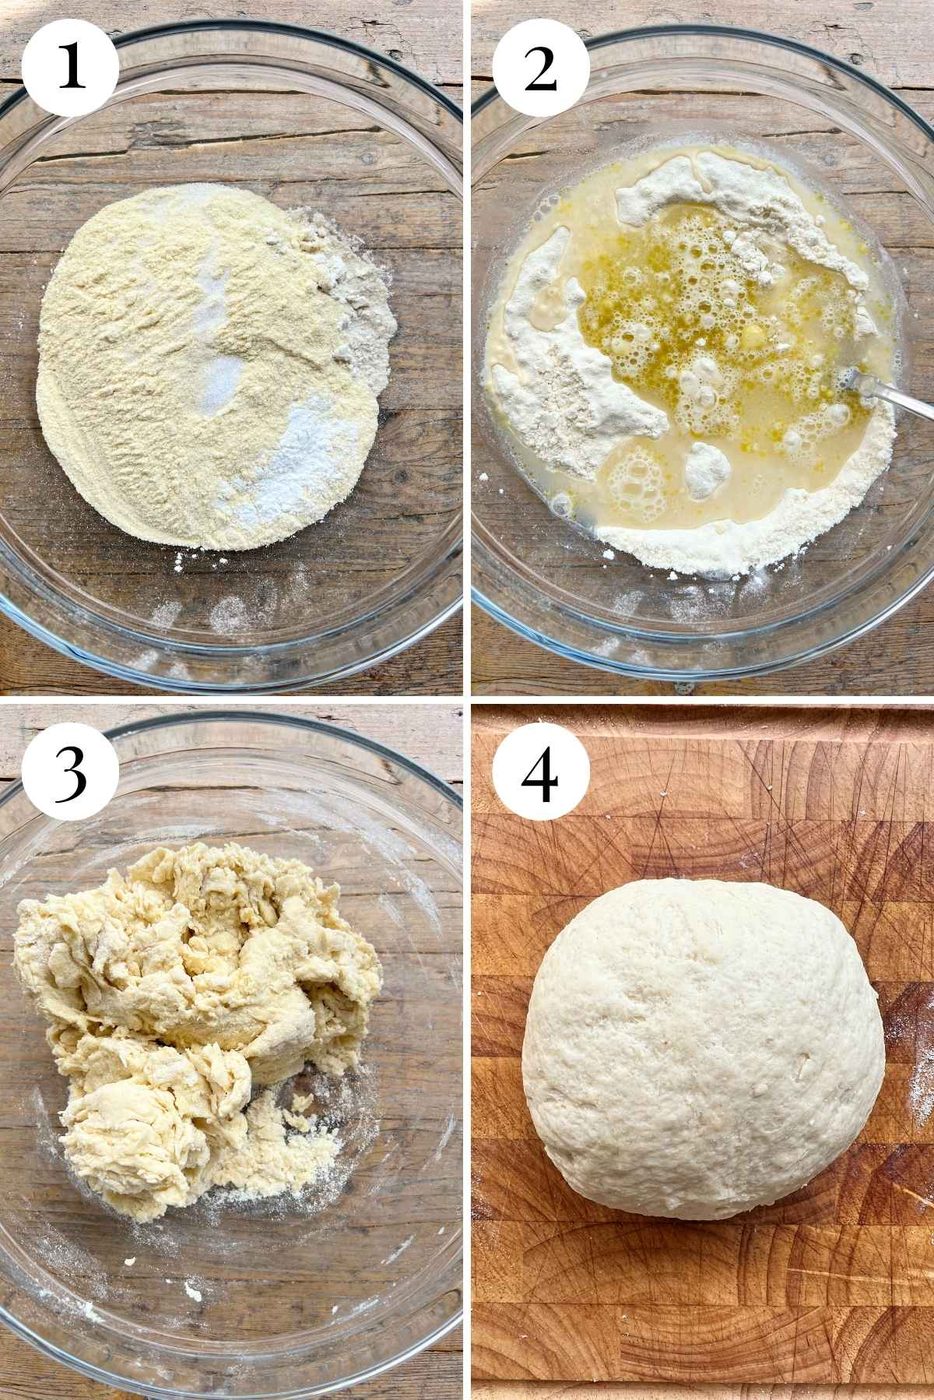
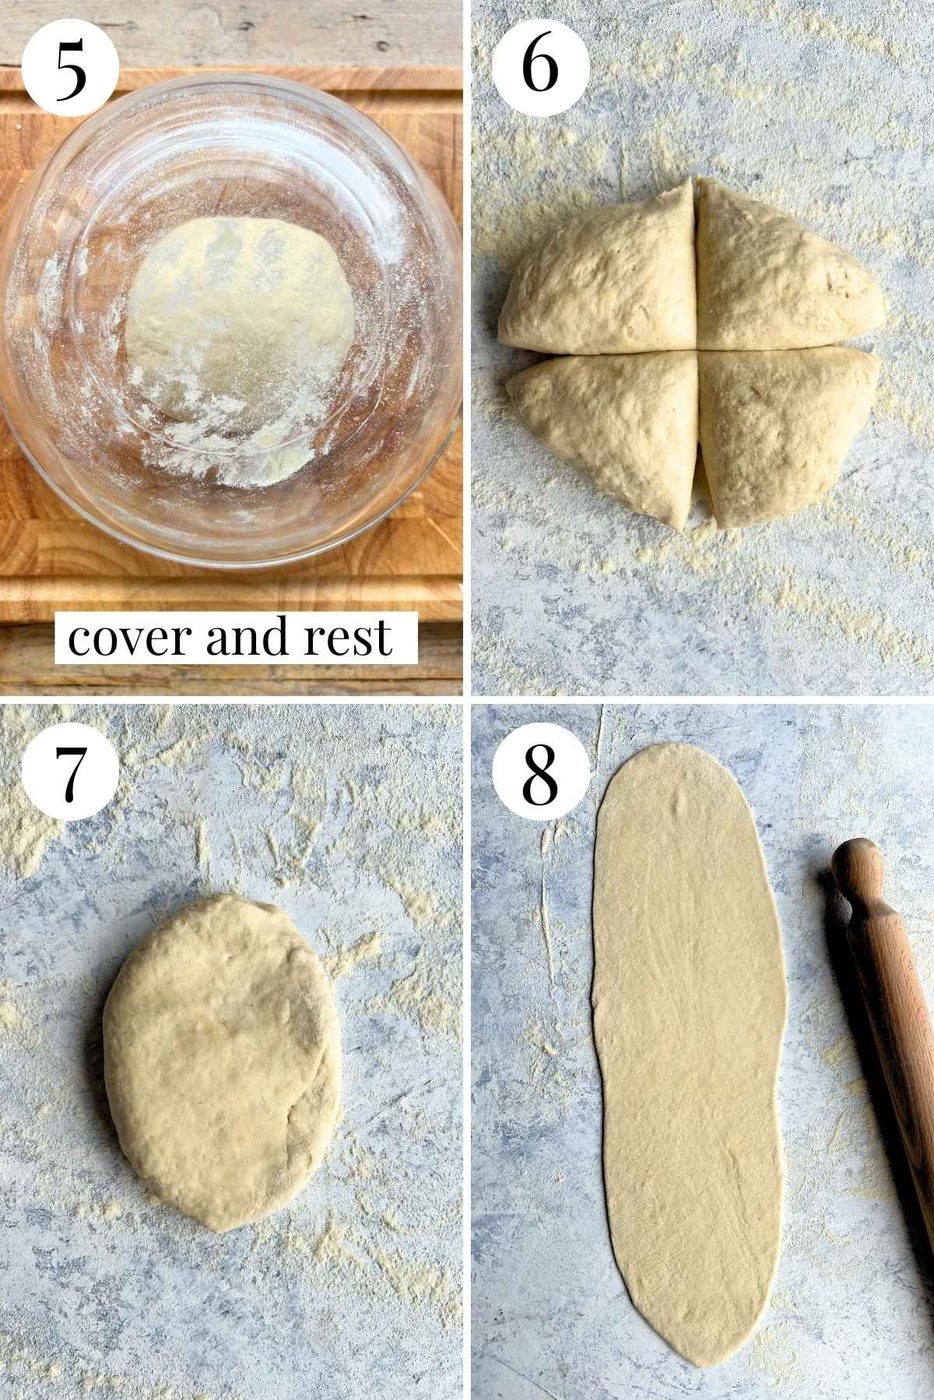
Roll it out – cut the dough into four quarters (photo 6) then roll each quarter out into a long and thin pizza. roll it long enough to fit your baking tray (photos 7 and 8).
Assemble – grease your baking tray well with olive oil (this helps with the crispy base) then lay your lingue di pizza on the tray.
Potato lingue di pizza – drizzle olive oil on the base then add thin slices of potato, rosemary and sprinkle over some salt. Add another drizzle of olive oil then bake in the oven for 15-20 minutes (check after 15) (photos 9 and 10).
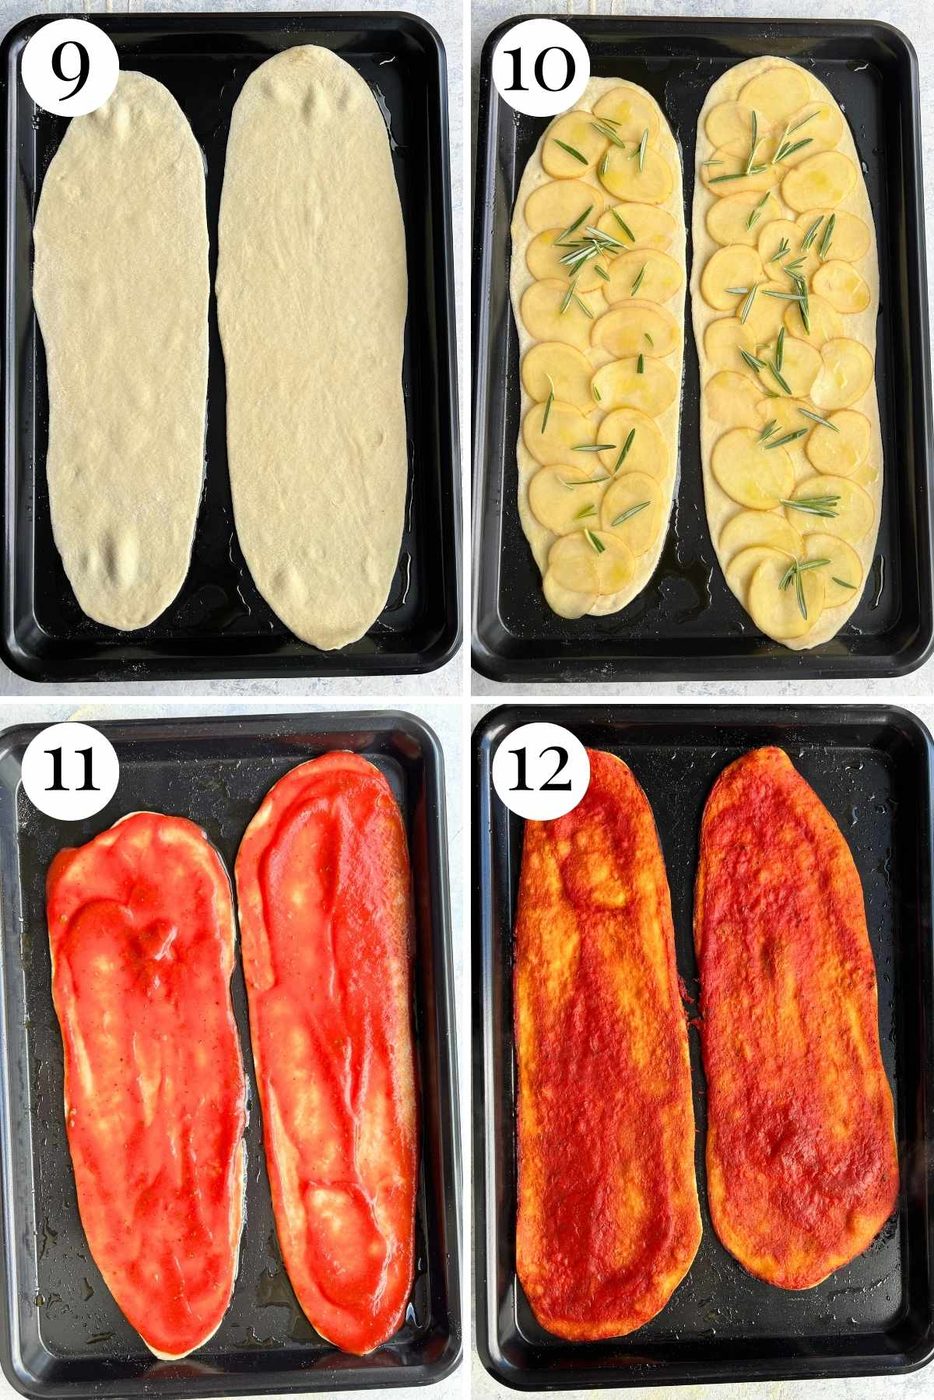
Tomato lingue di pizza – spread the tomato sauce over the base right to the edges so there is no border. Bake in the oven for 10 minutes, then spread more passata all over the pizzas once more. Bake for another 10 minutes, then serve (photos 11 and 12).
Recipe Tips
- Use a kitchen scale – We tested this recipe by weight as it gives us accurate results every single time. We have also provided the measurement in cups (which we measured myself), but we found that the results can vary quite a bit. For the best results, always use a scale.
- Don't overload the pizza – less is more with these pizzas. The base is thin, so it won't be able to hold a lot of heavy toppings. When adding toppings, keep them simple and few.
- Prepping in advance – if you're making the dough the same day, give it at least 1 hour to rest before using, but it will keep well for a few more hours at room temperature. If making it the day before, put it in the fridge, then bring it to room temperature before using.
- Leftovers – the pizzas are best served immediately and eaten the same day as they can dry out a lot quicker than regular pizza, which has a much thicker leavened base.
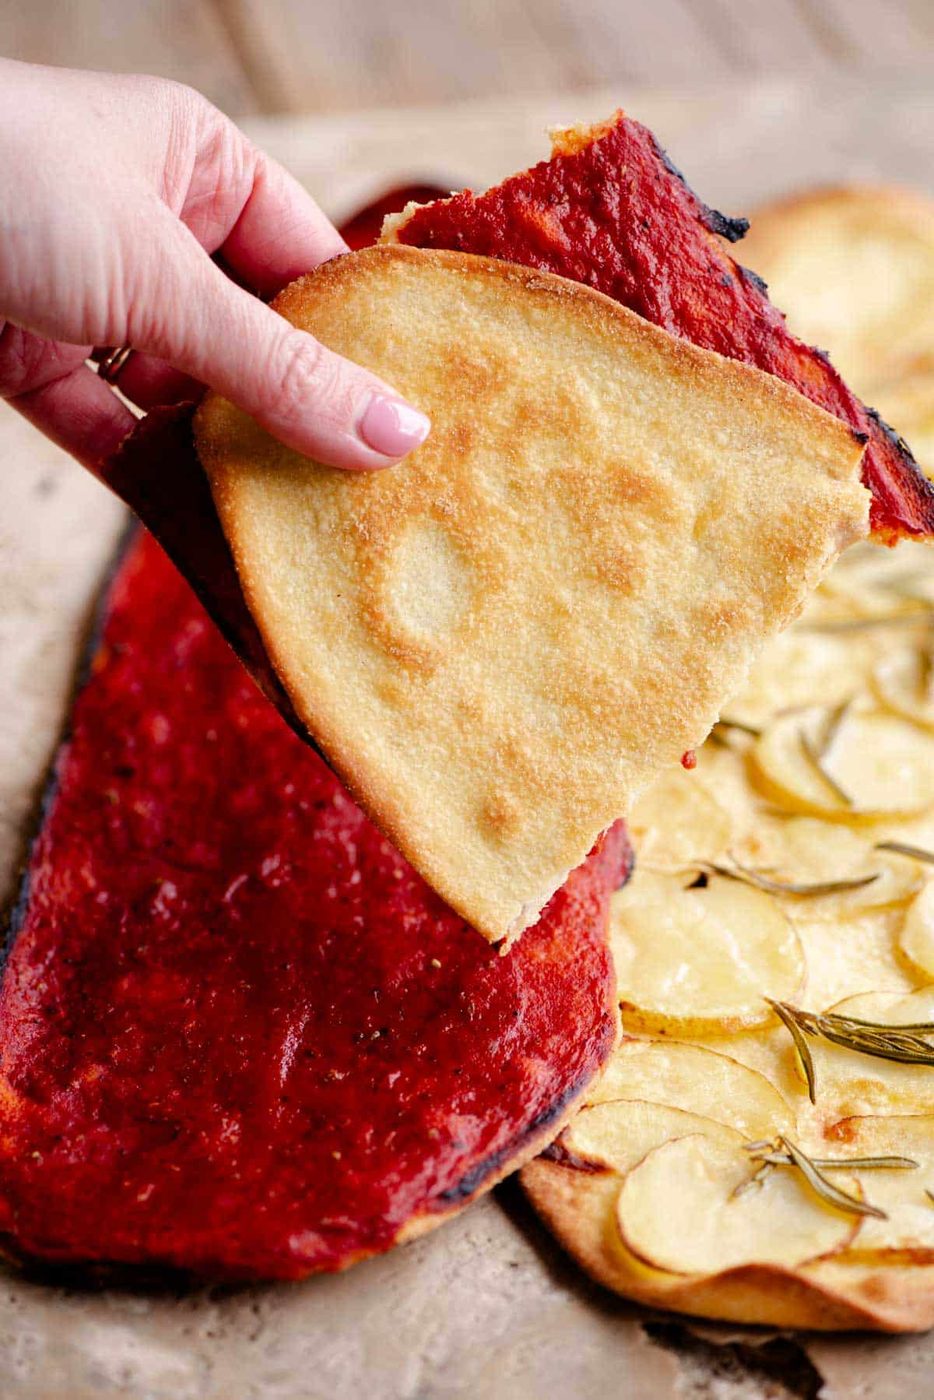
Topping ideas
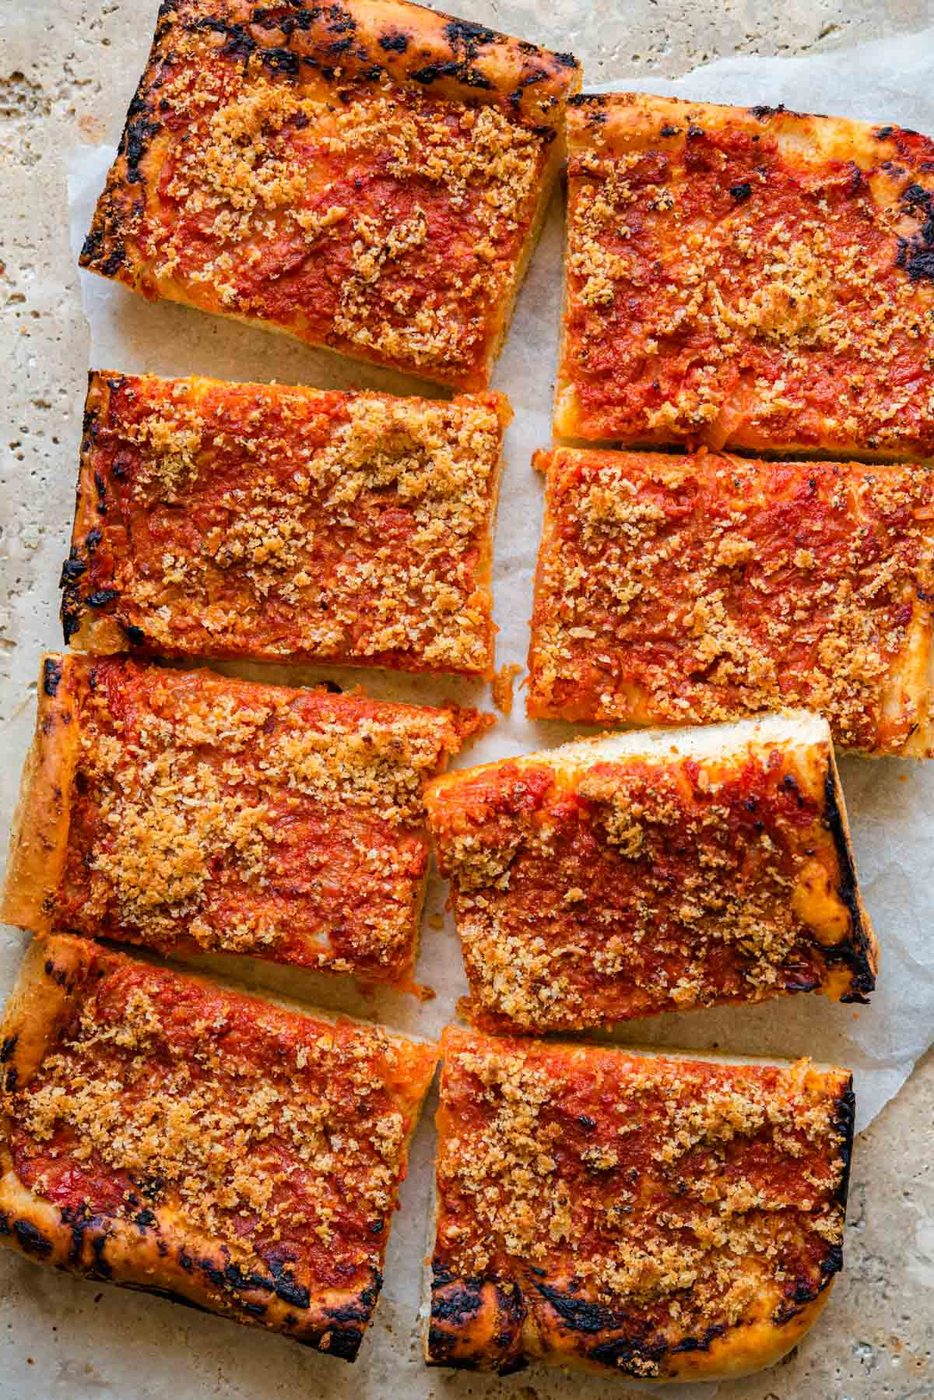
- Original – passata and oregano. You can add in a clove of crushed garlic or leave it out.
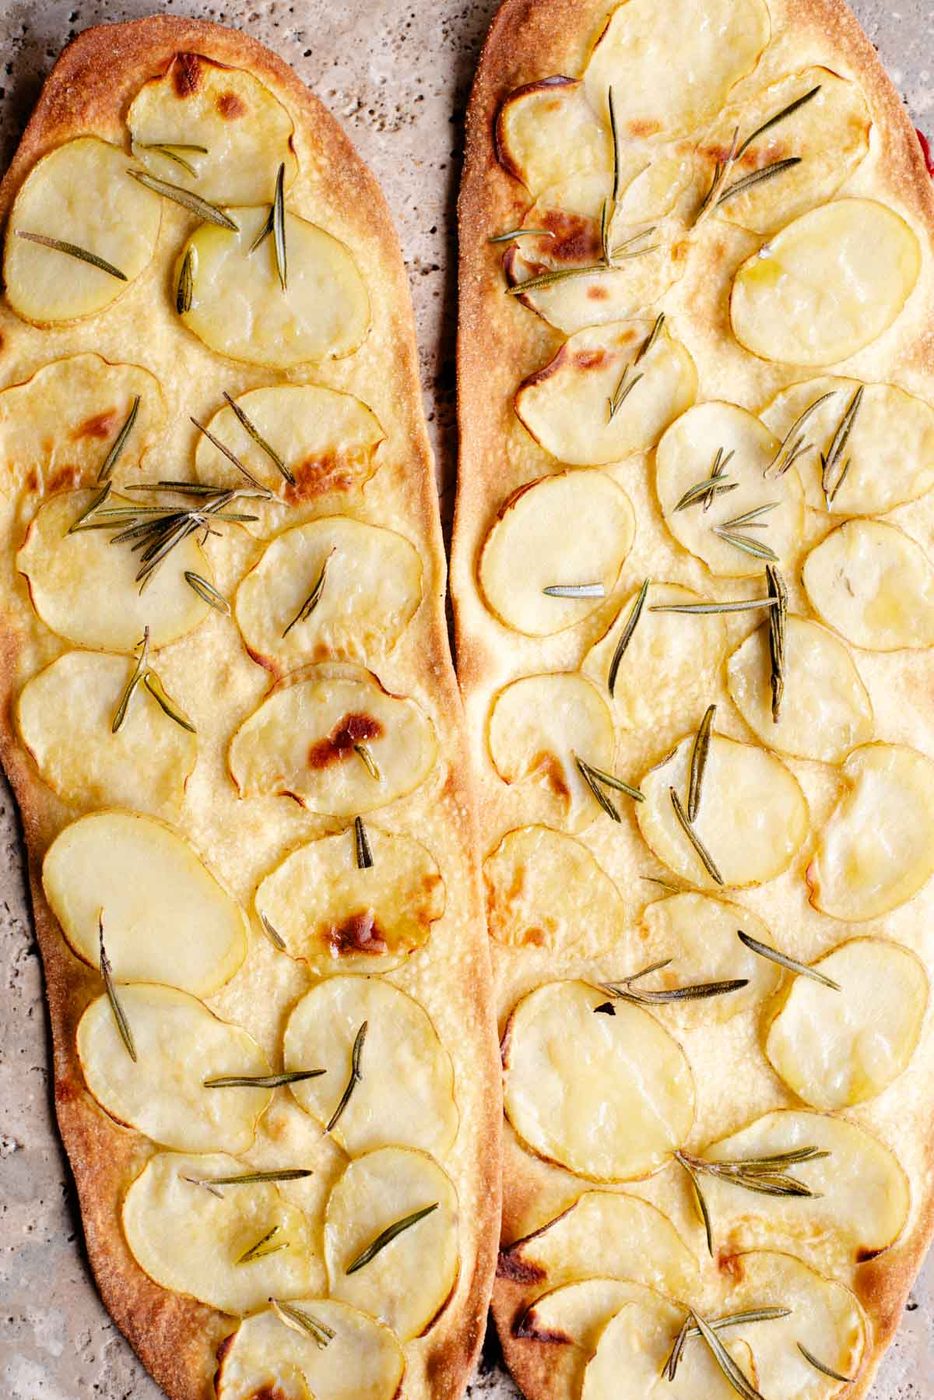
- Potato – slice the potatoes as thinly as possible, then add fresh rosemary (or herb of choice), salt and olive oil.
- Prosciutto – add slices of cured prosciutto or ham. Do this at the second bake after adding more tomato.
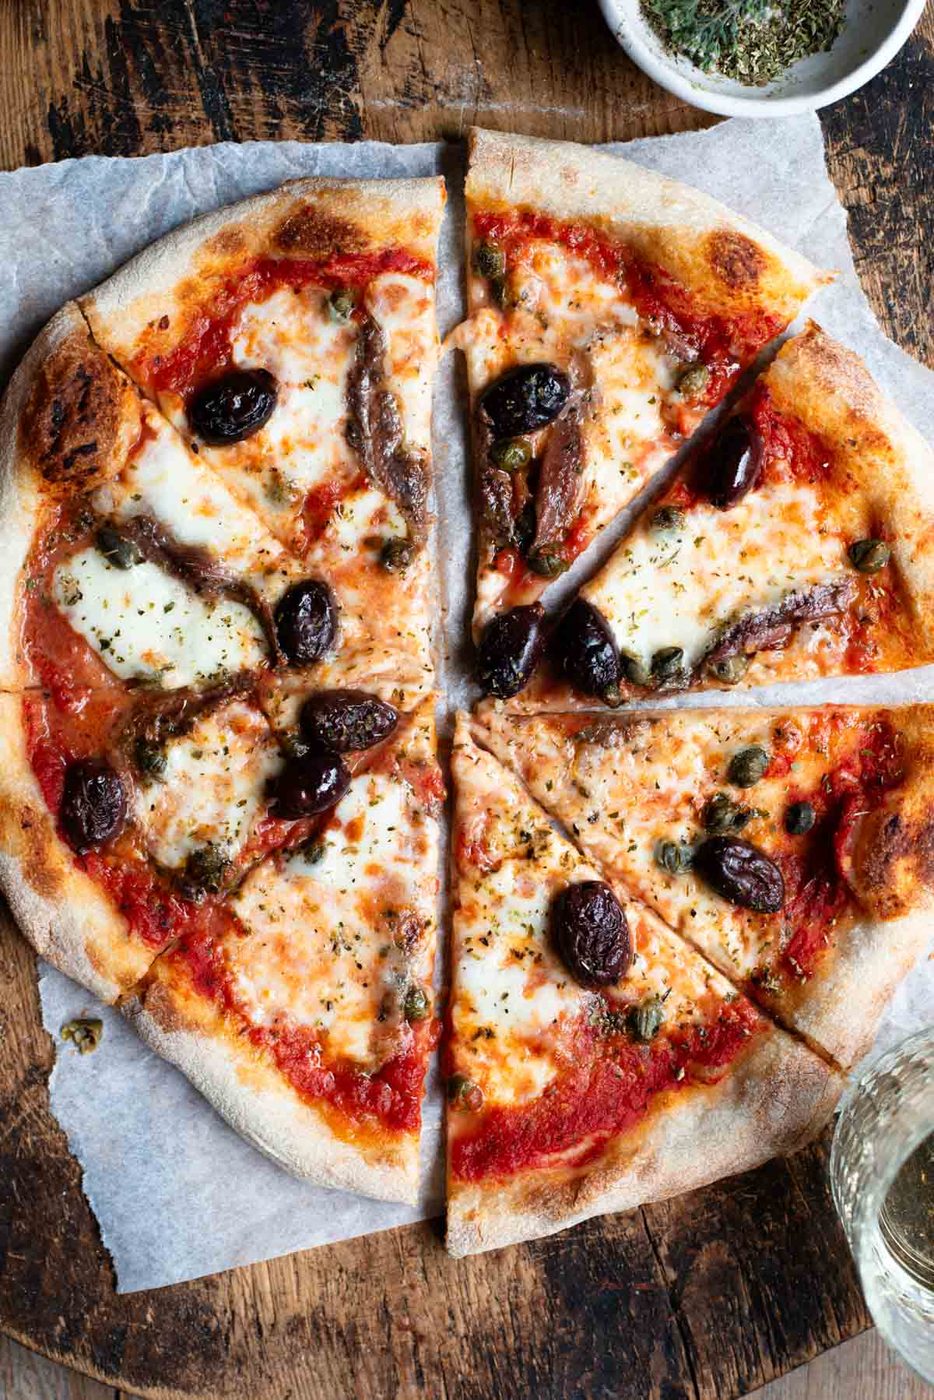
- Anchovies, capers and olives – these are good additions on top of the tomato sauce (choose one or all three). Again, add the toppings at the second bake.
- Pesto and burrata – add these fresh on top of the pizza after baking. Use our homemade basil pesto recipe it's good!
More good Italian snacks to try
Bread & Savory Bakes
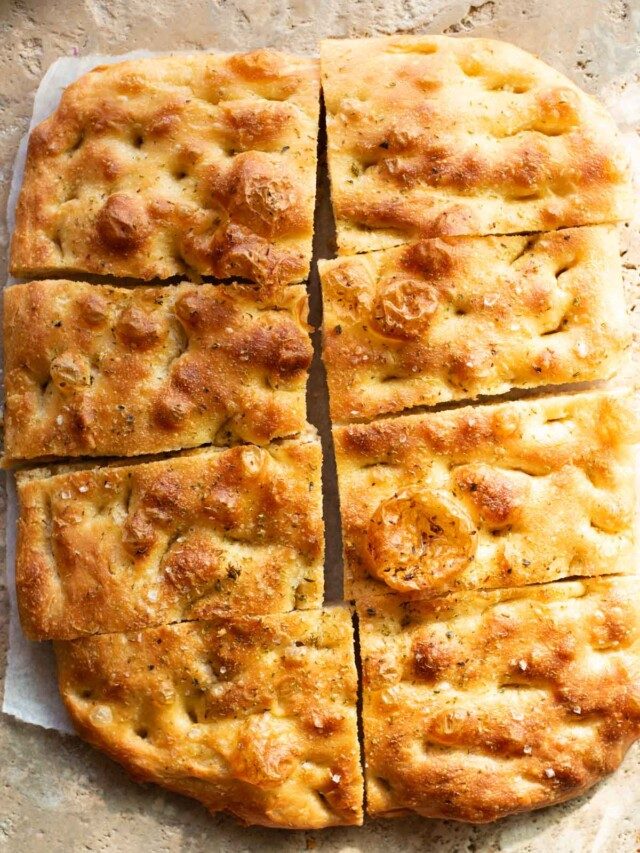
Overnight No Knead Focaccia
Antipasti
Taralli Pugliesi (Italian Snack)
Antipasti
Rustici Leccesi (Tomato and Mozzarella Pastries)
Antipasti
Pizza Scima (Abruzzese Flatbread)
Ingredients
Makes 4 pizzas (serves 8)
- 200 g Italian 00 flour (or all-purpose flour (1.5 cups spooned and levelled))
- 130 g Semola Rimacinata (plus more for dusting (3/4 cup plus 1 tablespoon))
- ½ teaspoon baking powder
- ½ teaspoon fine salt
- 200 ml water ((3/4 cup plus 1 tablespoon))
- 1 tablespoon olive oil (plus extra for greasing)
Topping 1 (for 4 pizzas)
- 560 g (2 cups) Passata (tomato puree US)
- 1/2 teaspoon dried oregano
- 1 garlic clove
- Olive oil
- Salt and pepper
Topping 2 (for 4 pizzas)
- 2 large waxy potatoes
- Fresh rosemary
- Olive oil
- Salt and pepper
Equipment
- Baking tray
- Rolling pin
Method
Make the dough
Put the flour, semola, baking powder and salt in a large mixing bowl and mix them together. Add the olive oil and water and mix to form a rough dough.
Place the dough on a clean work surface and knead for a few seconds into a ball. Cover the dough with the mixing bowl (or use plastic wrap) and leave it to rest for 1 hour.
Prep the toppings
For the tomato topping, put the passata in a bowl with the oregano, crushed garlic clove, a pinch of salt and pepper and a drizzle of olive oil. Mix until combined, then set aside.
For the potato topping, thinly slice the potatoes as thin as possible (we keep the skin on but you can peel it if you prefer) then set them aside.
Assemble and bake
Pre-heat the oven to 250C (480F). Grease a baking tray generously with olive oil.
When the dough has rested, cut it into 4 quarters. Lightly dust your work surface with semola and roll one quarter of the dough out into a long thin pizza using a rolling pin. Make sure you roll it out long enough to fit your tray (our tray is 17x11.5 inches).
For the tomato topping
Lay the dough on the baking tray and cover it with tomato sauce all the way to the edges. Repeat with the rest of the dough (we usually do this in 2 batches as we can only fit 2 on a tray at a time).
Bake in the oven for 10 minutes, then remove them from the oven and spread on another layer of tomato sauce. Bake for a further 10 minutes, then remove from the oven and serve.
For the potato topping
For the potato topping, drizzle your rolled out dough with olive oil then lay thin slices of potato over the dough, sprinkle with sea salt, fresh rosemary and then a drizzle of more olive oil.
Bake in the oven for 15-20 minutes until golden around the edges.
Kitchen notes
- Topping amounts Each topping option in the ingredients list makes enough for the whole batch of dough (4 pizzas). You can cut this in half to make 2 pizzas instead.
- Storage best served immediately and eaten the same day.
- Use a scale for best results We highly recommend using a kitchen scale to weigh both flours for best results. We always measure the ingredients in cups myself for each recipe, but we find this can vary greatly with flour in particular. When using cups, we always measure the flour by spooning it into the cup and levelling it off with a knife.