
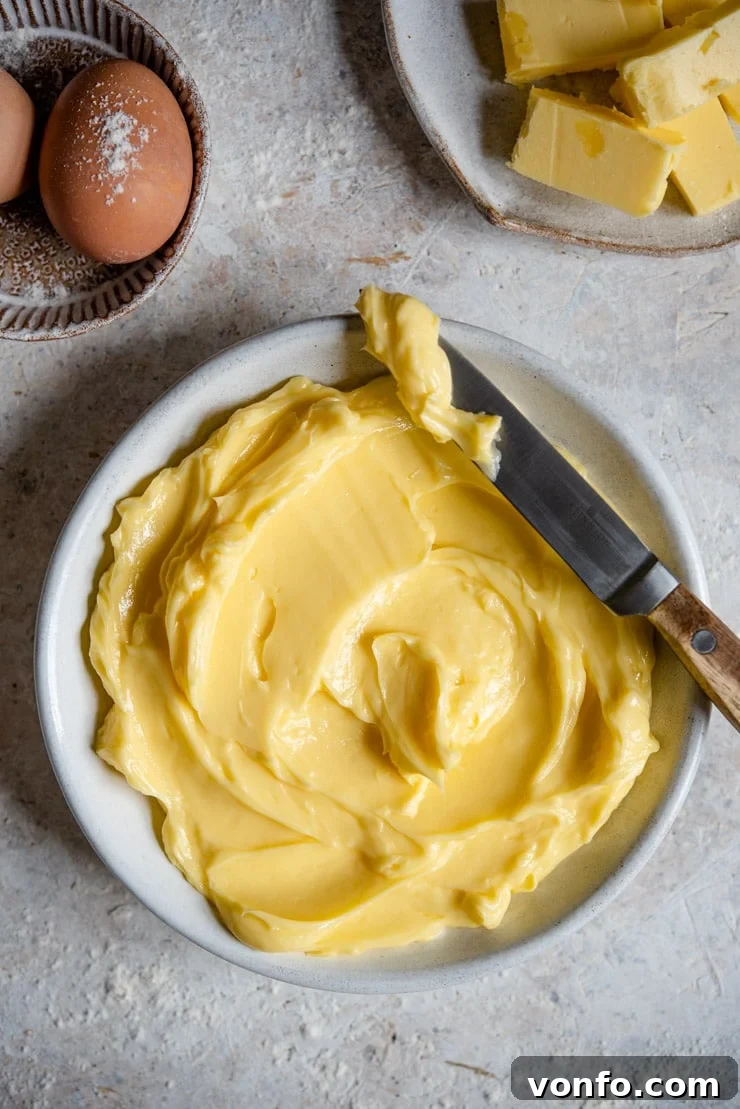
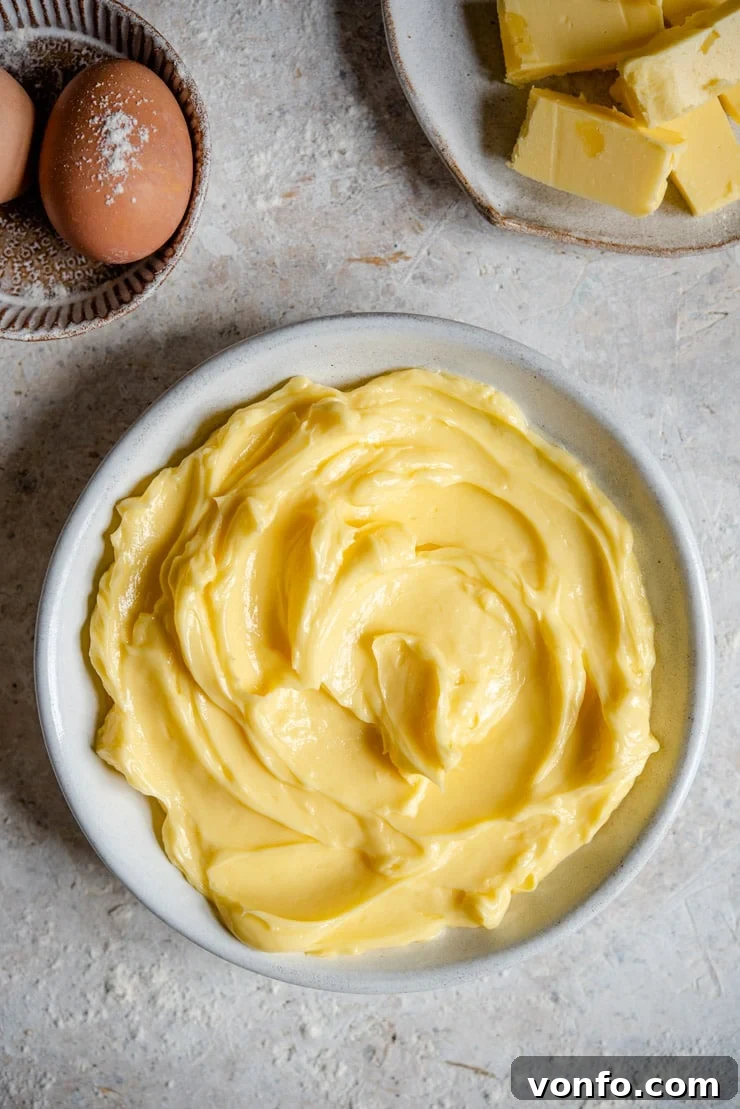
Master the art of softening butter with our foolproof method! If your baking adventures call for soft, creamy butter and you need it fast, this technique is your new best friend. It takes only 5-10 minutes, works flawlessly every single time, and completely eliminates the risk of accidentally melting your butter. Get ready for baking perfection!
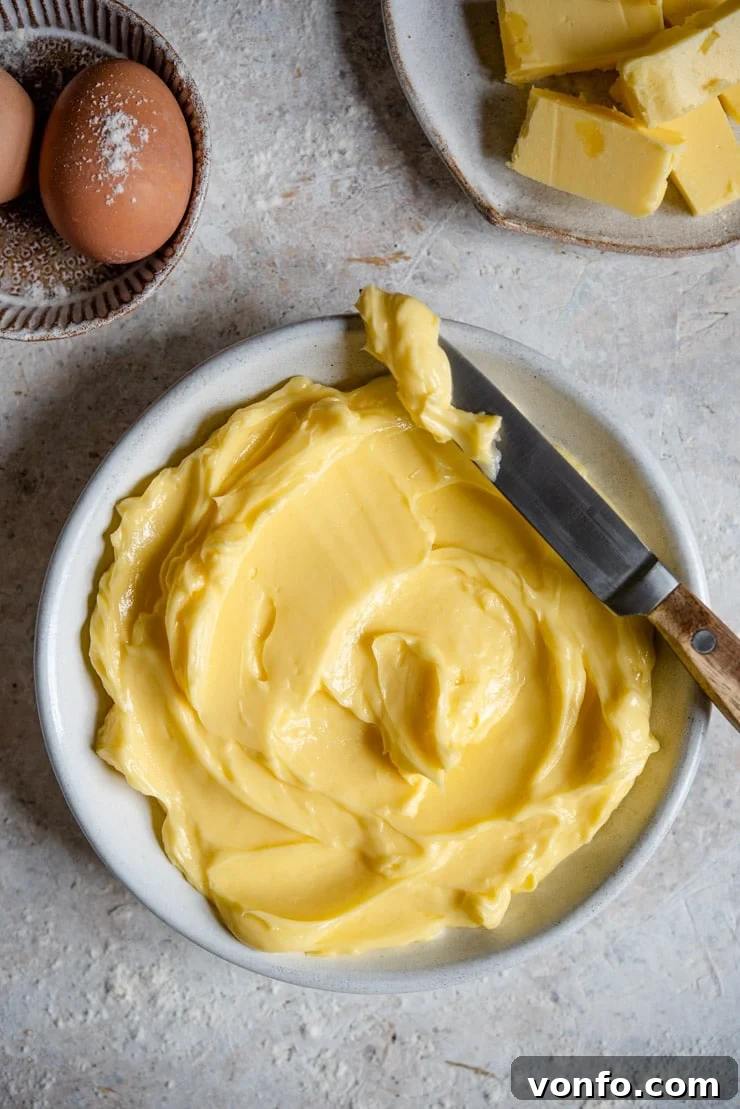
How to Soften Butter Quickly and Perfectly for Baking (No Microwave Needed!)
For any passionate baker, the importance of using room-temperature butter cannot be overstated. Most baking recipes involving butter, from delicate cookies to towering cakes, explicitly call for butter that is softened. This crucial step ensures that sugar and butter can be properly creamed together, creating a light, airy, and emulsified mixture. Without it, you risk ending up with a lumpy batter, uneven baking, and a less than stellar final texture. Achieving that ideal soft, yet still firm, consistency is truly the foundation for many successful baked goods.
The Common Baking Conundrum: Cold Butter
We’ve all been there: you’re excited to start baking, you’ve gathered all your ingredients, only to realize the butter is rock-hard straight from the fridge. Waiting for butter to come to room temperature naturally can feel like an eternity, sometimes taking hours depending on your kitchen’s ambient temperature. This inconvenient delay can often derail your baking plans, or worse, tempt you into shortcuts that lead to disastrous results, such as a microwave catastrophe.
Fortunately, forgetting to take butter out in advance no longer has to be an annoying wait that leaves you contemplating giving up on your baking dreams. I’ve discovered and perfected the simplest, fastest, and most reliable method for achieving perfectly softened butter. It’s so efficient and consistent that I honestly don’t bother planning ahead anymore; this technique has become my standard practice for every baking session. It truly transforms the prep process, making baking more spontaneous and stress-free.
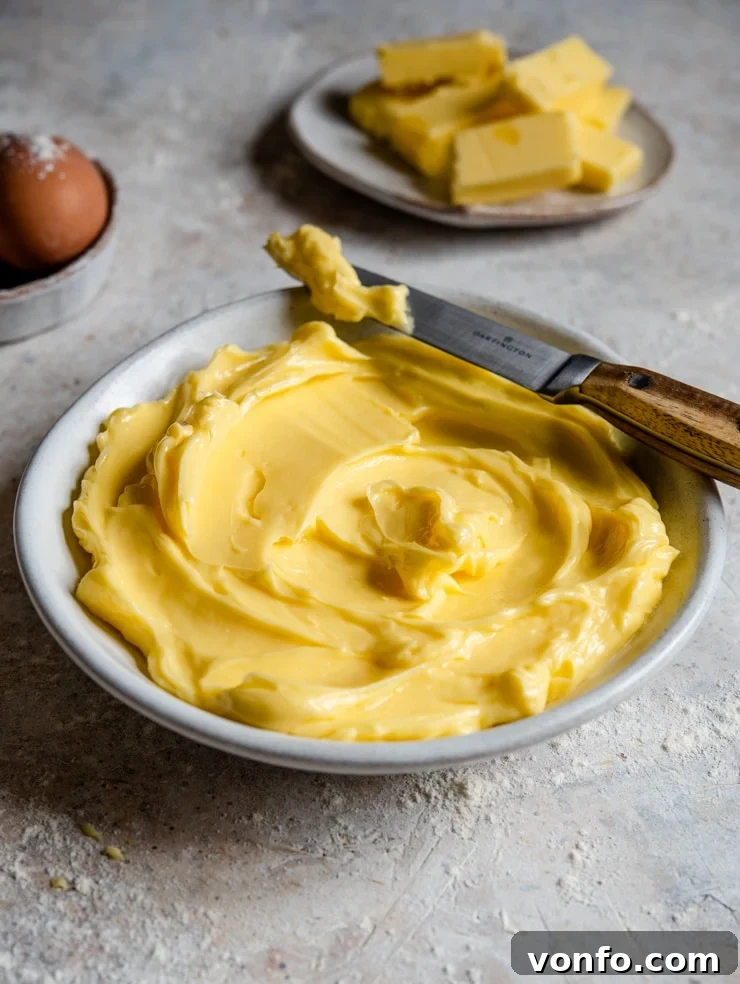
Essential Tools for Rapid Butter Softening
The beauty of this method lies in its incredible simplicity, requiring minimal equipment that you almost certainly already have in your kitchen. Forget fancy gadgets or unpredictable appliances. All you truly need for perfectly softened butter, ready in minutes, are these three basic items:
- Butter (of course, the star of our show!)
- A medium-sized bowl
- Water
That’s truly all there is to it! No microwave to risk melting, no stove to monitor, and absolutely no complex machinery. This straightforward approach guarantees perfectly softened butter every single time. Continue reading below for a detailed, step-by-step guide complete with helpful photos, showing you exactly how to achieve this perfect baking consistency with ease.
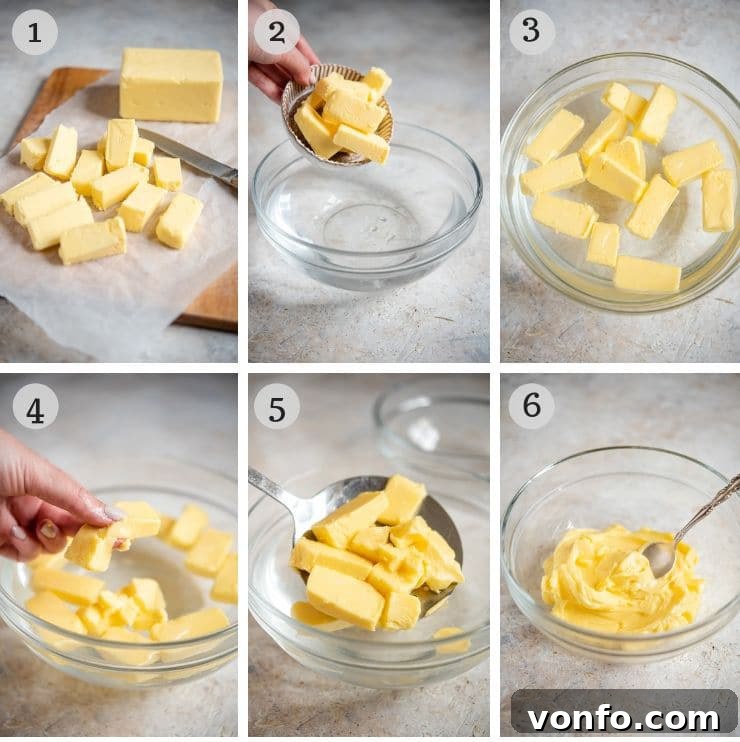
Step-by-Step: How to Soften Butter with the Tepid Water Method
The success of this butter softening technique hinges entirely on one critical factor: the temperature of your water. It is absolutely vital that you use **tepid or warm water**, never hot. Think of water that feels just comfortable to the touch, not scalding. Using hot water will lead to melted butter, which is entirely unsuitable for most baking applications and defeats the purpose of this controlled method.
-
Prepare Your Butter: Begin by measuring out the exact quantity of butter your recipe requires. Once measured, cut the cold butter into small to medium-sized pieces or cubes. This increases the surface area, allowing the butter to soften much more quickly and evenly when submerged in the water. Smaller pieces will soften faster, while larger chunks will take slightly longer.
-
Set Up the Water Bath: Fill a clean, medium-sized bowl with tepid-warm water. It’s important to test the water temperature with your hand to ensure it’s not hot. The ideal range is around 30-33°C (86-91°F), but simply feeling “just warm” is a good indicator.
-
Submerge the Butter: Gently add your cut butter pieces into the bowl of tepid water. Ensure the butter is fully submerged. Let the butter sit in the water for approximately 5 to 10 minutes. The exact time will depend on the initial coldness of your butter and the size of your pieces.

-
Check for Softness: After 5 minutes, carefully remove one piece of butter and gently press it between your thumb and forefinger. It should yield easily, leaving a slight indentation, but not feel greasy or melted. If it’s not soft enough, return it to the water and check again in a couple of minutes.
-
Drain and Use: Once your butter has reached the perfect softened consistency, carefully scoop it out of the bowl. Make sure to drain off any excess water thoroughly (see our top tips below for the best draining methods). Your beautifully softened, creamy butter is now perfectly ready to be incorporated into your recipe!
The Science of Softening: Why Water Temperature is Key
The precise temperature of the water is not just important; it’s the absolute cornerstone of this method’s success. As mentioned, the water should ideally be around 30-33°C (86-91°F). This temperature range is crucial because it is above butter’s ideal room temperature for softening but comfortably below its melting point. Butter typically starts to melt around 32-35°C (90-95°F). By using water that is tepid – just warm to the touch – you create a gentle thermal environment that slowly and evenly brings the butter up to a soft, pliable state without ever risking it turning into a liquid mess.
If you mistakenly use hot water, even slightly too hot, the butter will undoubtedly melt. You’ll be left with a bowl of warm water with unsightly pools of melted, oily butter floating on top, rendering it useless for most baking applications. This method harnesses controlled, gentle heat transfer, ensuring the butter softens from the outside in, achieving that coveted creamy consistency without compromising its structure or texture.
Why This Water Bath Method Outshines Other Techniques
This particular water bath method for softening butter is exceptionally effective because it virtually eliminates the primary risk associated with other quick softening techniques: accidental melting. The controlled temperature of the tepid water ensures that even if you leave the butter submerged for a few extra minutes, it won’t melt. This offers a significant advantage, freeing you from the stress of constant monitoring and strict timers.
Contrast this with other popular, yet often problematic, methods:
-
The Microwave Method: While seemingly quick, the microwave is notoriously unreliable for softening butter. Its uneven heating can easily lead to a stick of butter that is rock-hard in the center and completely melted at the edges, creating a mess that’s unusable for creaming. The risk of overshooting and melting is extremely high.
-
The Hot Bowl Method: Some suggest covering butter with a hot bowl, but this too can be inconsistent. The residual heat from the bowl can be too intense, often melting the butter on the surface while leaving the inside cold, or simply turning the entire stick greasy.
-
Grating Butter: Grating butter is a viable method for quick softening, as it breaks the butter into small pieces that warm up faster. However, it can be messy, leaves butter shreds that are sometimes too cold, and requires extra cleanup of your grater and work surface.
-
Rolling/Pounding Butter: Attempting to flatten or pound butter can work, but it requires considerable effort, can be messy, and doesn’t guarantee a uniformly softened product without breaking its structure. It often results in a more pliable but still somewhat dense texture.
The tepid water method, on the other hand, is both simple and lightning fast, consistently delivering perfectly softened butter without any of these common pitfalls. It’s the ultimate hassle-free solution for any baker.
Expert Tips for Achieving Perfectly Softened Butter Every Time
To ensure flawless results with your butter softening endeavors, keep these helpful tips in mind:
-
Efficient Draining is Key: Remember the age-old saying: fat, oil, and water don’t mix! There’s absolutely no need to worry about ending up with “watery butter.” However, it’s crucial to properly drain all the water from the butter once it’s softened. I find a slotted spoon works perfectly for scooping the butter out while letting the water escape. Alternatively, you can carefully use your hands. Whichever method you choose, give the butter a gentle shake or press against the side of the bowl to remove any lingering moisture before transferring it to a separate bowl or plate, ready for your recipe.
-
Always Fill Water First: To guarantee optimal water temperature, always fill your bowl with water first. This allows you to accurately test and adjust the temperature before introducing the butter. Once the water feels just right – tepid and comfortably warm, not hot – then add your pre-cut butter pieces.
-
Avoid Overcrowding: For the most efficient and even softening, avoid overcrowding your bowl with too much butter. If you have a large quantity of butter to soften for a big baking project, it’s much better to divide it between two separate bowls. This ensures that each piece of butter has ample exposure to the warm water.
-
Temperature Precision (Optional): While a simple hand test for “tepid” is usually sufficient, if you prefer absolute precision, aim for a water temperature of approximately 30-33°C (86-91°F) using a kitchen thermometer. If you only have separate hot and cold taps, mix a small amount of hot water with a significantly larger amount of cold water until you achieve that ideal tepid feeling.
-
Consider Butter Type: This method works wonderfully for both salted and unsalted butter. Keep in mind that European-style butters, which often have a higher fat content, may take a minute or two longer to soften compared to standard American butter due to their denser composition.
-
Adjust for Cold Kitchens: If you’re baking in a particularly cold environment, you might find that the butter takes closer to the 10-minute mark to soften completely. Don’t rush it; a few extra minutes in the tepid water will not harm the butter with this gentle method.
Common Mistakes to Avoid When Softening Butter
Even with the simplest methods, a few common pitfalls can hinder your butter softening success. By being aware of these, you can ensure your butter is always perfectly prepared:
-
Using Excessively Hot Water: This is the cardinal sin of butter softening. As discussed, hot water will quickly melt the butter, separating its fat and solids, making it unusable for creaming in baking. Always aim for tepid, not hot.
-
Not Cutting the Butter: Trying to soften a whole block of butter in the water bath will significantly increase the time it takes and may result in uneven softening. Cutting it into smaller pieces is crucial for faster, more consistent results.
-
Insufficient Draining: While the water won’t mix with the fat, leaving excess moisture on the butter can introduce unwanted liquid into your recipe, potentially affecting the final texture. Always shake or press out residual water.
-
Impatience with Microwaves: If you absolutely must use a microwave, use the lowest power setting (e.g., defrost) and microwave in very short bursts (5-10 seconds), flipping the butter often. However, even then, the results are rarely as consistent or risk-free as the water bath method.
Storing Butter for Optimal Baking Readiness
While this method makes quick work of cold butter, planning ahead can still be beneficial. For optimal readiness, consider storing a small amount of butter at cool room temperature (below 20°C/68°F) in a butter crock or covered dish if your kitchen isn’t too warm. This way, it’s always spreadable and often soft enough for many recipes. However, for precise baking, always refer to your recipe’s butter temperature requirements. For longer storage, keep butter in its original packaging in the coldest part of your refrigerator.
Beyond Baking: Other Uses for Softened Butter
Softened butter isn’t just for baking! Its pliable texture makes it incredibly versatile:
-
Perfect Spreading: Effortlessly spread on toast, muffins, or corn on the cob without tearing the bread.
-
Compound Butters: Easily mix in herbs, spices, garlic, or citrus zest to create flavorful compound butters for steaks, vegetables, or warm bread.
-
Greasing Pans: A smooth, softened stick of butter glides easily to grease baking pans, ensuring non-stick perfection.
-
Mashing Vegetables: Incorporate into mashed potatoes, sweet potatoes, or pureed cauliflower for a rich, creamy texture.
We absolutely love hearing from you! If you’ve tried this foolproof method for How to Soften Butter or any other recipe on our blog, please don’t hesitate to share your experience and thoughts in the comments section below. Your feedback and success stories inspire us! You can also FOLLOW ME on FACEBOOK, INSTAGRAM, and PINTEREST to discover more delicious culinary creations and stay updated on our latest kitchen adventures.
Step By Step Photos Above
Most of our recipes come with step by step photos, helpful tips and tricks to make it perfectly first time and even video!
How to Soften Butter – Easiest Method Ever
By Emily
10 minutes
10 minutes
1
stick of butter
Equipment
-
medium-sized bowl
Ingredients
- butter
- water
Instructions
-
Measure the correct amount of butter that you need then cut it up into small to medium-sized pieces or cubes. This helps the butter soften quicker.
-
Fill a bowl with tepid-warm water then add the butter. Let the butter sit for 5-10 minutes.
-
Check the butter is softened enough by pressing a piece between your fingers. If it is, scoop the butter out of the bowl and your butter is ready to use.
Notes
- Fat, oil and water don’t mix so don’t worry about “watery butter” it won’t happen just make sure to drain the water properly from the bowl.
- Always fill the bowl with water first then add the butter so you can get the water temperature correct first.
- You don’t want your bowl to be overcrowded so if you have a lot of butter to soften divide it between two bowls.
- I have separate hot and cold taps so I mix some hot with a lot more cold until the temperature feels tepid. If you want to use a thermometer then it should be around 30-33C (86-91F).
- I drain the butter by scooping it out using a slotted spoon but you can also use your hands to scoop it out. Whatever method you use to make sure to give it a little shake to drain off any excess water then place in a separate bowl or plate ready to use.
Helpful Info for All Recipes
- I always use extra virgin olive oil in all of my recipes unless stated otherwise
- When I use canned or jarred tomatoes of any kind I always use Cirio or Mutti brands for the best results and flavour.
- All vegetables are medium sized unless stated otherwise
- All recipes are tested and developed using a fan (convection) oven
- Find out more about how nutrition is calculated.
- Check out our must have Italian Pantry Staples.
- You can also find all our Essential Kitchen Tools for Italian Cooking.
Nutrition
Calories: 810kcal
|
Carbohydrates: 1g
|
Protein: 1g
|
Fat: 92g
|
Saturated Fat: 58g
|
Trans Fat: 4g
|
Cholesterol: 243mg
|
Sodium: 807mg
|
Potassium: 27mg
|
Sugar: 1g
|
Vitamin A: 2824IU
|
Calcium: 27mg
|
Iron: 1mg
Nutrition information is automatically calculated, so should only be used as an approximation.
Did you try this recipe?
Leave a comment below!