
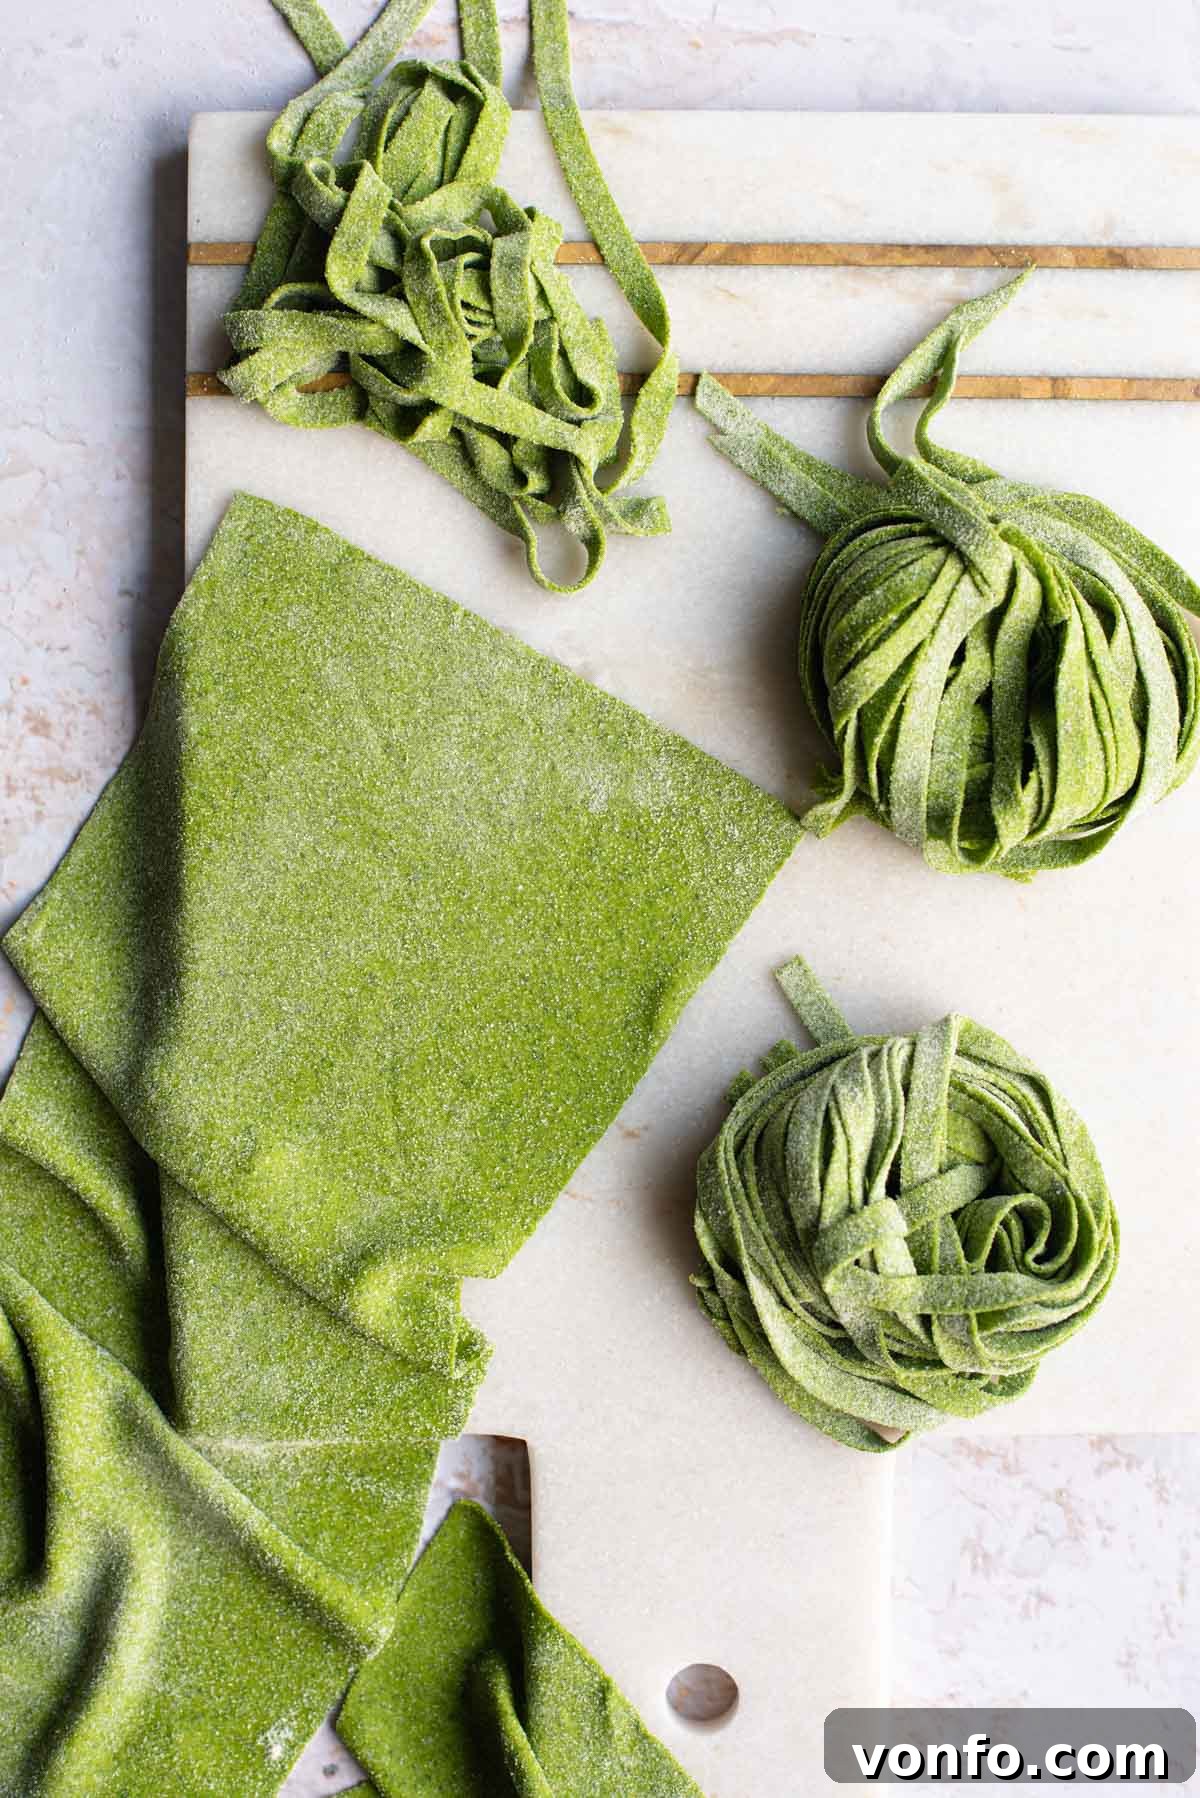
There’s an undeniable magic in creating homemade pasta from scratch, and this recipe for **vibrant green spinach pasta dough** makes that magic incredibly accessible. Using just two primary ingredients – fresh spinach and flour – you can craft beautiful, flavorful pasta that’s perfect for any dish. Whether you envision delicate tagliatelle, rich lasagna sheets, or any other pasta shape, this recipe is your gateway to an unforgettable culinary experience.
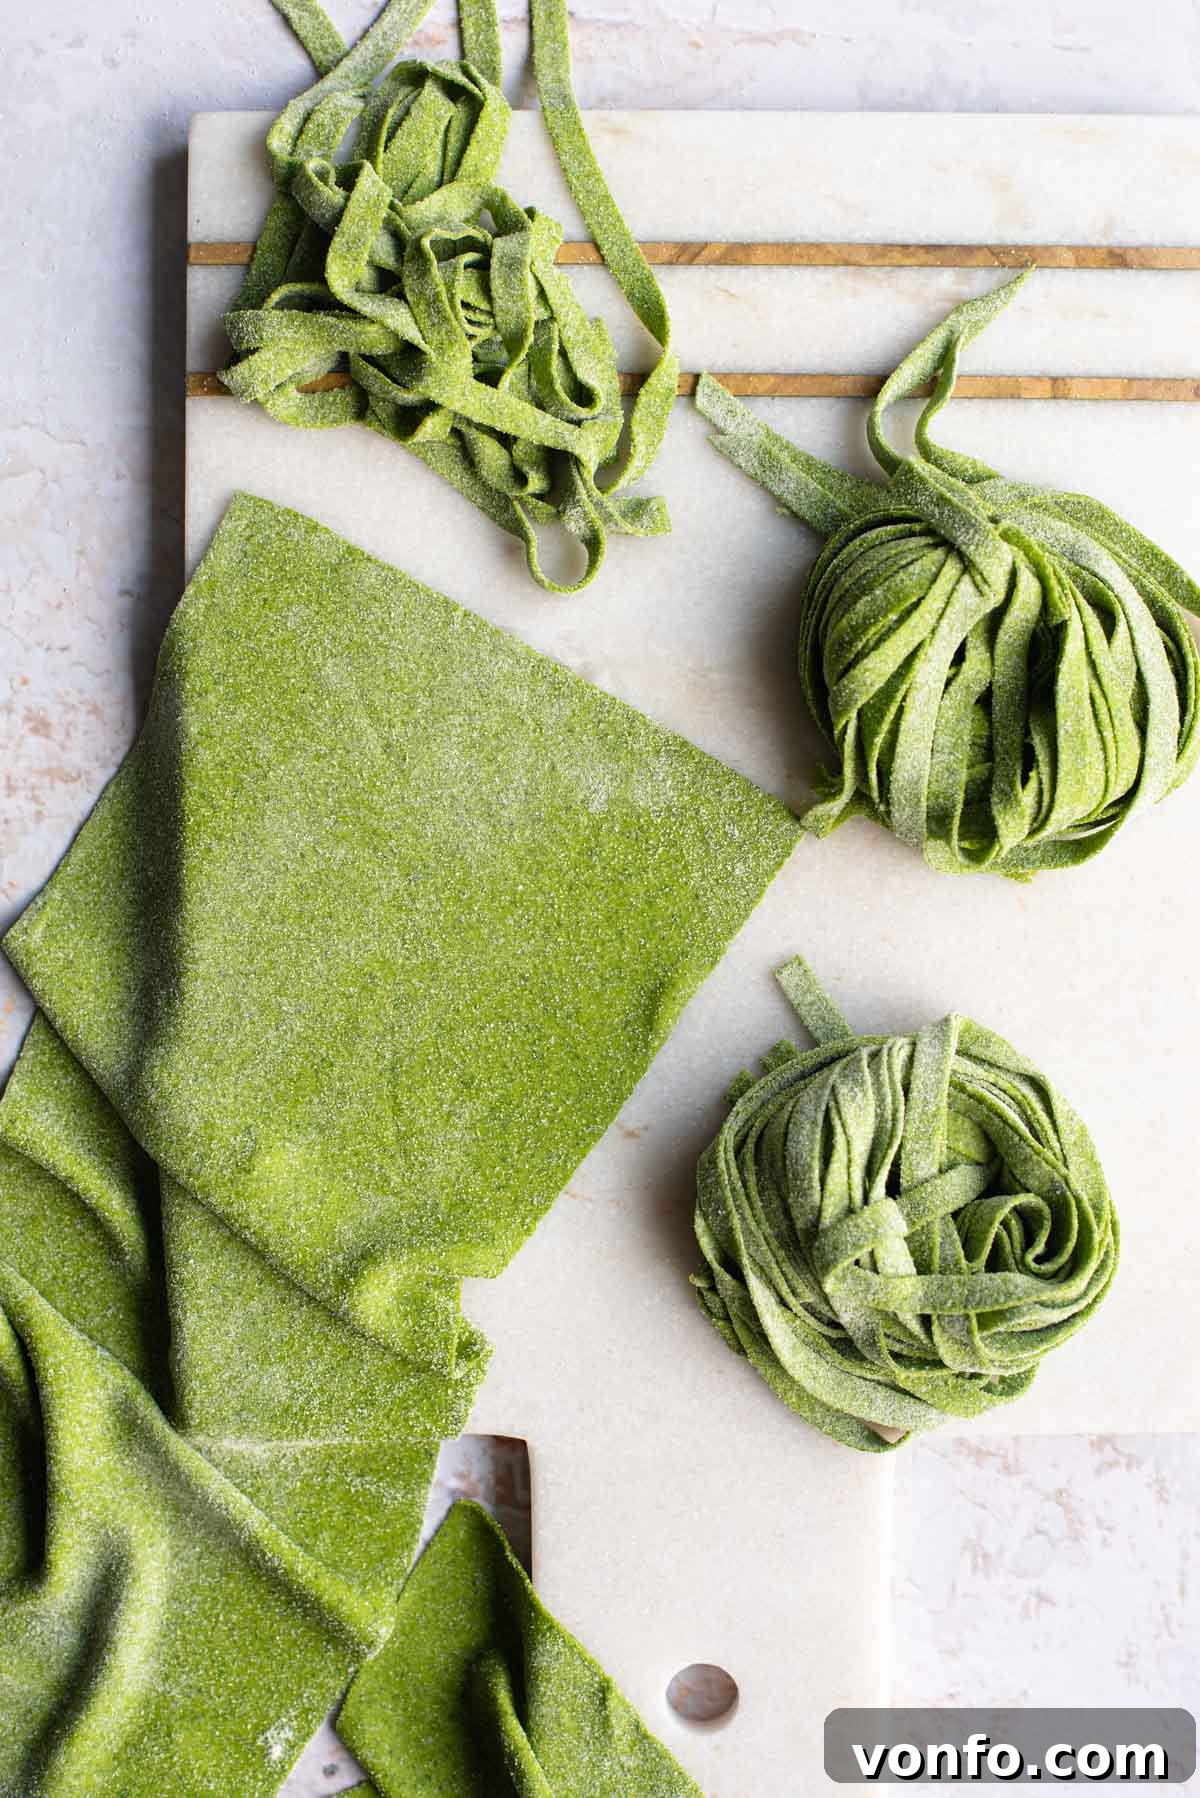
While making homemade pasta might seem like a daunting task, this spinach pasta dough recipe simplifies the process dramatically. Unlike traditional pasta, this version leverages the natural moisture from fresh spinach, eliminating the need for eggs and making it an excellent egg-free option. The result is a stunning, naturally colored green dough that not only looks incredible but also adds a subtle, earthy flavor to your favorite pasta dishes.
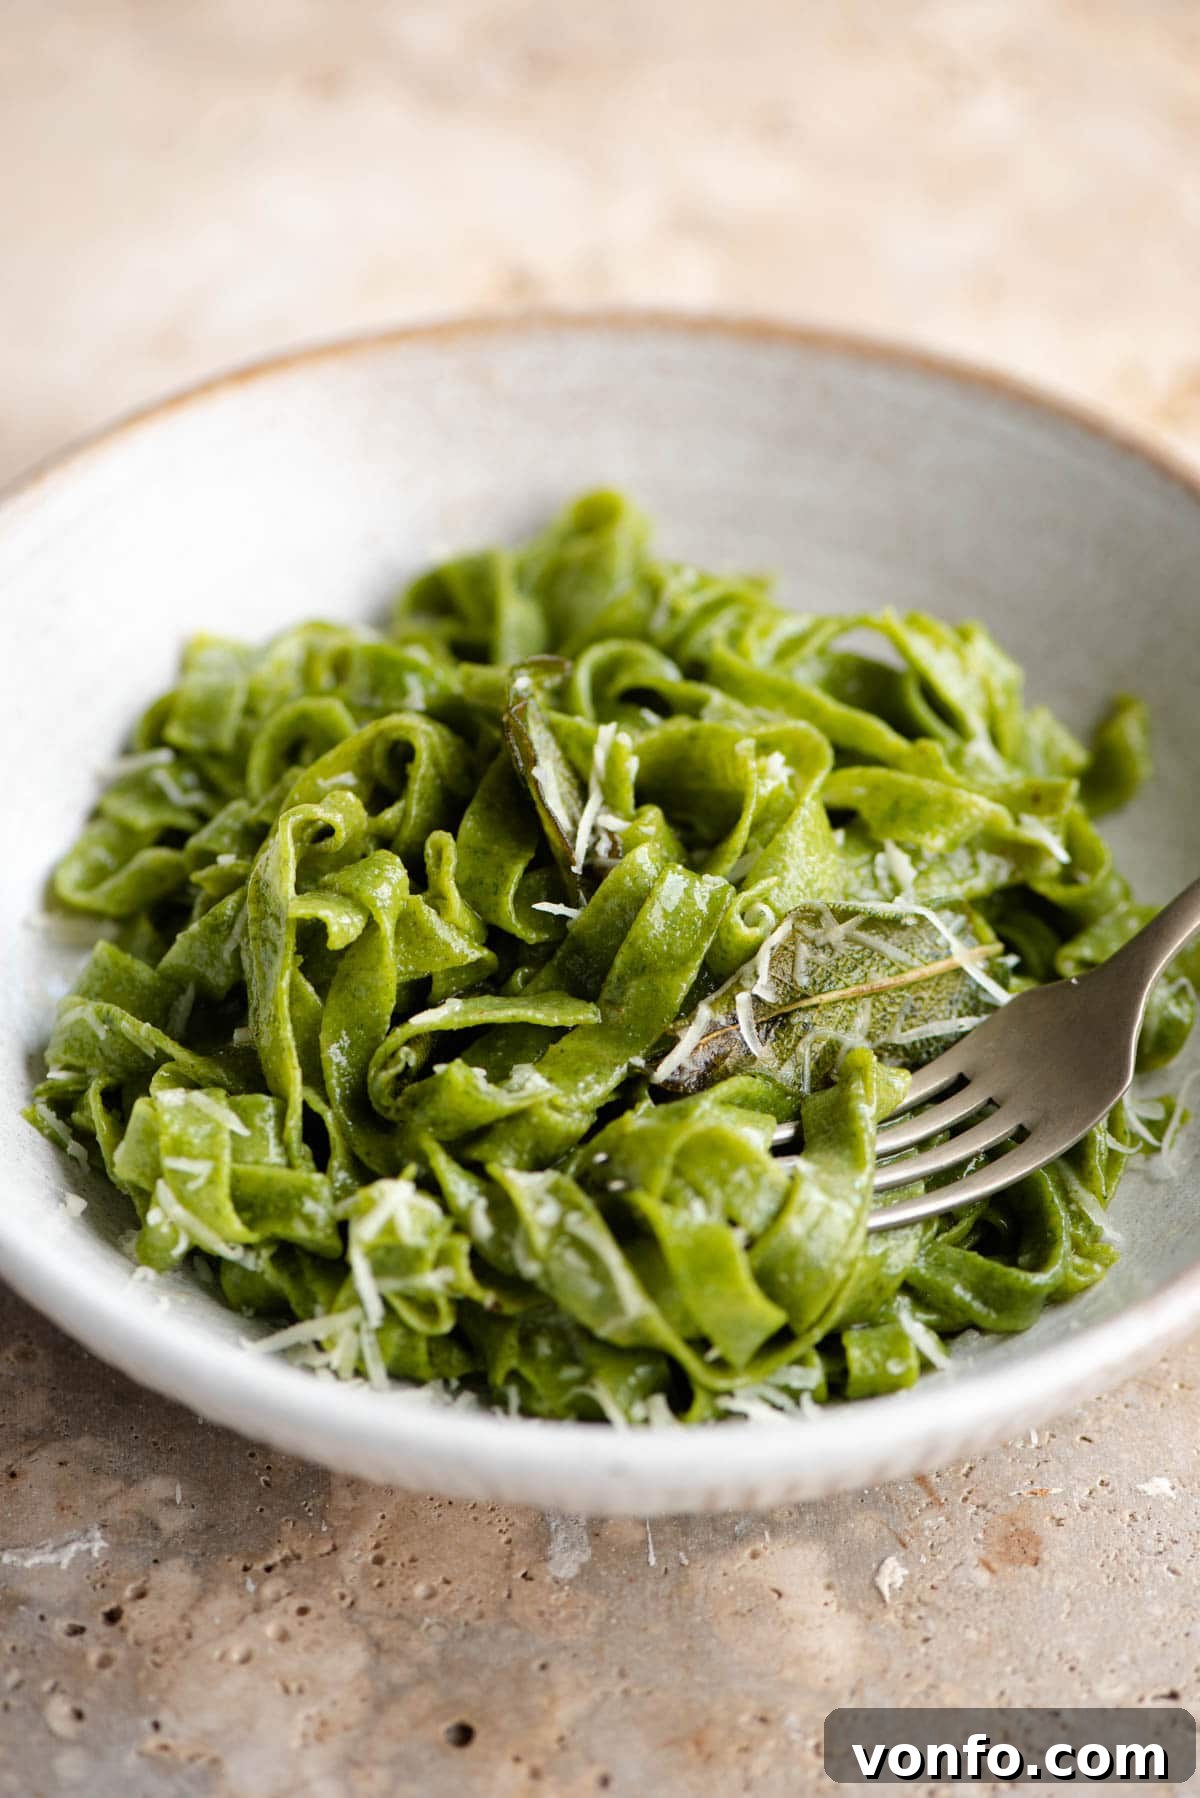
Our method utilizes a food processor to blend the ingredients seamlessly, transforming them into a pliable dough with minimal effort. This easy approach ensures that even beginner pasta makers can achieve professional-looking and tasting results. Imagine serving freshly made tagliatelle coated in a rich pesto, or layering this beautiful green pasta into a classic Lasagne alla Bolognese. The possibilities are endless, limited only by your imagination.
This comprehensive guide will walk you through every step, from selecting the right ingredients to shaping your pasta. We’ll share invaluable tips, detailed step-by-step photos, and clear instructions to help you create perfect spinach pasta every time. Get ready to elevate your pasta game and impress your family and friends with this simple yet sophisticated homemade delight!
Essential Ingredients for Your Green Pasta
Crafting this stunning spinach pasta dough requires only a few key ingredients, but their quality and preparation are crucial for the best results. Below, you’ll find a detailed look at what you need, along with our expert tips to ensure success.
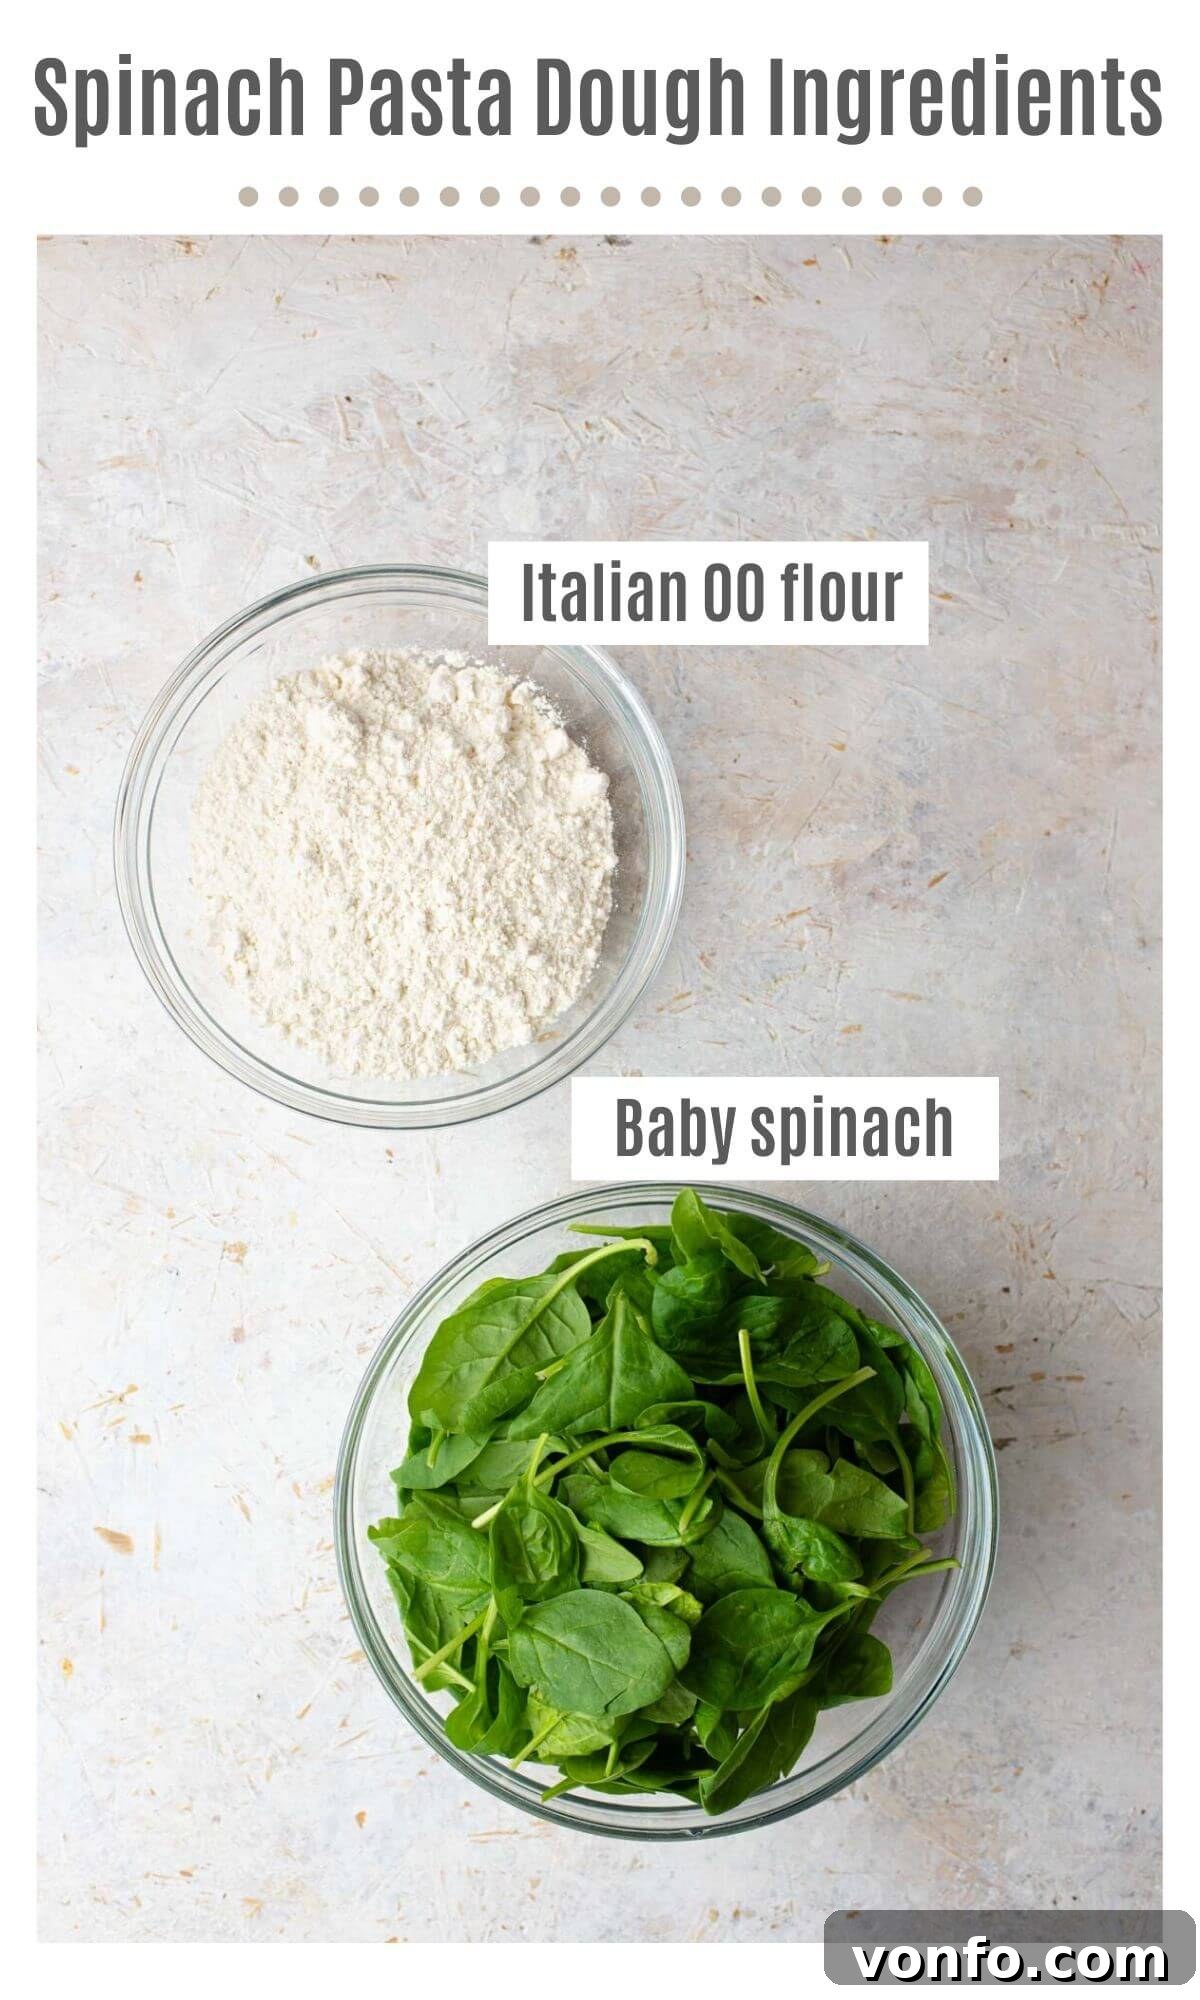
- Fresh Spinach: The star of our dough, spinach provides both the vibrant green color and the necessary moisture. It’s absolutely essential that your spinach is thoroughly washed and completely dried. Any excess water will make your dough too soft and sticky, leading to frustrating rolling and shaping. We recommend using baby spinach for its tender leaves and milder flavor. If you’re using larger, mature spinach leaves, be sure to trim off any thick, fibrous stalks, as these can affect the dough’s texture and appearance. A salad spinner is an excellent tool for ensuring your spinach is perfectly dry.
- Flour: For truly exceptional homemade pasta, Italian “00” Flour is our top recommendation. This finely milled wheat flour has a lower protein content than bread flour, resulting in a silkier, more tender pasta with a fantastic chew. Its fine texture also makes it easier to work with, absorbing moisture evenly. If “00” flour isn’t available, you can substitute it with good quality all-purpose flour. While all-purpose flour will still yield delicious pasta, the texture might be slightly less delicate than that achieved with “00” flour.
- Optional: A pinch of fine sea salt: While not strictly necessary for the dough’s structure, a small amount of salt can enhance the flavor of your pasta. Add it directly to the flour when blending.
Remember, the success of this two-ingredient spinach pasta hinges on the quality and preparation of your spinach. Ensure it’s clean, fresh, and bone-dry before you begin. For mature spinach, taking the extra step to remove tough stalks will make a significant difference in the final dough’s consistency and smoothness.
Step-by-Step Guide to Making Perfect Spinach Pasta Dough
Follow these detailed steps to create beautiful, vibrant green pasta dough that’s a joy to work with and even more delightful to eat.
1. Prepare Your Spinach
Begin by ensuring your spinach is pristine. Wash your baby spinach thoroughly under cold water. If using mature spinach, carefully remove any large, tough stalks. The most critical step here is drying: use a salad spinner to remove as much moisture as possible. Lay the spinach out on clean kitchen towels to air dry for a few minutes, or gently blot it dry. Your spinach must be completely dry to prevent a sticky, unmanageable dough.
2. The Food Processor Magic
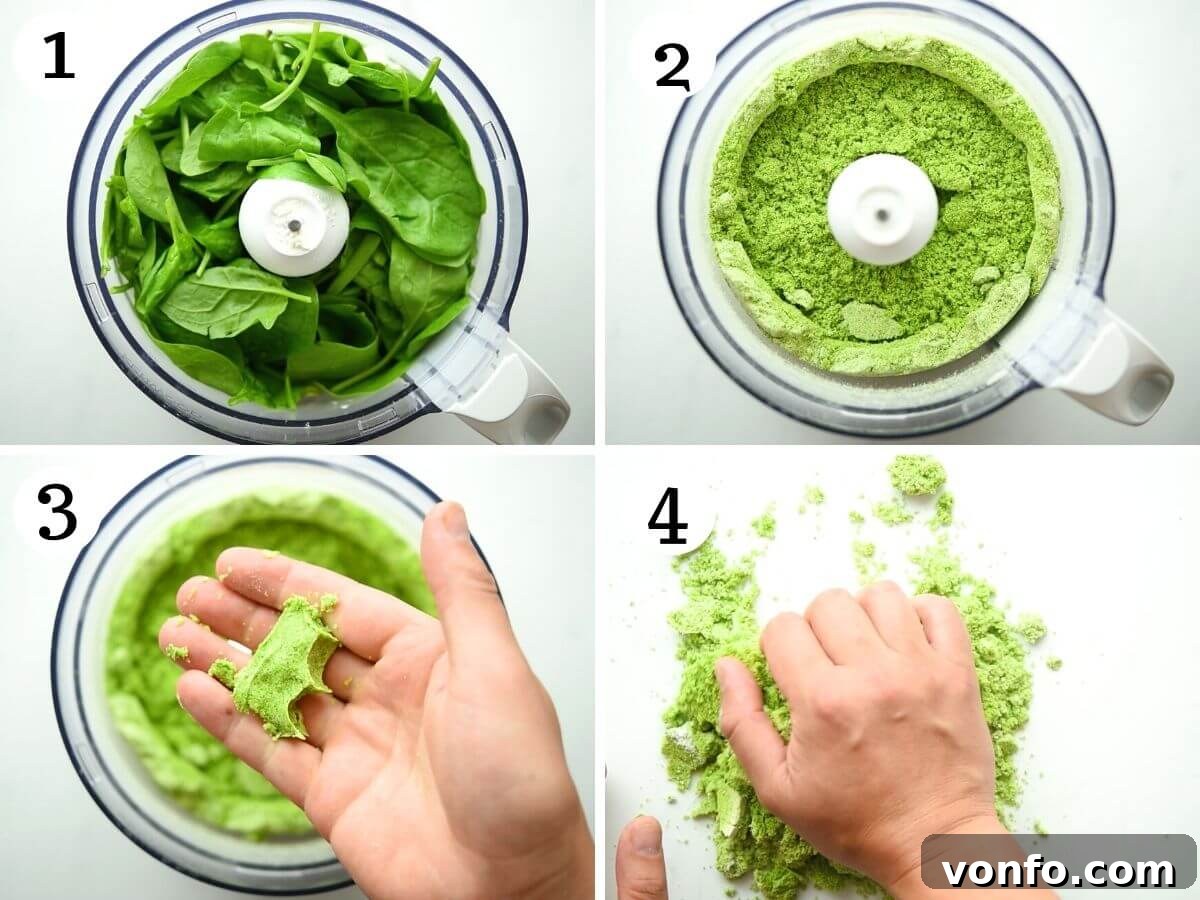
Place your chosen flour (preferably Italian “00” flour) into a food processor. Add the thoroughly dried spinach. If you’re using salt, add it now. Secure the lid and blitz the ingredients for several minutes. Initially, you’ll observe the spinach and flour turning into a powdery, coarse mixture. Continue processing. Over a few minutes, the natural moisture from the spinach will begin to bind with the flour, causing the mixture to clump together and form small, moist curds. This indicates the dough is starting to come together.
3. Check the Dough Consistency
Stop the food processor and open the lid. Take a small amount of the dough mixture between your fingers and squeeze it. It should feel soft and stick together to form a cohesive ball. If the dough feels too dry, crumbly, and doesn’t hold its shape, add a small handful of additional fresh, dry spinach (start with about 1/4 cup) and blitz again for another minute. Repeat this process until the dough just comes together, avoiding adding too much spinach at once, as you can always add more but cannot easily remove excess moisture.
4. Kneading for Perfection
Once the dough has formed a soft mass in the food processor, turn it out onto a clean, lightly floured work surface. Bring the dough together with your hands and begin to knead it. At first, the dough may feel quite stiff and perhaps a little crumbly, but persistence is key. Knead the dough vigorously for approximately 10 minutes. The kneading process is crucial: it develops the gluten in the flour, which gives the pasta its structure, elasticity, and chewy texture. As you knead, you’ll feel the dough transform, becoming progressively smoother, more pliable, and elastic. It should eventually have a satiny finish and spring back when gently pressed.
5. The Essential Resting Period
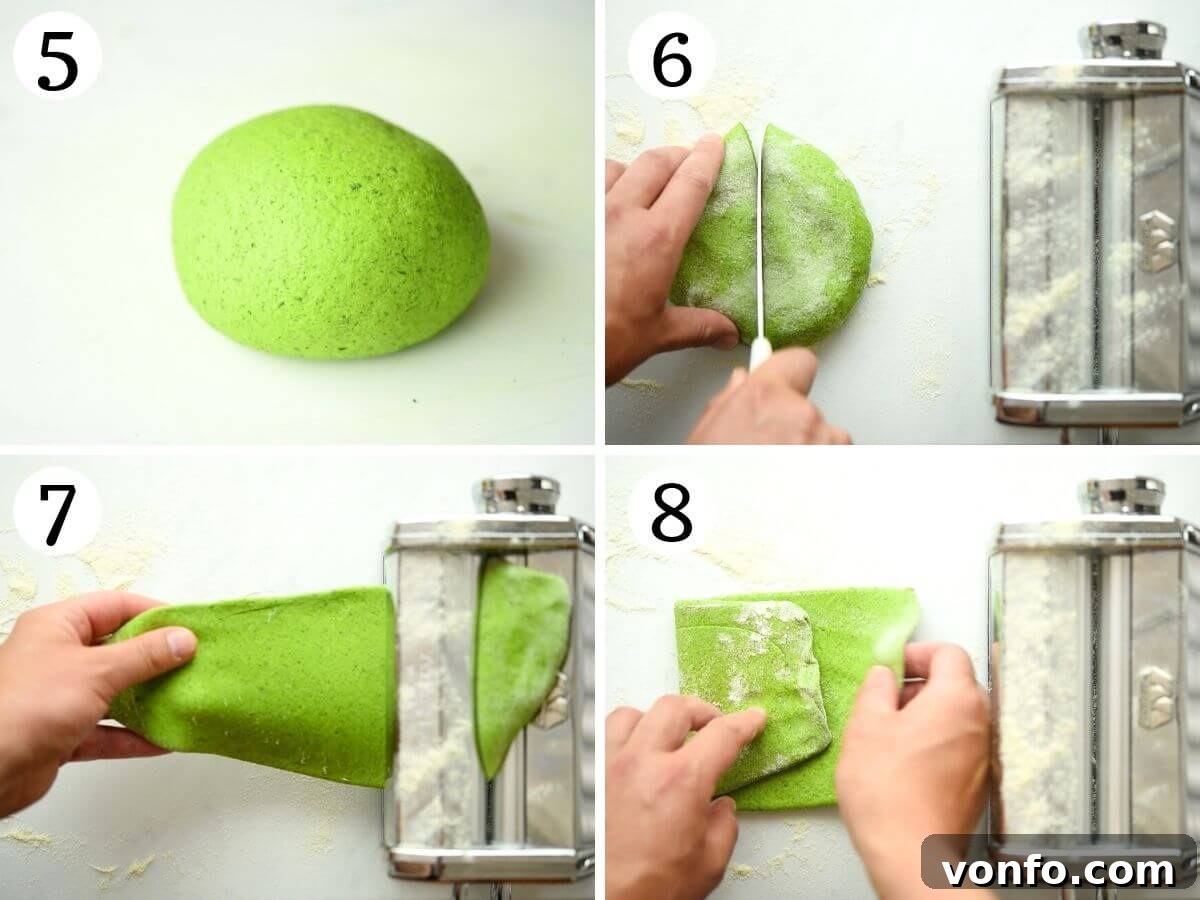
Once kneaded to perfection, form the dough into a ball and wrap it tightly in plastic wrap. This step is non-negotiable! Allowing the dough to rest for at least 30 minutes (and up to an hour) is vital. Resting gives the gluten a chance to relax, which makes the dough significantly more pliable, easier to roll, and less prone to tearing. You’ll notice a remarkable difference in its workability after this crucial resting time. Store the wrapped dough at room temperature if using within a few hours; otherwise, refrigerate for longer storage.
6. Rolling with a Pasta Machine
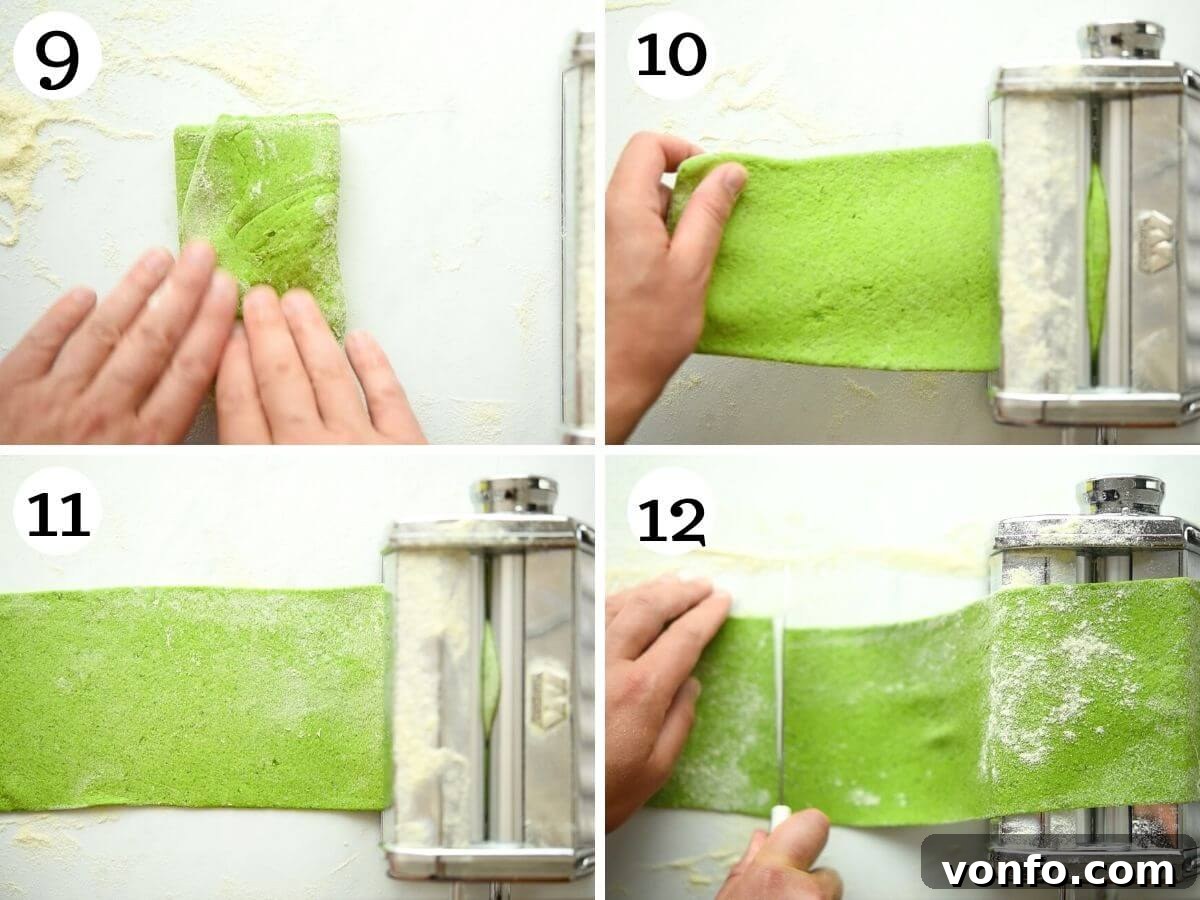
When you’re ready to roll, unwrap the dough and cut it in half (or into smaller, manageable portions if your machine is small). Lightly flatten one piece into an oval or rectangle shape with your hands. Dust it generously with extra flour or semola rimacinata (semolina flour) to prevent sticking, then pass it through the widest setting of your pasta machine. Fold the sheet into thirds (like a letter), and pass it through the widest setting again. Repeat this folding and rolling through the widest setting 3-4 more times. This step helps to further develop the gluten, creates a smooth, even sheet, and ensures a consistent texture.
7. Gradually Thinning the Pasta
Now, systematically roll the pasta sheet through progressively thinner settings on your pasta machine. Increase the setting by one notch at a time, dusting with flour as needed to prevent sticking. Continue until you reach your desired thickness. For tagliatelle, a common setting on a Marcato Atlas machine is typically number 5 or 6, but experiment to find your preference. The pasta sheet should be thin enough to be slightly translucent but still robust enough to handle without tearing.
8. Shaping Your Pasta
Once your pasta sheets are rolled to the desired thickness, it’s time to shape them.
- For Tagliatelle or Similar Cuts (Fettuccine, Pappardelle): If your pasta machine has a tagliatelle attachment, cut your long pasta sheets in half (or to a manageable length) and feed them through the attachment. The machine will cut them into perfectly uniform strips.
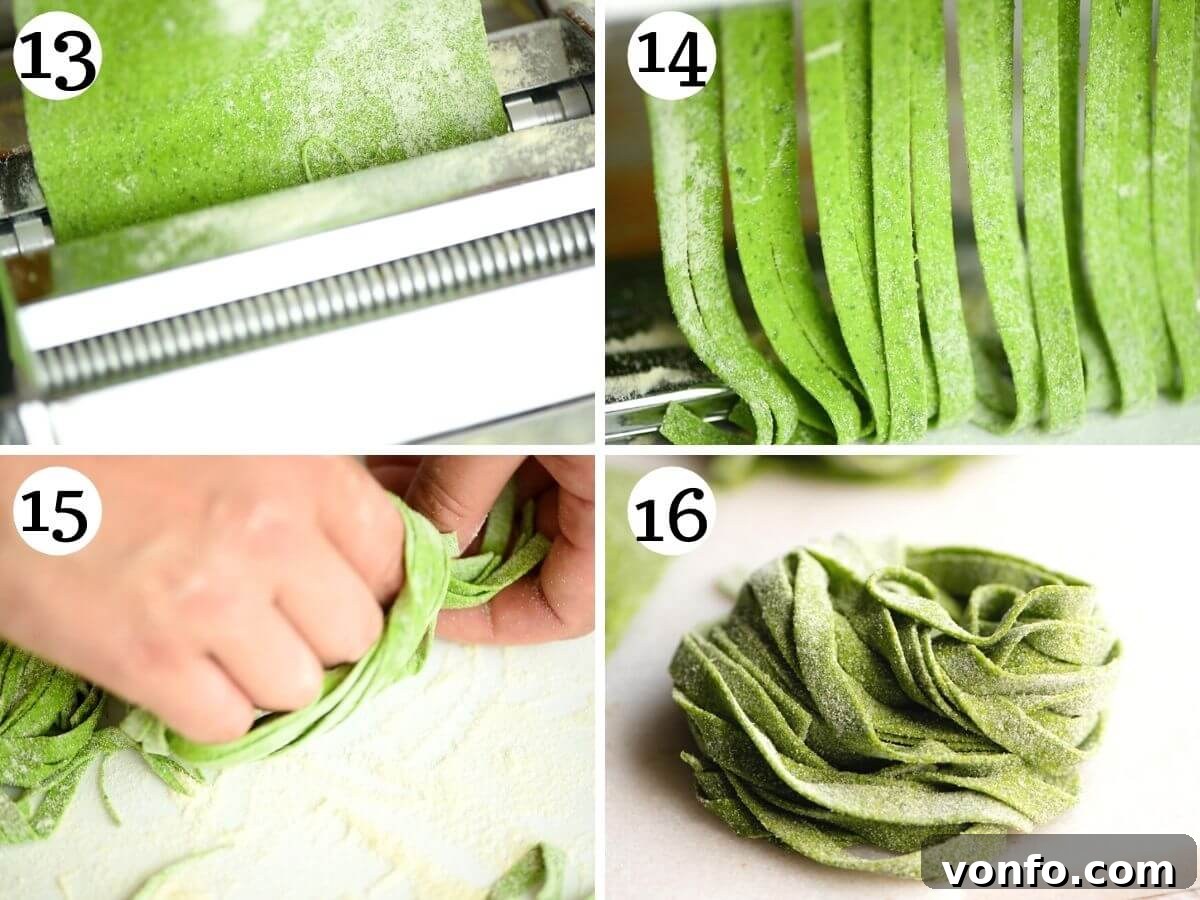
- Hand-Cutting: Alternatively, you can cut pasta by hand. Lightly dust your pasta sheet with flour, then carefully roll it up loosely into a log. Using a sharp knife, slice the log into your desired width (e.g., thin strips for tagliatelle, wider strips for pappardelle). Gently unroll the cut pasta and lay it on a floured surface or a pasta drying rack.
- For Lasagna Sheets: Simply leave the pasta sheets flat at your desired thickness.
- For Stuffed Pasta (Ravioli, Tortellini): Roll the sheets even thinner, typically to setting 6 or 7, depending on your machine, then proceed with your preferred filling and shaping method.
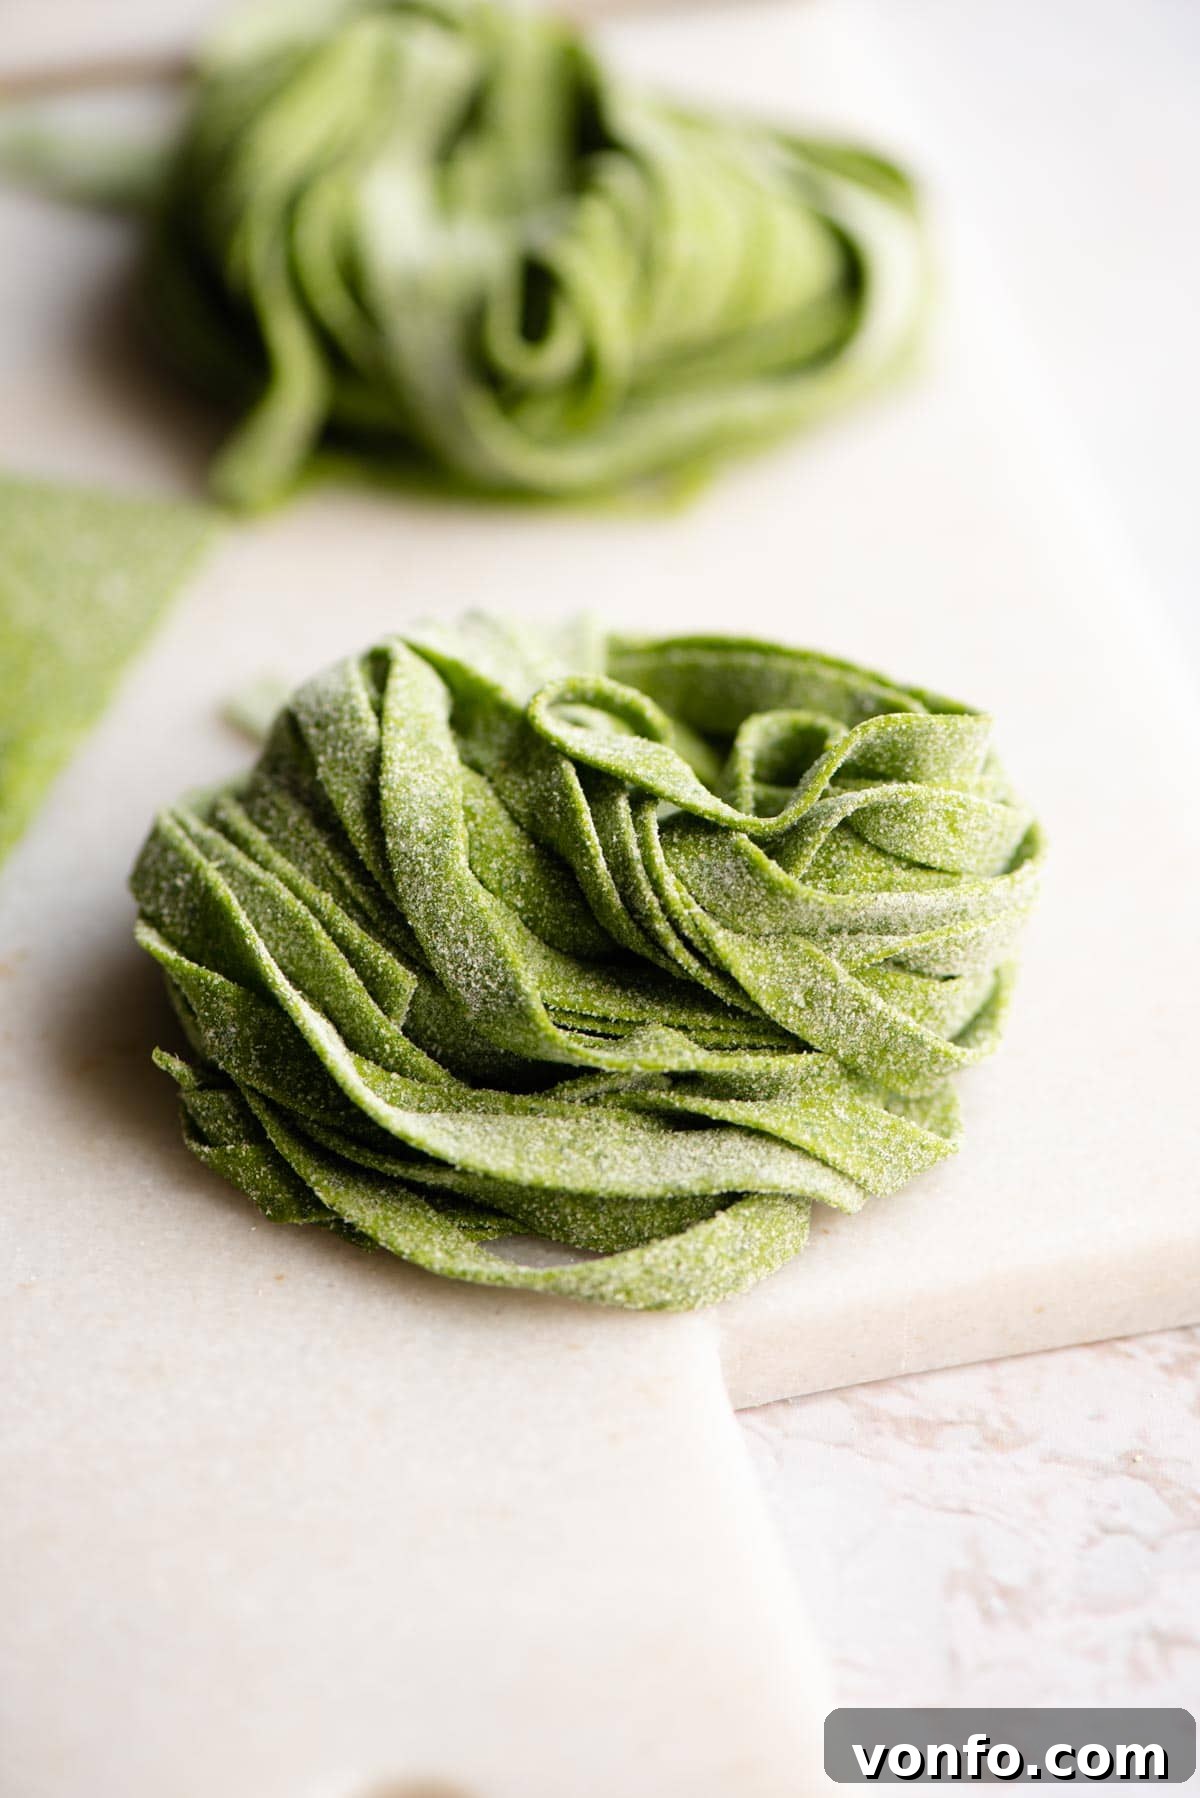
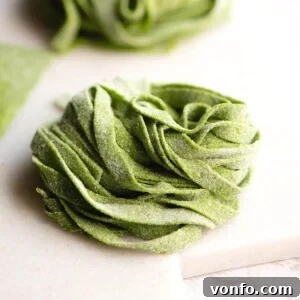
Dust the freshly cut pasta liberally with semola or flour and arrange it in nests or spread it out on a lightly floured baking sheet to prevent sticking while you finish shaping the rest of the dough. Allow fresh pasta to air dry for about 30 minutes before cooking. This helps it hold its shape and achieve a better texture.
Feeling creative? Experiment with other vibrant pasta colors! Explore our Beetroot Pasta Dough for a stunning pink hue, or revisit our basic egg pasta dough for a classic Italian experience.
Top Tips and Troubleshooting for Spinach Pasta Dough
Achieving perfect spinach pasta is easier with a few expert tips and answers to common questions. Here’s what you need to know:
- The Golden Rule: Dry Spinach is Key: We cannot stress this enough. Any residual water on your spinach will make the dough excessively wet and difficult to handle. Always use washed and thoroughly dried spinach. A salad spinner is your best friend here, followed by a quick pat-down with paper towels if needed.
- Understanding Spinach Volume (especially with cups): Spinach compresses significantly, so “packed cups” can vary. While our recipe specifies a weight (100g), if you’re measuring by volume, start with about 2 packed cups and add more if the dough appears too dry and crumbly after the initial blitz in the food processor. It’s always easier to add more spinach (for moisture) than to correct an overly wet dough.
- Don’t Skip the Resting Time: Resting the dough is not a suggestion; it’s a vital step. It allows the gluten, which you worked hard to develop during kneading, to relax. This relaxation makes the dough incredibly pliable, elastic, and significantly easier to roll through your pasta machine without tearing or shrinking back. Aim for at least 30 minutes, keeping it tightly wrapped to prevent drying. If you’re not using it the same day, refrigeration is necessary.
Frequently Asked Questions
We highly recommend using fresh baby spinach. Its tender leaves blend easily, contributing to a smoother dough and a vibrant color. If you opt for mature spinach, be sure to trim off any thick, fibrous stalks before blending to maintain a consistent texture.
It’s common for the dough to feel a bit stiff initially. However, it should become smoother and more elastic with continued kneading. If, after several minutes of kneading, it remains stubbornly dry and doesn’t come together, break the dough into smaller pieces and return it to the food processor. Add a very small amount (a tablespoon or two) of extra fresh spinach and blitz again until it reaches the desired consistency. Be cautious not to add too much liquid at once.
Kneading is the engine of pasta making! It’s the process that develops the gluten networks within the flour. This gluten development is what gives pasta its characteristic structure, elasticity, and desirable chewy texture. Insufficient kneading will result in pasta that is brittle, difficult to roll, and lacks that satisfying bite.
Absolutely! This dough is perfect for making ahead. Once prepared and kneaded, wrap it tightly in plastic wrap (to prevent it from drying out) and store it in the refrigerator for 1-2 days. Allow it to come to room temperature for about 30 minutes before rolling.
Cooking and Storing Your Fresh Spinach Pasta
Once your beautiful green pasta is shaped, it’s time to enjoy it!
Cooking Fresh Pasta
Bring a large pot of salted water to a rolling boil. Fresh pasta cooks much faster than dried pasta, usually in just 2-4 minutes, depending on its thickness. Drop your pasta into the boiling water and stir gently to prevent sticking. Cook until al dente (firm to the bite). Reserve a little pasta water before draining, as it can be used to loosen your sauce.
Storing Fresh Pasta
- Immediate Use: If cooking within a few hours, arrange your shaped pasta (like tagliatelle nests or lasagna sheets) on a lightly floured baking sheet and let it air dry slightly at room temperature.
- Short-Term Storage (1-2 days): Lightly flour your shaped pasta and place it in an airtight container in the refrigerator.
- Longer-Term Storage (Freezing): For longer storage, flash freeze your pasta. Arrange shaped pasta (e.g., nests, ravioli) on a baking sheet lined with parchment paper, ensuring they don’t touch. Freeze until solid (about 30 minutes to an hour). Once frozen, transfer to freezer-safe bags or containers. Frozen pasta can be cooked directly from frozen; it will just take an extra minute or two in boiling water.
Delectable Sauces to Pair with Your Spinach Pasta
The delicate flavor and vibrant color of homemade spinach pasta make it an excellent canvas for a variety of sauces. Here are some of our favorite pairings that will perfectly complement your green creation:
- Pesto alla Trapanese (Sicilian Pesto): A fresh, tomato-based pesto that offers a beautiful contrast in color and a burst of Mediterranean flavor.
- Classic Basil Pesto: The earthy notes of spinach pair wonderfully with the bright, aromatic freshness of traditional basil pesto.
- Authentic Bolognese Sauce (Ragu alla Bolognese): The rich, slow-cooked meat sauce provides a hearty counterpoint to the delicate spinach pasta, especially when used for lasagna.
- Ricotta Pasta Sauce: A creamy and light option that lets the spinach flavor shine through.
- Walnut Sauce – Salsa di Noci: A uniquely rich and nutty sauce that brings an unexpected depth to the spinach pasta.
- Authentic Italian Tomato Sauce: Sometimes, simple is best. A well-made tomato sauce will highlight the freshness of your homemade pasta.
Experiment with these suggestions or create your own perfect pairing. The joy of homemade pasta is in the journey from simple ingredients to a truly satisfying meal.
We hope you thoroughly enjoy making and tasting this incredible Spinach Pasta Dough Recipe! If you try this or any other recipe from our blog, please don’t hesitate to rate it and share your experiences in the comments below – we absolutely love hearing from you! Stay connected and discover more of our delicious food by FOLLOWING US on FACEBOOK, INSTAGRAM, and PINTEREST, or by signing up for our NEWSLETTER for weekly updates and exclusive recipes.
Step By Step Photos Above
Most of our recipes come with step by step photos, helpful tips and tricks to make it perfectly first time and even video!
Spinach Pasta Dough
By Emily
30 mins
30 mins
1 hr
4 servings (300g)
Equipment
- Food processor
- Pasta machine (manual or electric)
- Plastic wrap
- Clean work surface
- Salad spinner (recommended)
Ingredients
- 3 packed cups baby spinach, (100g) washed and dried
- 1.5 cups Italian 00 Flour, (200g) (recommended)
- extra flour or semola rimacinata, for dusting
- Pinch of fine sea salt (optional, for flavor)
Instructions
- Ensure your baby spinach is thoroughly washed and completely dry. If using mature spinach, trim off any large stalks.
- Add the flour and dry spinach (and optional salt) to a food processor. Blitz for a few minutes until the mixture turns powdery, then starts clumping together as the moisture from the spinach combines with the flour. This usually takes 2-3 minutes.
- Stop the food processor and test the dough. If it feels soft and sticks together when squeezed, it’s ready. If it’s too dry and crumbly, add a small amount of extra dry spinach (1-2 tablespoons) and blitz again until it forms a cohesive dough.
- Transfer the dough to a clean work surface. Knead the dough vigorously for about 10 minutes. It will initially be stiff but will become smooth, elastic, and springy as gluten develops.
- Wrap the kneaded dough tightly in plastic wrap and let it rest at room temperature for at least 30 minutes. This step is crucial for relaxing the gluten, making the dough easier to roll.
- Cut the rested dough in half (or into smaller pieces for easier handling). Flatten one piece slightly and dust it with extra flour or semola rimacinata. Pass it through the widest setting of your pasta machine.
- Fold the dough sheet into thirds (like a letter) and pass it through the widest setting again. Repeat this folding and rolling process 4-5 times to create a smooth, even sheet and further develop gluten.
- Now, progressively roll the pasta sheet through thinner settings, increasing one notch at a time. Continue until you reach your desired pasta thickness (e.g., setting 5 or 6 for tagliatelle on a Marcato Atlas machine). Dust with flour as needed to prevent sticking.
- Once the pasta sheets are thin enough, cut them into your desired shape (tagliatelle, fettuccine, pappardelle using an attachment or knife; leave flat for lasagna sheets). Dust the finished pasta generously with semola or flour and arrange on a baking sheet or drying rack.
- Cook fresh pasta in a large pot of salted boiling water for 2-4 minutes until al dente.
Video
Watch the full recipe tutorial here: Spinach Pasta Dough Tutorial Video

Notes
- Make sure your spinach is dry – it’s really important to use washed and dried spinach. You can either buy pre-washed ready to eat spinach or wash and dry it yourself using a salad spinner.
- If using cups – I’ve made this recipe many, many times and the amount of spinach can vary as much as 1 cup depending on how much you pack it and how much natural water is held in the spinach. It’s much safer to start with 2 packed cups then add more if it’s too dry and the dough doesn’t come together.
- Resting the dough – resting the dough is important as it gives the gluten a chance to relax. You’ll notice the dough is easier to work with after at least 30 minutes of resting. You don’t need to refrigerate it unless you are not using it on the same day.
Helpful Info for All Recipes
- I always use extra virgin olive oil in all of my recipes unless stated otherwise.
- When I use canned or jarred tomatoes of any kind, I always use Cirio or Mutti brands for the best results and flavor.
- All vegetables are medium-sized unless stated otherwise.
- All recipes are tested and developed using a fan (convection) oven.
- Find out more about how nutrition is calculated.
- Check out our must-have Italian Pantry Staples.
- You can also find all our Essential Kitchen Tools for Italian Cooking.
Nutrition (per serving)
- Calories: 186 kcal
- Carbohydrates: 37g
- Protein: 7g
- Fat: 1g
- Saturated Fat: 1g
- Polyunsaturated Fat: 1g
- Monounsaturated Fat: 1g
- Sodium: 21mg
- Potassium: 190mg
- Fiber: 2g
- Sugar: 1g
- Vitamin A: 2345 IU
- Vitamin C: 7mg
- Calcium: 32mg
- Iron: 1mg
Nutrition information is automatically calculated, so should only be used as an approximation.
Did you try this recipe?
Leave a comment below!